How to Set Z Offset on Ender 3 – Home & BLTouch
Learning how to set the Z Offset on an Ender 3 or the BLTouch Z Offset can be beneficial to getting good first layers. Many people don’t know how it works, so I decided to write an article about how to set Z Offset on an Ender 3, as well as with a the BLTouch.
Keep on reading to learn how it’s done.
What is Z Offset on the Ender 3?
The Z offset is the distance between the nozzle’s home position and the print bed. This value can either be negative or positive, usually in millimeters.
A negative value squishes the print into the hotbed or moves the nozzle closer to the hotbed. While a positive value will result in a bigger distance between the hotbed and the print by raising the nozzle.
When the Z offset is set properly, it ensures the nozzle does not dig into the hotbed when printing or print in midair. It also ensures that the print’s first layer is printed better.
If you want to learn how to get a great first layer, check out my article How to Get the Perfect First Layer on Your 3D Prints.
Check out Create With Tech’s video for more information on the Z offset.
How to Set Z Offset on Ender 3
Here’s how you can set the Z Offset on an Ender 3:
- Use the Ender 3 control screen
- Use custom G-Code
- Use your slicer software
- Manual calibration by adjusting the limit switches
Use the Ender 3 Control Screen
One way to set your Z Offset is to do it using the display on your Ender 3. This is the simplest method to calibrate the Z offset on your Ender 3.
This method also allows you to save the settings directly to the printer and fine-tune it more precisely by going up or down in little steps. This method can be done on the Ender 3 by doing the following steps:
- Preheat the nozzle and the heatbed
- Disable the stepper motors from the Ender 3 display.
- Move the print head to the center of the hotbed.
- Place an A4 paper or a post-it note under the printhead.
- Depending on your marlin software version, Go to “Go to Prepare”, on the main menu and select it.
- Click on “Move Axis” select the Z axis, and set it to 1mm.
- Turn the bed levelling knob anticlockwise to lower the print head until it touches the paper. Make sure the paper can move with minimal resistance from the nozzle.
- Go back to the previous menu and set the “Move Z” to 0.1mm.
- Adjust the knob clockwise or anticlockwise until there is barely any friction between the nozzle and the piece of paper.
- The number you arrive at is your Z Offset. The number can be positive or negative.
- Return to the main menu and select “Control” and then select “Z Offset” and then input the number.
- Return to the main menu and store the settings.
- From the main menu select “Auto Home” and then run a test print.
Observe the test print to see if more tweaking is needed. If the print does not stick well, slightly lower the Z Offset, and if the nozzle is digging into the print raise the Z Offset.
Here is a video from TheFirstLayer that helps demonstrate this entire process.
Use Custom G-Code
The G-Code sequence generated by your slicer software helps to direct the printer’s actions during printing. Custom G-Code can also be sent to the printer to execute specific commands, like calibrating the Z offset.
This process requires a terminal where the G-Code can be written. You can make use of something like Pronterface or Octoprint’s G-Code terminal. You’ll need to connect your computer to your 3D printer with a USB to use Pronterface.
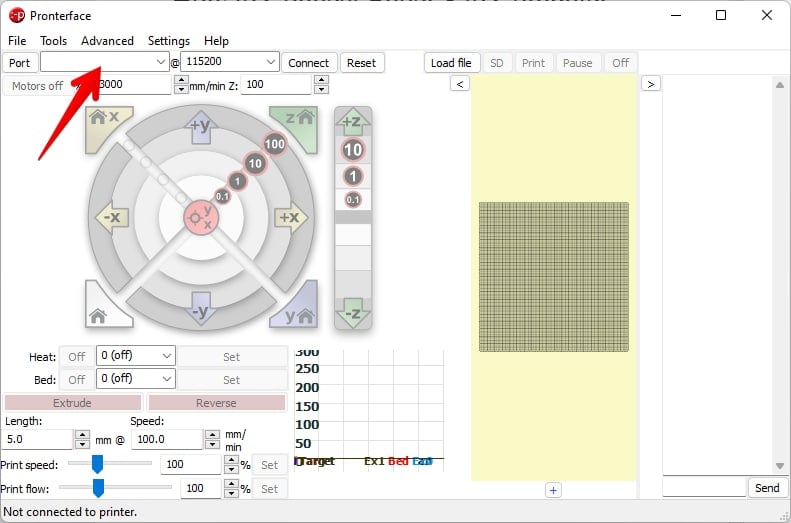
Check out the video below to see how to adjust your Z Offset on Pronterface.
This second video does the same thing but using different G-Code commands.
Use Your Slicer Software
Your slicer software is also another means to calibrate your Z Offset. Most slicer software allows you to tweak the Z offset of your nozzle head. This is much easier than inputting G-Code.
Slicer software like PrusaSlicer and Simplify 3D have built-in Z offset settings while a Z offset plugin would need to be downloaded on Cura.
Cura
Cura is one of the most popular slicer software. It is an open-source software that gives you free access to all its features once you install it.

On Cura, you can adjust the Z offset by doing the following:
- Launch the Cura software
- At the top right-hand corner of the Cura slicer interface, click on the marketplace.
- Scroll down and select the “Z offset settings” plugin.
- Install the plugin
- Restart the Cura software and the plugin is ready for use.
- You can use the search bar to look at the “Z Offset” setting or adjust your settings visibility.
- Input a figure into the “Z offset” section of the dropdown menu
Here’s a video from TheFirstLayer on how to set your Z Offset on Cura. It’s the same video as above, but with a timestamp to the Cura section.
Simplify3D
The Simplify3D slicer is one of the slicer software that allows you to edit your Z offset from its settings. Although the software is not free to use, it comes with a free trial that allows you to test the abilities of the slicer software.
On Simplify3D, you can adjust the Z offset by doing the following:
- Launch the Simplify 3D software
- Click on your model or the virtual build volume
- Locate the “Z offset” tab on the sidebar menu that pops up.
- Input the Z offset in millimeters
Here’s a video from TGAW on how to use Simplify 3D to edit Z Offset.
Manual Calibration by Adjusting the Limit Switches
The limit switches are sensors placed along the X, Y, and Z axis to prevent a moving component from going past its limit. Along the Z axis, it stops the nozzle from going too low on the print bed.
While this process does not actually calibrate the Z offset, it is somewhat related.
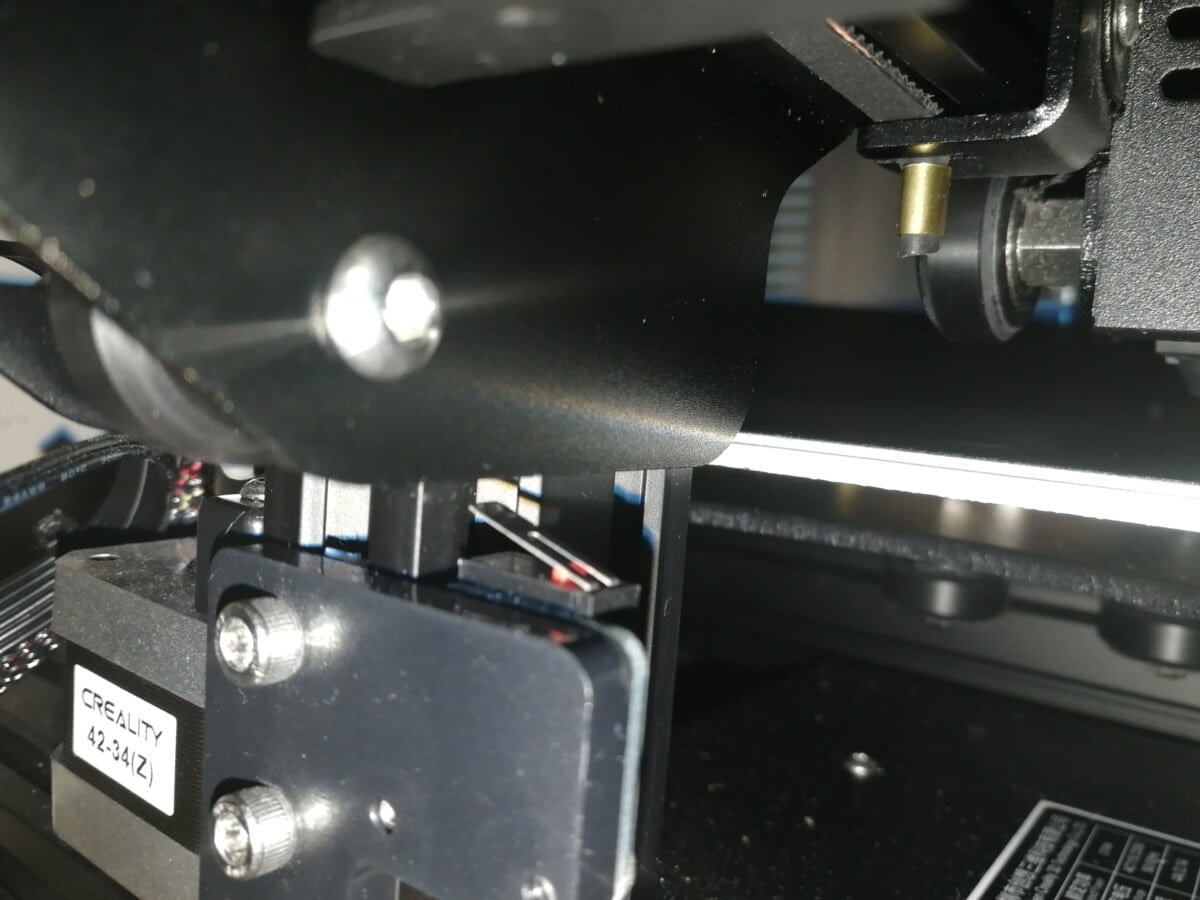
Here are the steps to move your limit switches:
- Loosen the two screws on the limit switches with an Allen key.
- Move the limit switches upwards or downwards depending on your needed height.
- At the desired height, tighten the screws.
- Test run the Z-axis rods to ensure it stops at the desired height while making the clicking sound.
Check out this video from Zachary 3D Prints for more information.
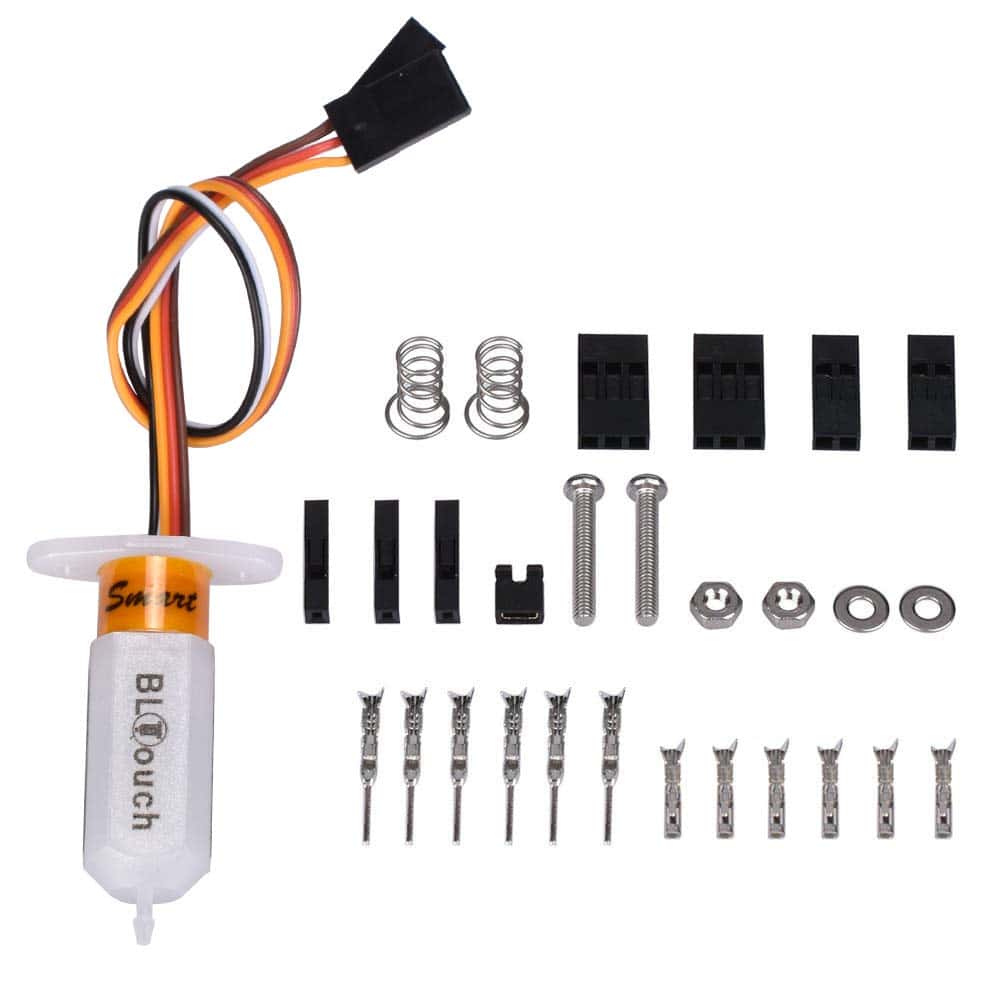
How to Set Z Offset on Ender 3 with a BLTouch
To set the BLTouch Z Offset on your Ender 3, you should auto-home the 3D printer. Then put a piece of paper under the nozzle and move the Z-axis down until the paper has some resistance when pulled. Note the value of the Z-axis height and input that as your Z Offset.
Here’s how to set your Z Offset in more detail:
- From the main menu on the Ender 3 display, click on “Motion”.
- Select “Auto Home” so that the BLTouch sensor can note the default coordinates on the X, Y, and Z axis from the center of the X and Y axis.
- From the main menu click on “Motion” and then select “Move Z”.
- Using the knob, set the Z position to 0.00 and use an A4 paper to observe the clearance between the nozzle and the bed.
- With the paper still under the nozzle, turn the knob anticlockwise until the paper begins to offer little resistance when it is pulled, and note the height (h) down.
- Return to the main menu and select “Configuration”
- Click on Probe Z offset and input the height(“h”).
- Return to the main menu and store the settings.
- From the main menu, click on “Configuration” and select “Move Axis”
- Select Move Z and set it to 0.00. Place your A4 paper under the nozzle and observe it grip the nozzle when it is pulled.
- At this point, your Z offset is set.
If you don’t have your own BLTouch, you can get one from 3DJake.
Check out the video below to see the process for settings BLTouch Z Offset.