How to Remove a Resin Print Stuck to Build Plate or Cured Resin
With resin 3D printing, it’s common to get resin prints and even cured resin stuck to the build plate. It can be pretty difficult to remove these if you don’t use the right technique, so I decided to look into some of the easiest ways to remove resin prints and cured resin.
To remove resin stuck to your build plate, you should be able to scrape it off using your metal scraper tool, but if that doesn’t work, you can also try using flush cutters or a razor blade scraper. Some people have had success using a heat gun or air dryer to soften the resin. Over curing the resin can make it warp.
This is the simple answer but keep reading through this article for more useful details behind each method so you can finally get this issue fixed.
How to Get Resin Prints off Build Plate Properly
The easiest way to get resin prints off the build plate is by using a good metal scraper, gently wiggling and pushing it at the edge of your 3D print so it can get underneath. As you push further through the print, it should gradually weaken the adhesion and come off the build plate.
The method I use to remove resin prints from the build plate is as follows.
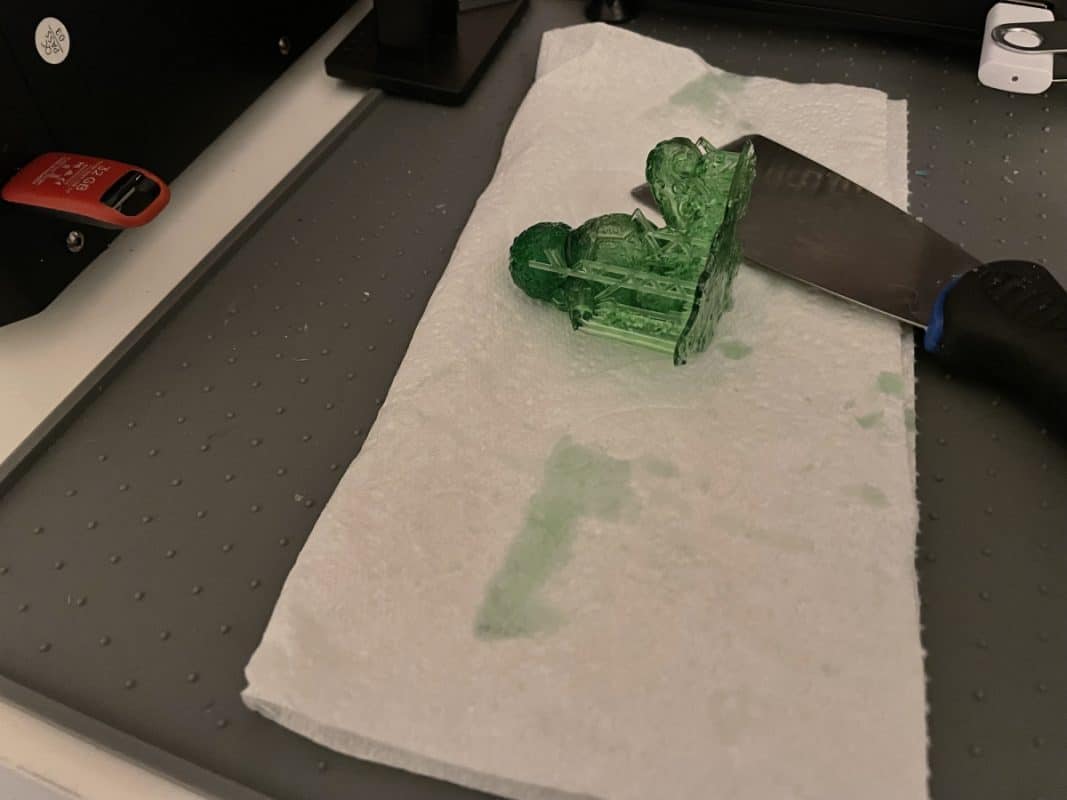
Here is a model on the build plate.
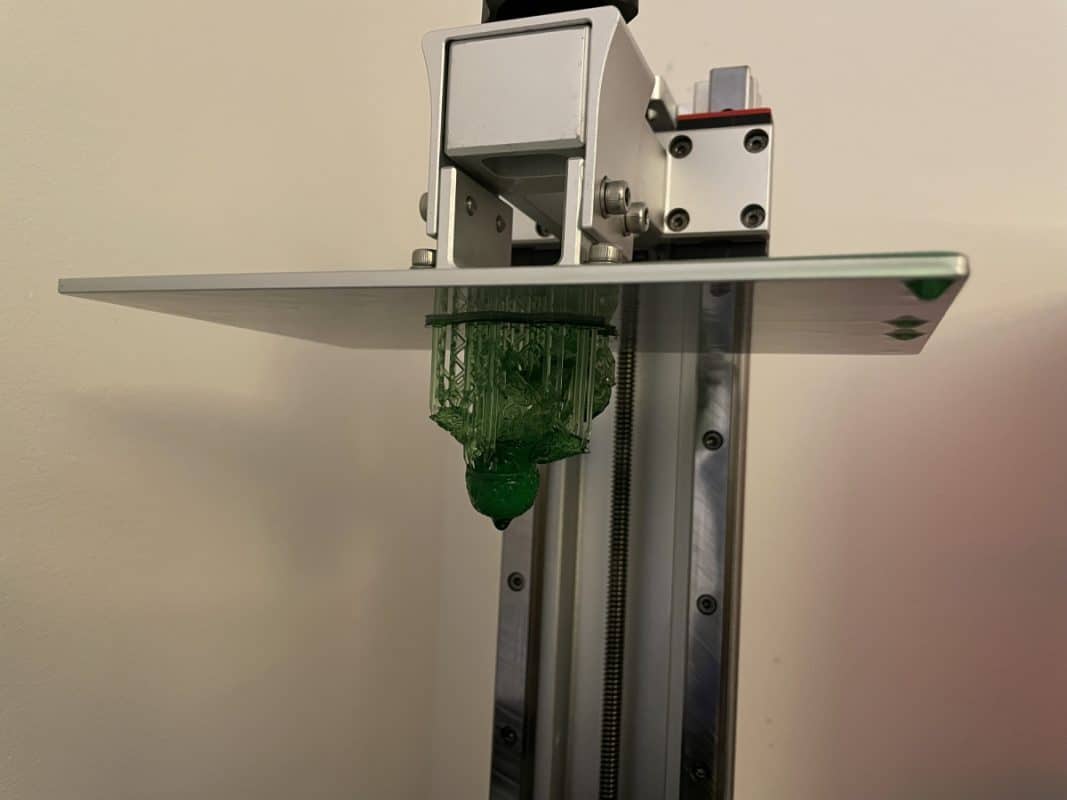
I like to leave either leave the resin print for some time, so most of the uncured resin drips back into the resin vat, then when I loosen the build plate, I’d angle it down to let more resin drip off.
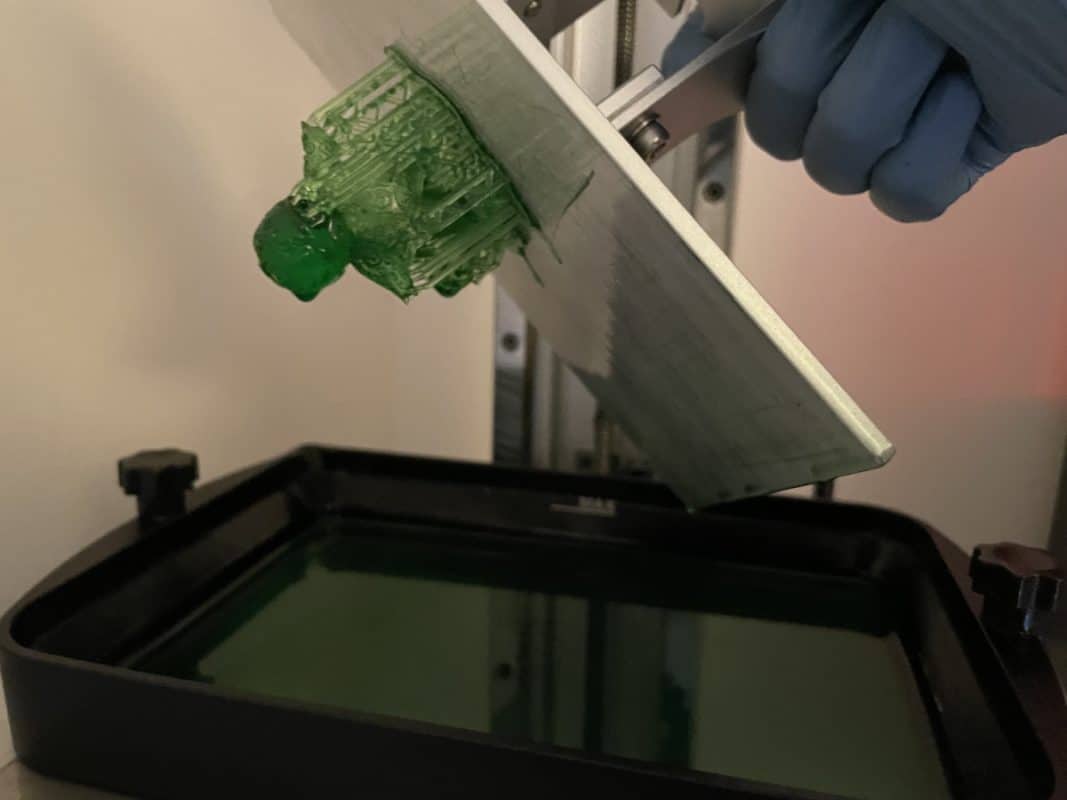
After that, I change the angle of the build plate so that resin that was dripping down is now at the top of the build plate, kind of vertical and on the side. This means you won’t have resin dripping off the edge.
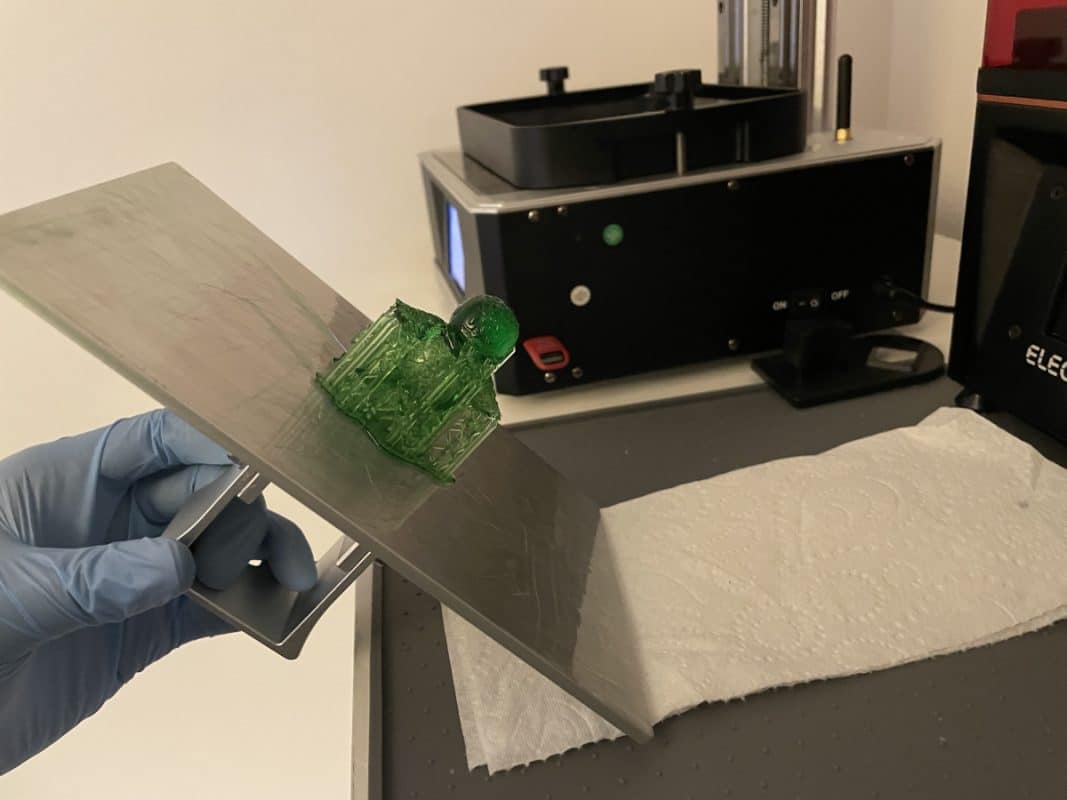
Then I use the metal scraper that came with the 3D printer, then try to slide and wiggle it underneath the raft to get underneath it.
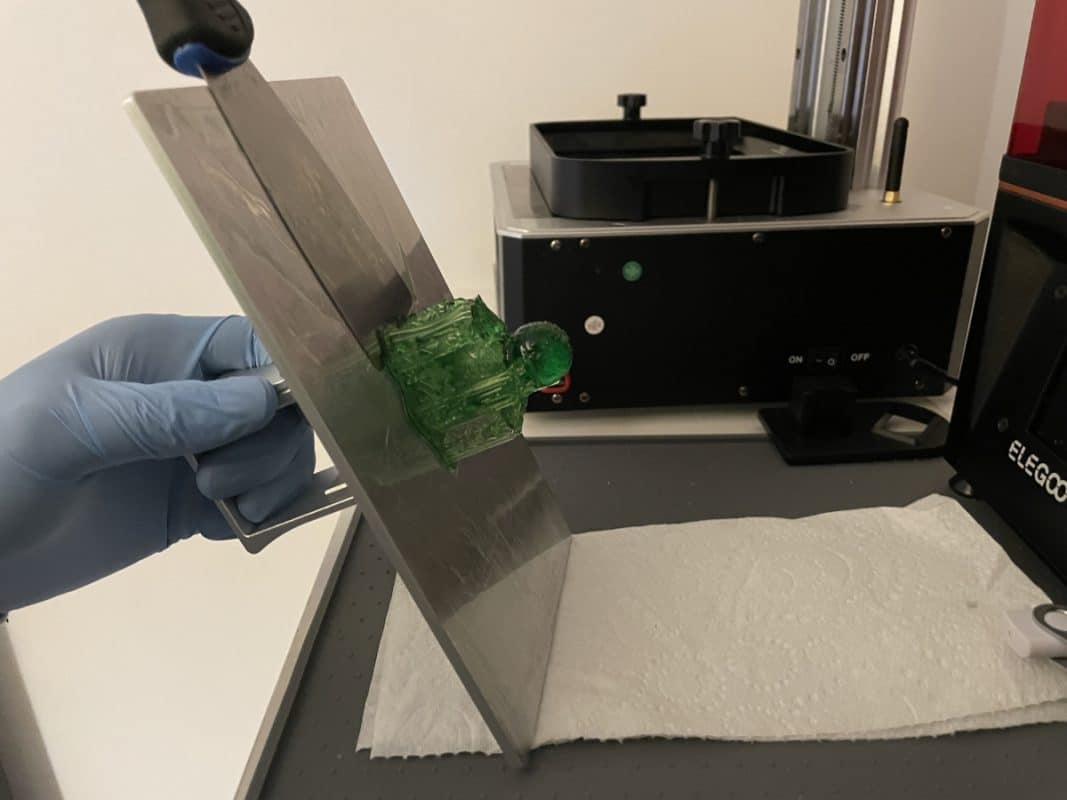
This gets resin prints off the build plate very easily every time for me. The metal scraper you use does make a difference in how easy models are to remove.
If you find that it’s hard to remove the model, it most likely means your bottom layer settings are too strong. Reduce your bottom layer exposure to 50-70% of what you are currently using and try another print. It should be a lot easier to remove after doing this.
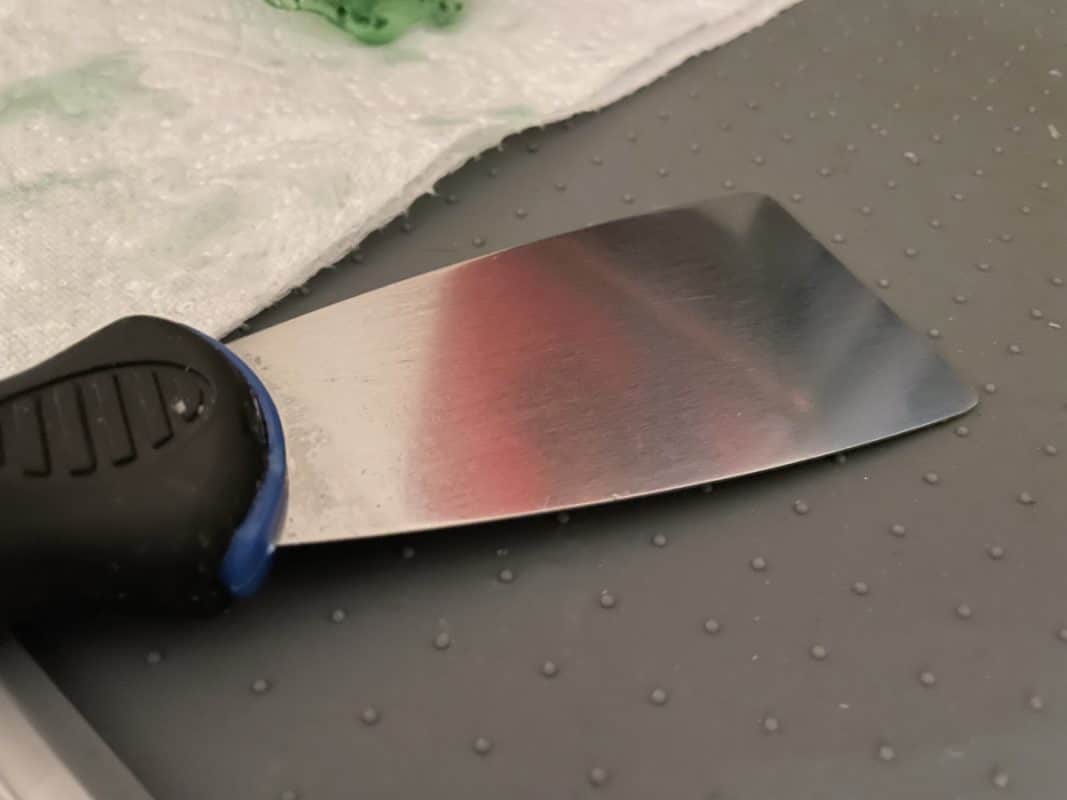
You can see that there are two sides to the metal scraper I’m using, which may be the same for you. There is the smooth side as seen below.
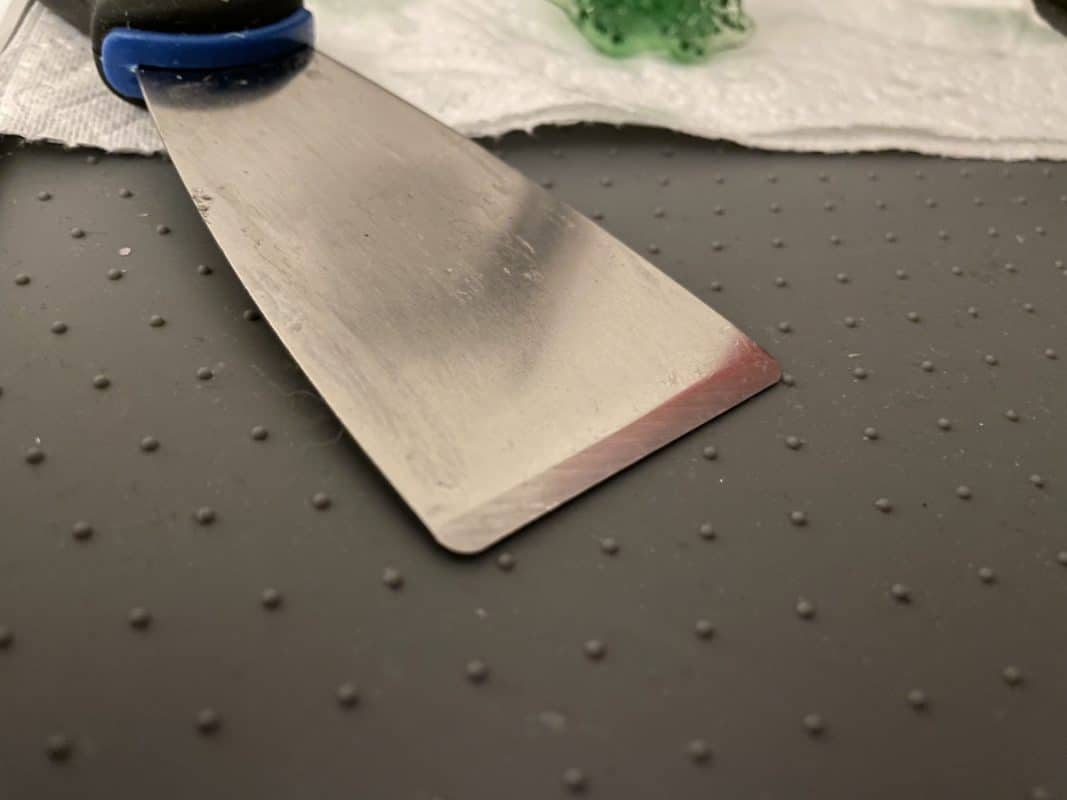
Then you have the sharper side which has a thinner edge that can get underneath resin prints much easier.
The YouTube video below by 3D Printing Miniatures gives a detailed explanation of how you can get resin prints off the build plate.
How to Remove Cured Resin From Build Plate – Multiple Methods
I have put together the different ways by which you can remove cured resin or similarly, a resin print from the build plate and they are as follows:
- Scrape off the resin with a scraping tool, flush cutters or a razor blade scraper.
- Try using a heat gun on the cured resin
- Over cure the resin on the build plate so it can warp with a UV light or the sun.
- Soak in IPA or acetone for a few hours.
- Place build plate in a non-food safe freezer or use compressed air
Get Off the Resin with a Scraping Tool, Flush Cutters or a Razor Blade Scraper
Scraping Tool
If the metal scraper that comes with your 3D printer isn’t good enough to get underneath the cured resin, you may want to get a higher quality version.
The Warner 4″ ProGrip Stiff Broad Knife is a great tool that you can use to remove cured resin from the build plate. It has a strong chiseled edge that makes it ideal for scraping, as well as a tapered rubber handle design that makes it comfortable to hold.
You can see that it has the thinner and sharper side that can get underneath the cured resin.

Some people have also had luck with the REPTOR Premium 3D Print Removal Tool Kit from Amazon which has a knife and spatula. Many reviews mention that it made their job a lot easier to remove prints, so it would do well to remove cured resin too.
One thing to keep in mind though is that they aren’t designed for resin printers though because the resin may eat away at the handle if you don’t clean it properly.
Flush Cutters
Another tool you might have luck with is with using flush cutters. What you do here is place the blade of the flush cutters on any side or corner of the cured resin then press the handle and gently push under the cured resin.
It can help with lifting and separating the cured resin from the build plate. Many users have used this technique successfully to remove cured resin from the build plate.
Something like the Hakko CHP Micro Cutters from Amazon should work well for this.

Razor Blade Scraper
The last object I’d recommend for getting underneath cured resin on your build plate is a razor blade scraper. These can be very useful for removing cured resin, and can either be plastic or metal razor blades.
The Titan 2-Piece Multipurpose & Mini Razor Scraper Set from Amazon is a good choice here. It has a tough polypropylene handle with a nice ergonomic design to make it easier to operate. It comes with 5 extra heavy-duty replacement razor blades as well.
You can use it for plenty other tasks around the house as well.

The video below by AkumaMods shows you how easy it is to remove resin from your build plate using a razor blade scraper.
Make Use of a Heat Gun
When cured resin sticks to your build plate, especially after a failed print, you can remove it by heating up the stuck resin on the build plate to weaken the adhesion.
After doing this, you can then use your preferred scraping tool to gradually remove the cured resin. The cured resin may come off now since the resin is now soft and can be easily scraped off.
You want to keep safety in mind here because a heat gun on metal will make it very hot since metal is a good conductor of heat. You can get yourself a decent quality heat gun like the Asnish 1800W Heavy Duty Hot Air Gun from Amazon.

It can heat up in just seconds, giving you variable temperature control from 50-650°C.
You won’t have to use such high heat but it also has other uses outside of resin 3D printing like for removal labels, residue, removing old paint, melting ice, or even removing white oxidation from vinyl railings like one user mentioned.
If you don’t have a heat gun, you can also choose to use a hairdryer. It should still work but may take a little longer.
Over Cure the Resin with a UV Light or in the Sun
If you have tried the methods above and you still can’t get the cured resin off your build plate, you can try to cure the resin with a UV light, UV station or even the sun so it can over-cure and warp.
The reason this can work is because resin reacts to UV light, even past the normal curing stage. If you cure it for several minutes, it should start to react and warp/curl so you can better get underneath the resin.
One person who does this recommended to cover part of the cured resin with something non-transparent, then put the build plate outside to cure in the sun. The exposed area of resin should begin to warp so you can use a scraping tool to get underneath and remove the stuck resin.
One of the most popular UV curing lights for resin printing is the Comgrow 3D Printer UV Resin Curing Light with Turntable from Amazon. It turns on from a simple switch, producing plenty of strong UV light from 6 high-power 405nm UV LEDs.

Soak the Build Plate in IPA or Acetone
Another useful but less common way to remove cured resin from your build plate is to actually soak the build plate in isopropyl alcohol (IPA) for a couple of hours.
Usually we use IPA to clean uncured resin from our cured resin 3D prints, but it has a great ability to be absorbed by the cured resin then start swelling up as a result.
After you submerge the build plate and cured resin for a while, the cured resin should shrink and then be easier to remove from the build plate.
I’ve also heard you can do this method in acetone, and that people sometimes even use acetone to clean prints when they run out of IPA.
You can get yourself some Solimo 91% Isopropyl Alcohol from Amazon.

Put Build Plate of with Cured Resin in Freezer
Similar to using temperature to remove cured resin from the build plate with the heat gun, you can also use cold temperature to your advantage.
One user suggested putting your build plate in a freezer since the resin will react to the rapid change in temperature and hopefully make it easier to remove. You do have to make sure your stored food doesn’t get contaminated though.
They recommend using a freezer that is non-food, but most people won’t have access to that. It may be possible to put the build plate in a Ziploc bag then in another airtight container of some sort so it is safe from contamination.
I’m not certain if this would be appropriate, but that is a suggestion that could work well.
Another way you can introduce a rapid temperature cooling is actually by using a can of air, namely compressed air. How this one works is by turning the can of compressed air upside down, then spraying the nozzle.
For some reason, this produces a cold liquid that can be aimed and sprayed at your cured to make it very cold, hopefully making it react and warp so it can be removed easier.
Something like the Falcon Dust-Off Compressed Gas Duster from Amazon would work for this.
