How to Make Articulated 3D Prints – Design (4 Steps)
Making articulated prints is a perfect way to sharpen your 3D printing skills, whether you’re a seasoned expert or a beginner. Many people think that it is reserved for skilled users only. However, that is not true. That is why I wrote this article to guide you through the process.
To make articulated 3D prints, you’ll need to design a 3D model or download one online, locate where you would like your joints to be (where your model can move freely), and cut your model along those points. After that, insert a hinge into your created gaps and group everything together.
This is just a summary of what you need to do. I will provide more details in this article, so continue reading to find out more.
How to Make Articulated 3D Prints
Articulated 3D prints consist of moving parts and joints that you can use for various reasons, such as making toys, figurines, and functional prototypes. Below is the procedure you can follow to make them:
- Design a 3D model to use as a base or download one online
- Locate where you’d like to place your joints
- Cut your model along those joints
- Insert a hinge mechanism into the gaps you created and group everything
1. Design a 3D Model to Use as the Base or Download One
The first step is to design a 3D model to use as the base of your articulated 3D print. You can use software like TinkerCAD, Fusion 360, or Blender. I decided to use TinkerCAD since it is free and easy to use.
Here is an example of a video explaining how to design a 3D model in TinkerCAD.
However, downloading a predesigned model online can be a great starting point if you’re a beginner. Websites like Thingiverse, MyMiniFactory, and Cults3D offer an extensive library of 3D models, many of which are free to download.
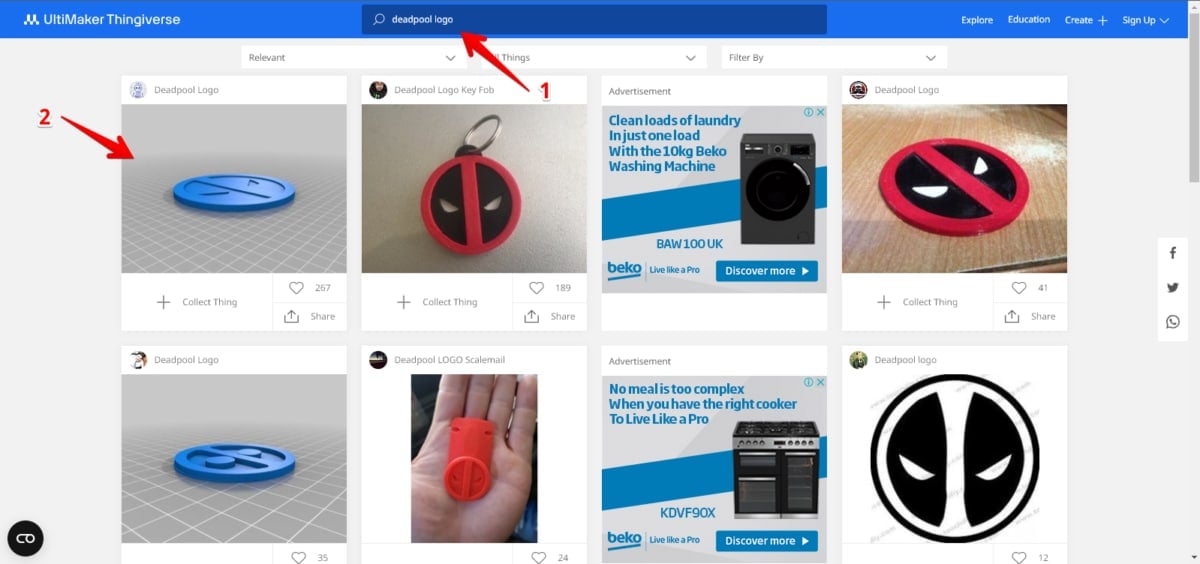
For this particular project, I decided to articulate a Deadpool logo. Here is how you can download the 3D model from Thingiverse.
- Go to Thingiverse and search for “Deadpool Logo” or any other 3D model you’d like to download and select it.
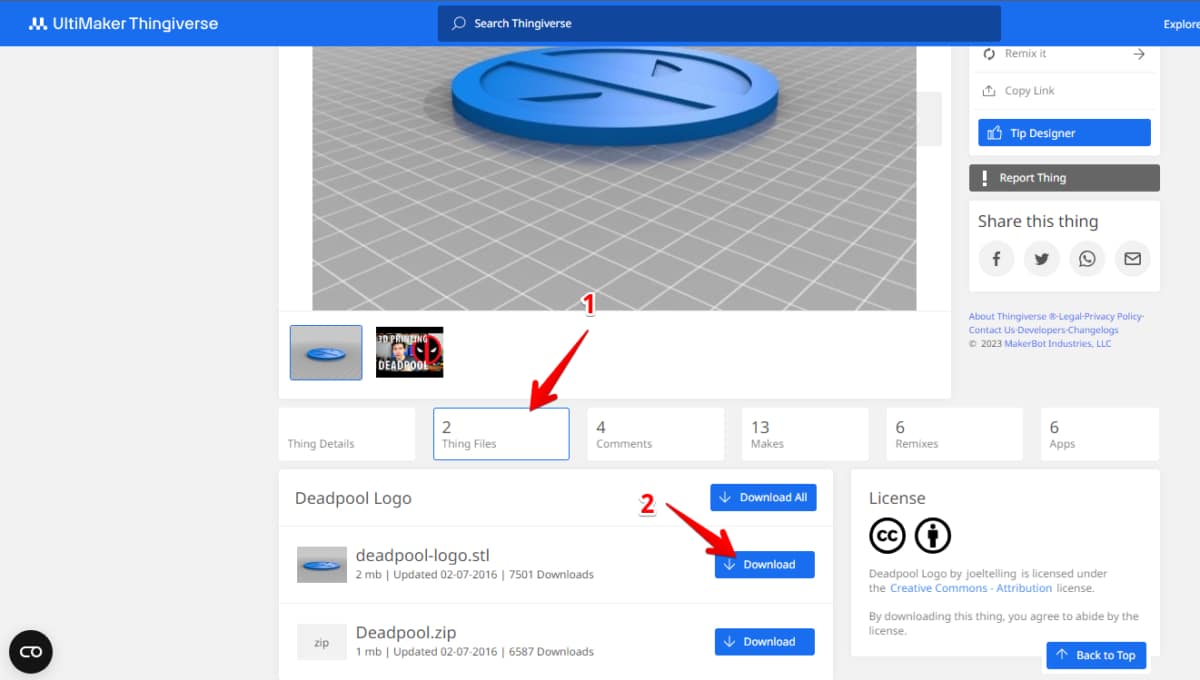
- On the download page, go to “Thing Files” and click the Download button to download the STL file of your 3D model.
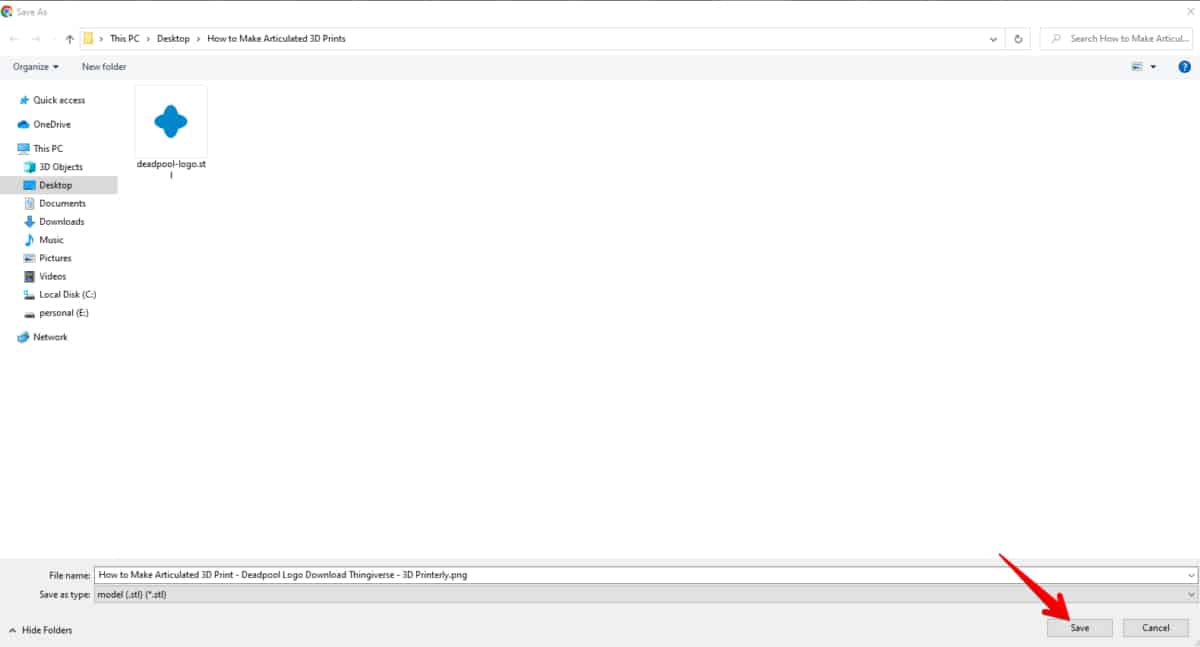
- Save the STL file in a folder on your computer.
To start working on your 3D model, open TinkerCAD, select “Import”, and then “Choose a file”.
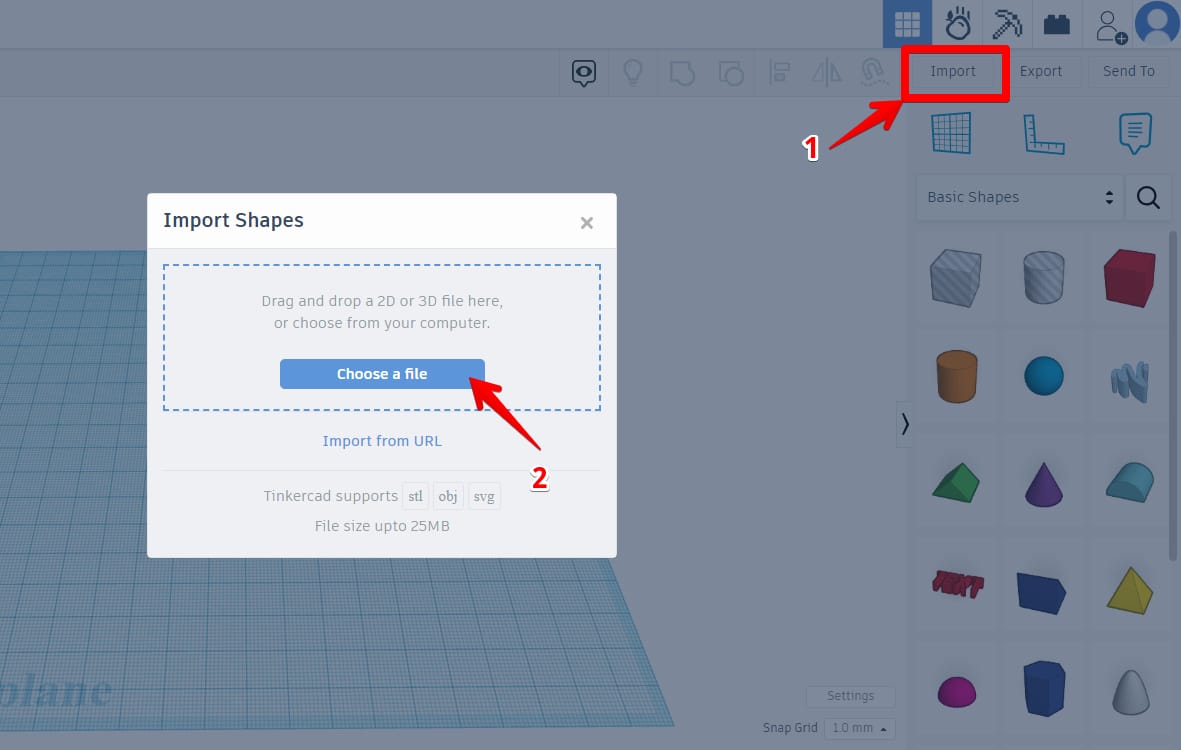
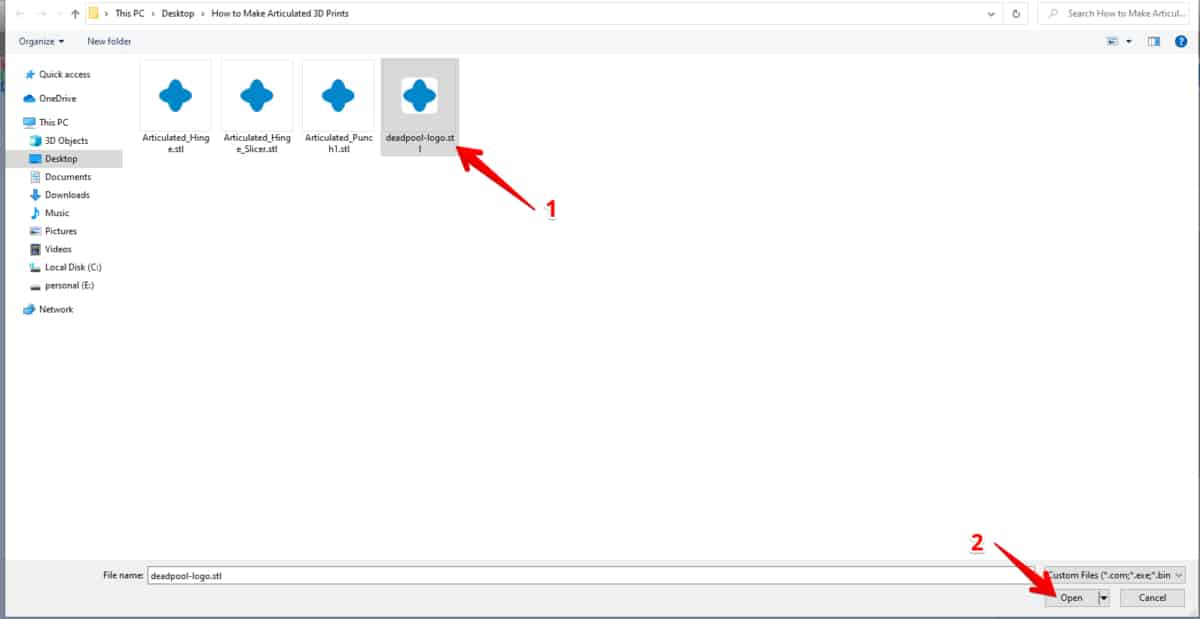
Select the STL file you downloaded, click open, and then Import.
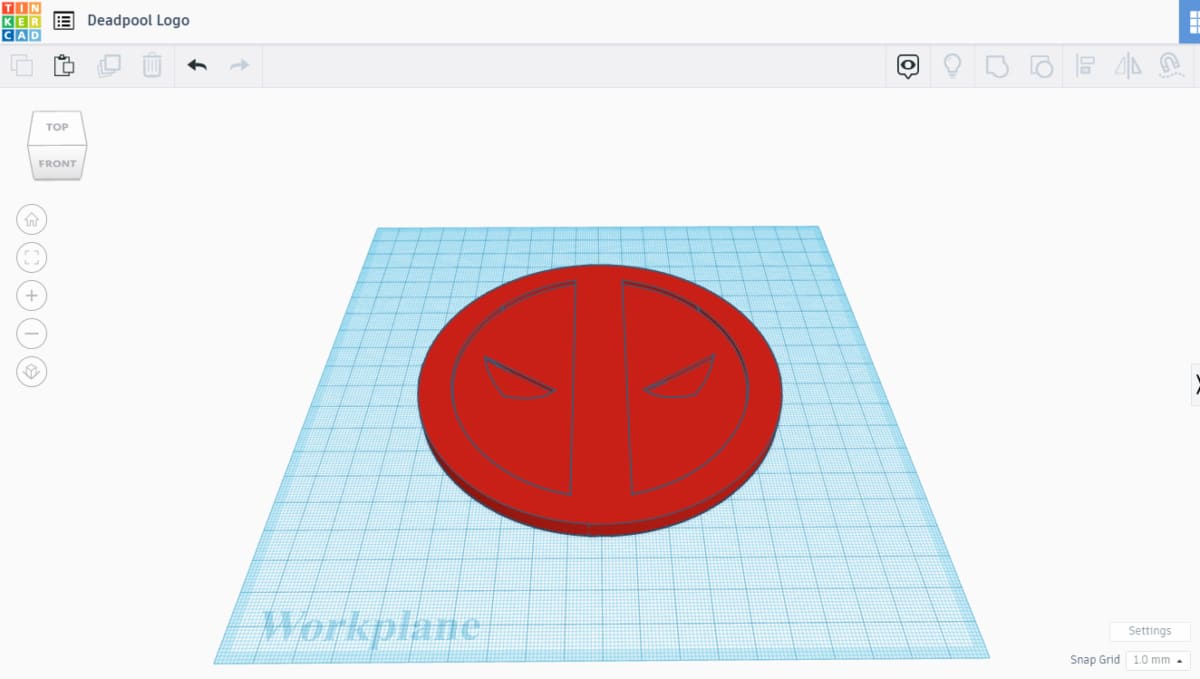
The 3D model will be loaded onto your workplane.
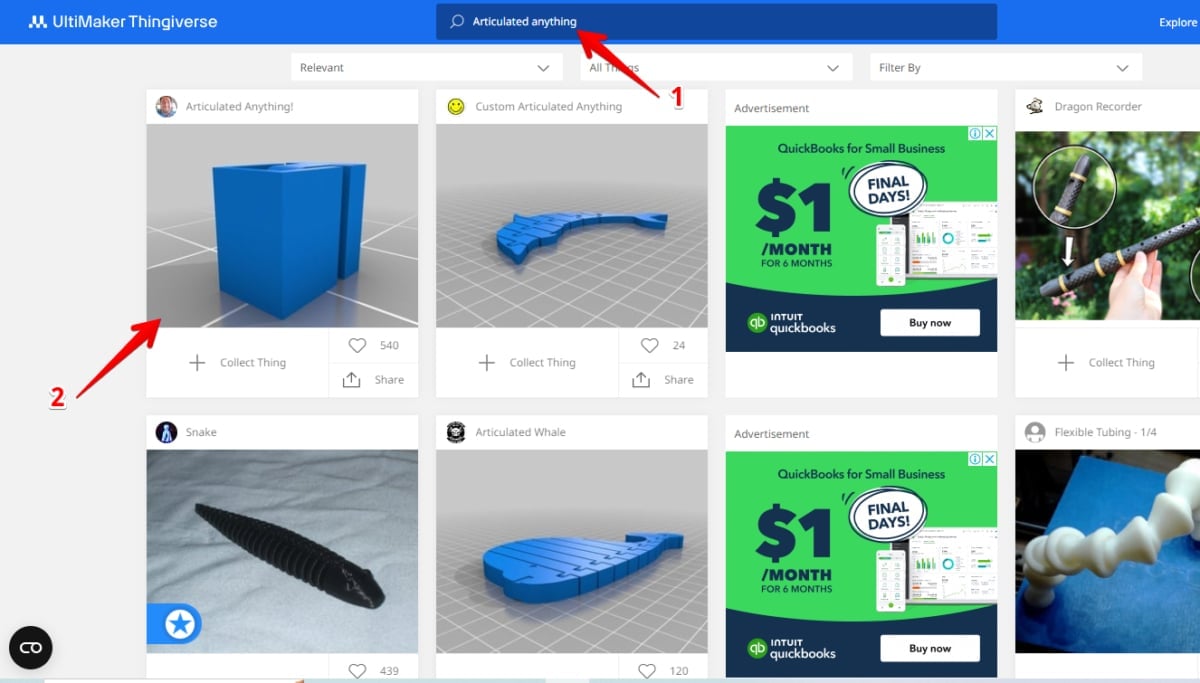
To avoid designing a hinge mechanism later, you can just download a predesigned one. Go to Thingiverse and search for “Articulated Anything”.
Nerys provides an incredibly designed hinge that you can use to make your model articulated. He also provides other tools that you can use to cut through your model.
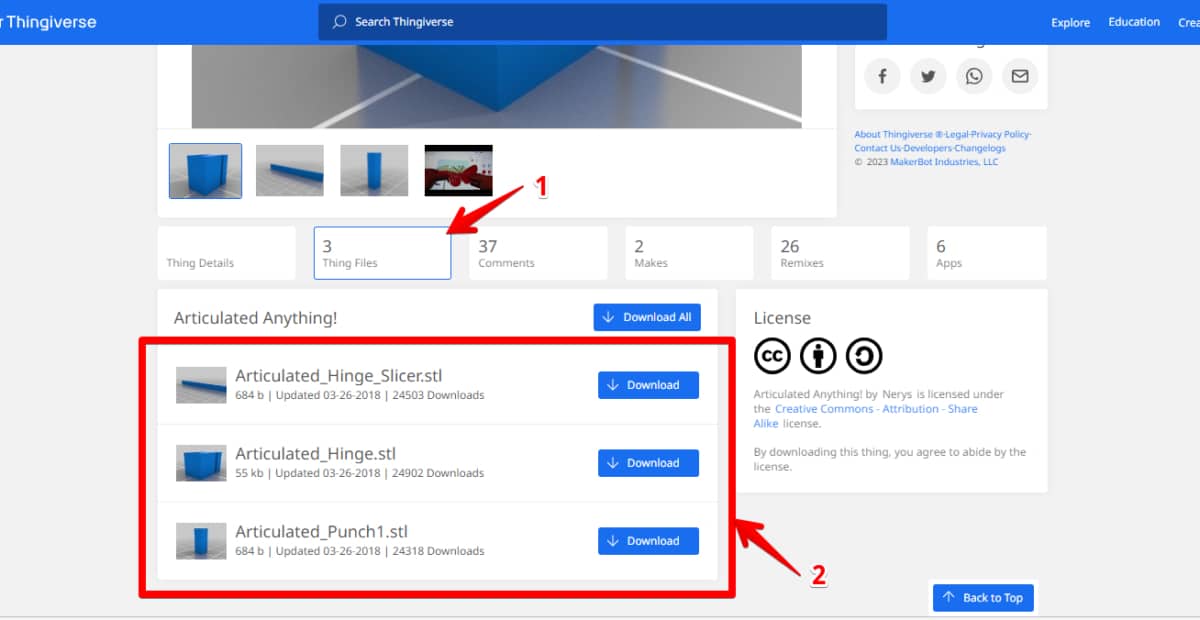
Download the three STL files available for the Articulated Hinge Slicer, Articulated Hinge, and Articulated Punch and save them on your computer.
After that, import the three files into TinkerCAD, as I explained above, and they will be loaded onto your workplane.
2. Locate Where You’d Like Your Joints to Be
Once you have downloaded your 3D model, hinge, slicer, and punch, the next crucial step is identifying where the joints should be. Joints are the pivot points that allow movement in your articulated print.
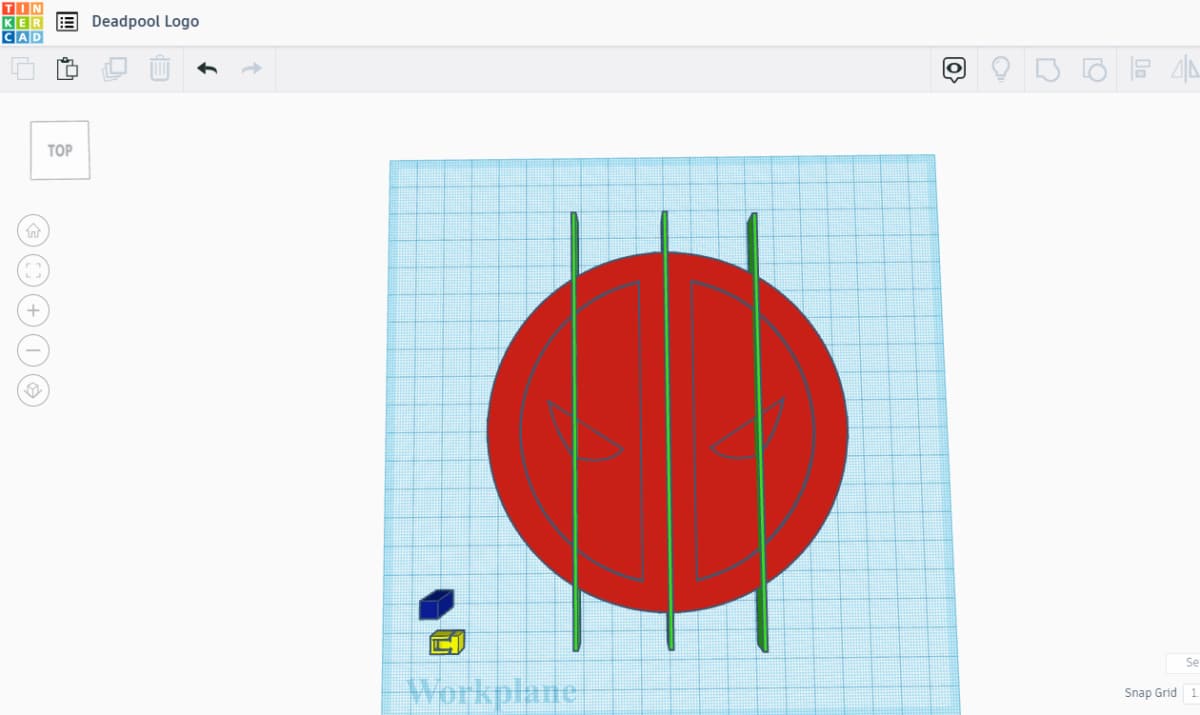
I decided to have three joints for this Deadpool logo: one at the center and two on either side of the model.
But first, I increased the length of the cutter so it could slice through the entire length of the model. Click the small square icon and input a new value for the length.
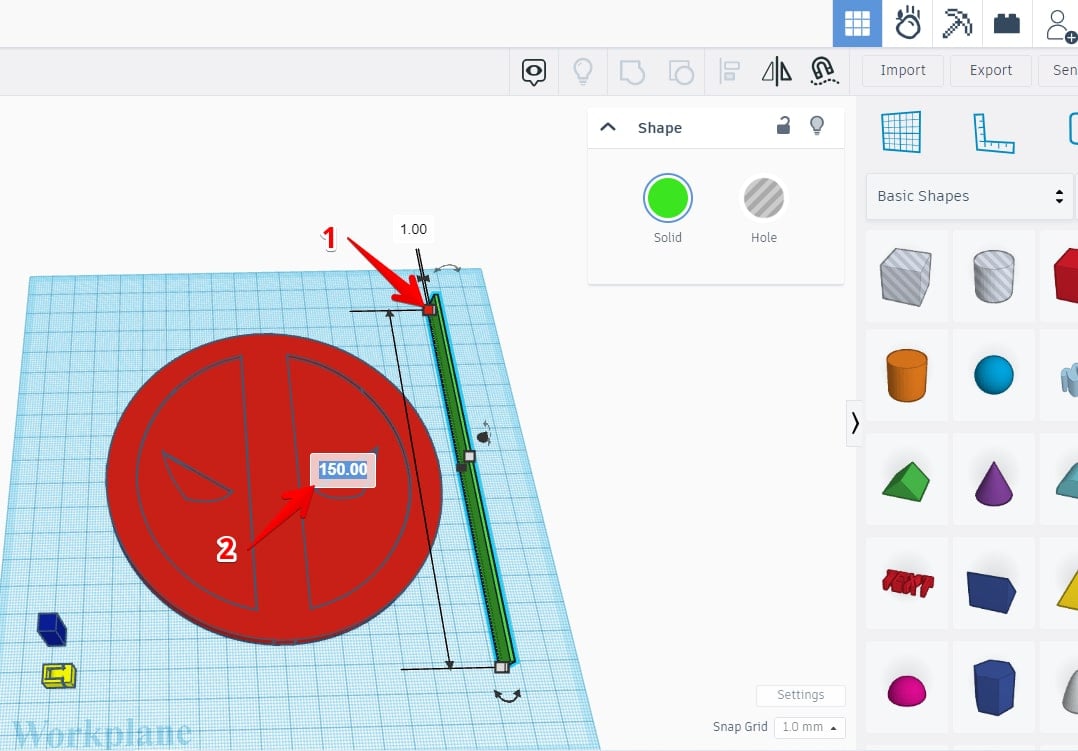
Position the cutter where you would like your joint to be (my first joint was at the center).
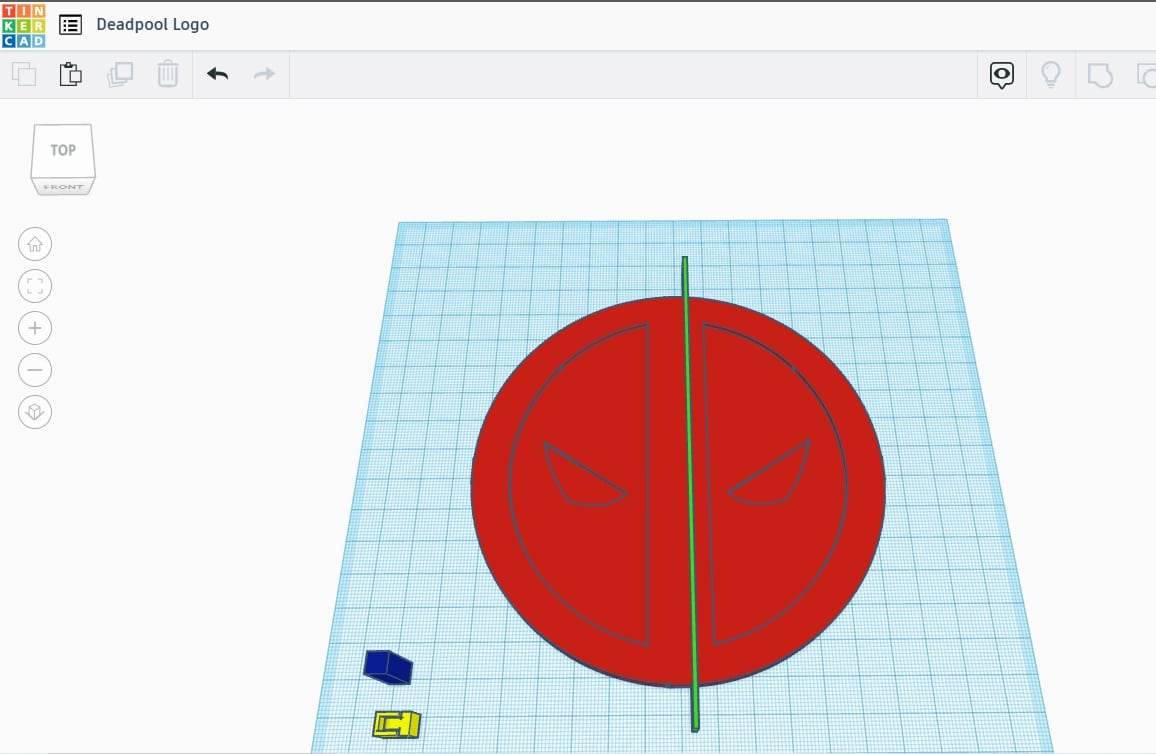
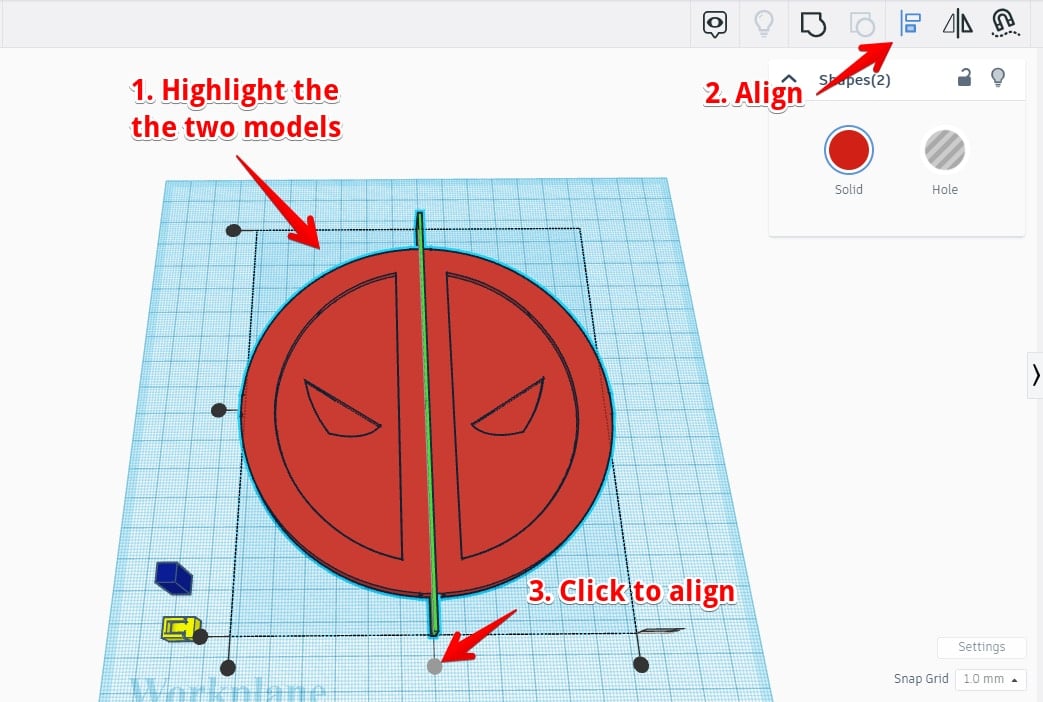
I then highlighted both models and clicked the align tool to ensure it was centered. I then clicked the small circle icon to move the cutter to the center.
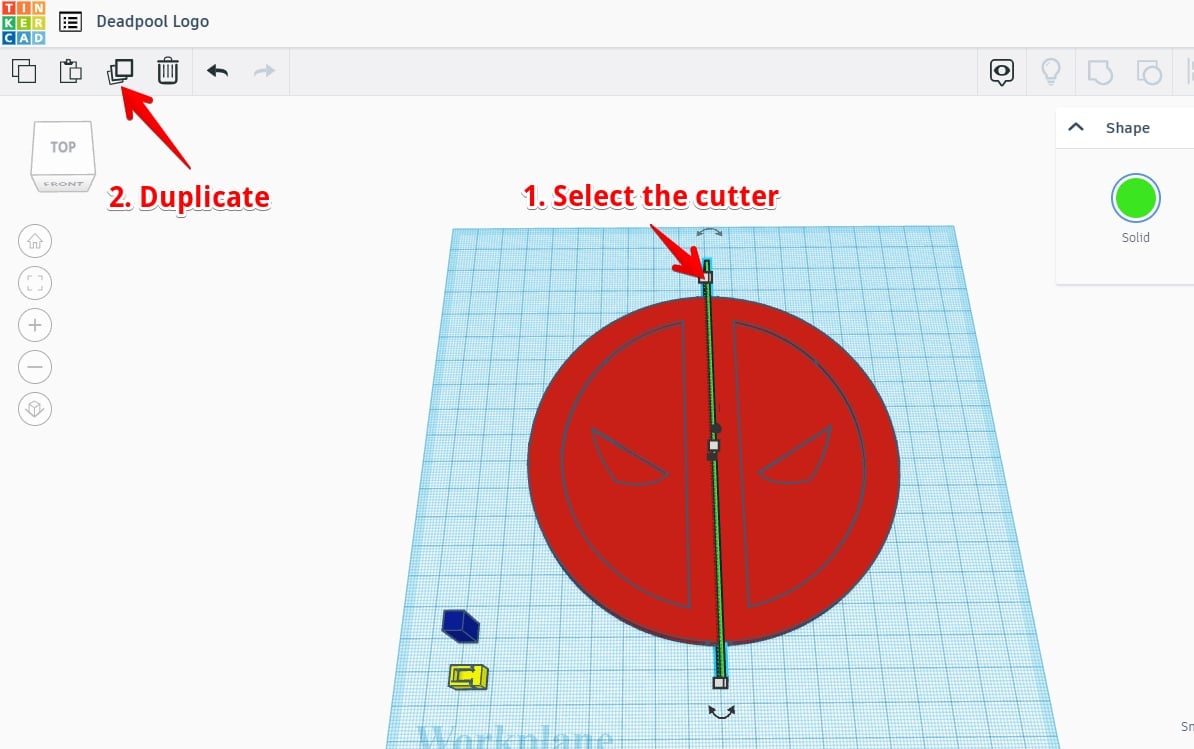
Next, I duplicated the cutter and positioned the duplicate where I wanted the second joint.
I did this by selecting the cutter and clicking CTRL + C to copy it and then CTRL + V to paste. Alternatively, you can click the Duplicate icon.
After that, I moved my duplicate to where my second joint was supposed to be by clicking the right arrow key. I also created another duplicate and moved it to the left side (where the third joint should be) by clicking the left arrow key.
3. Cut your 3D Model Along Those Joints
Once you have identified your joints or points where your 3D print can move freely, you’ll need to create gaps or holes along those joints.
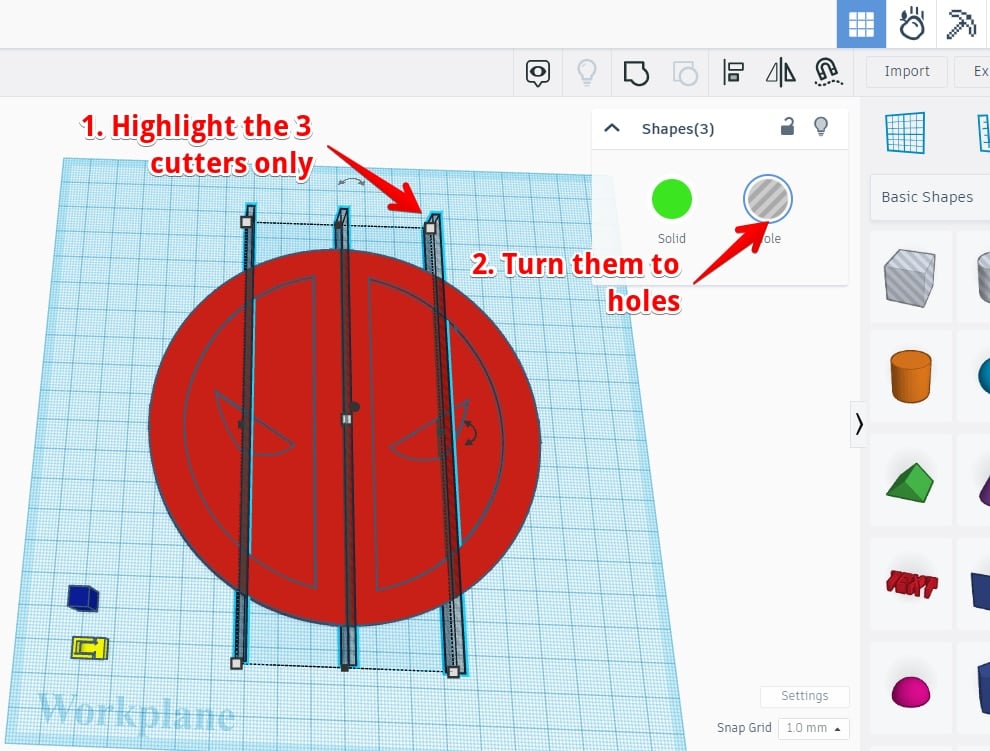
To do this, highlight the three cutters and select the “Hole” function to turn them into holes that can cut through the model.
After that, highlight the Deadpool logo model and three cutters and group them to create holes in the model.
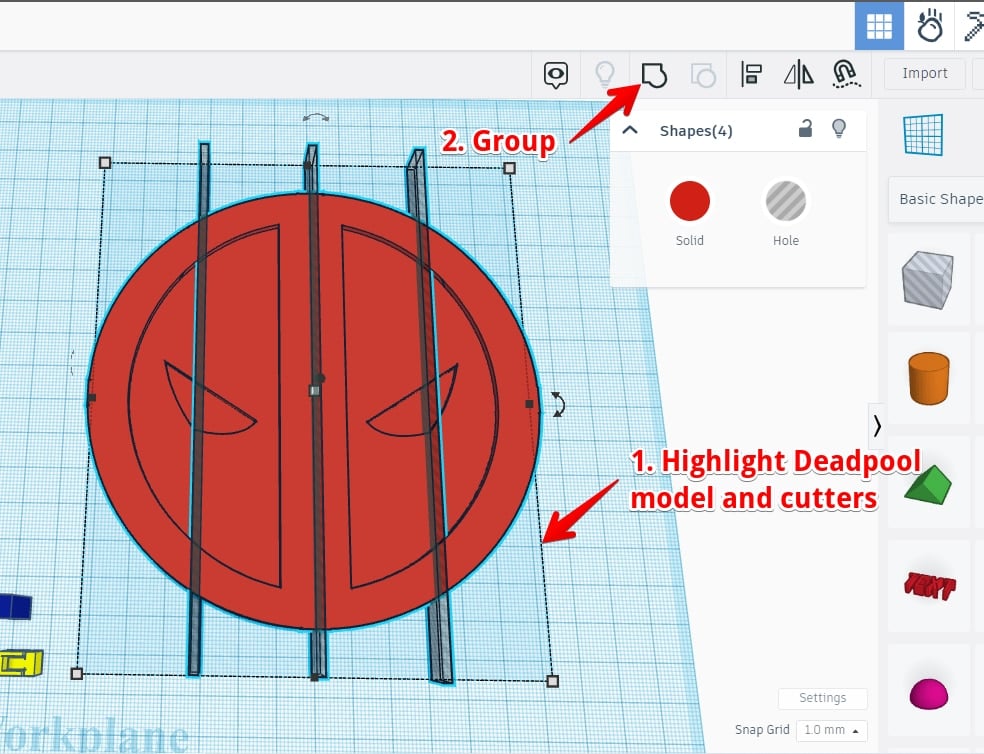
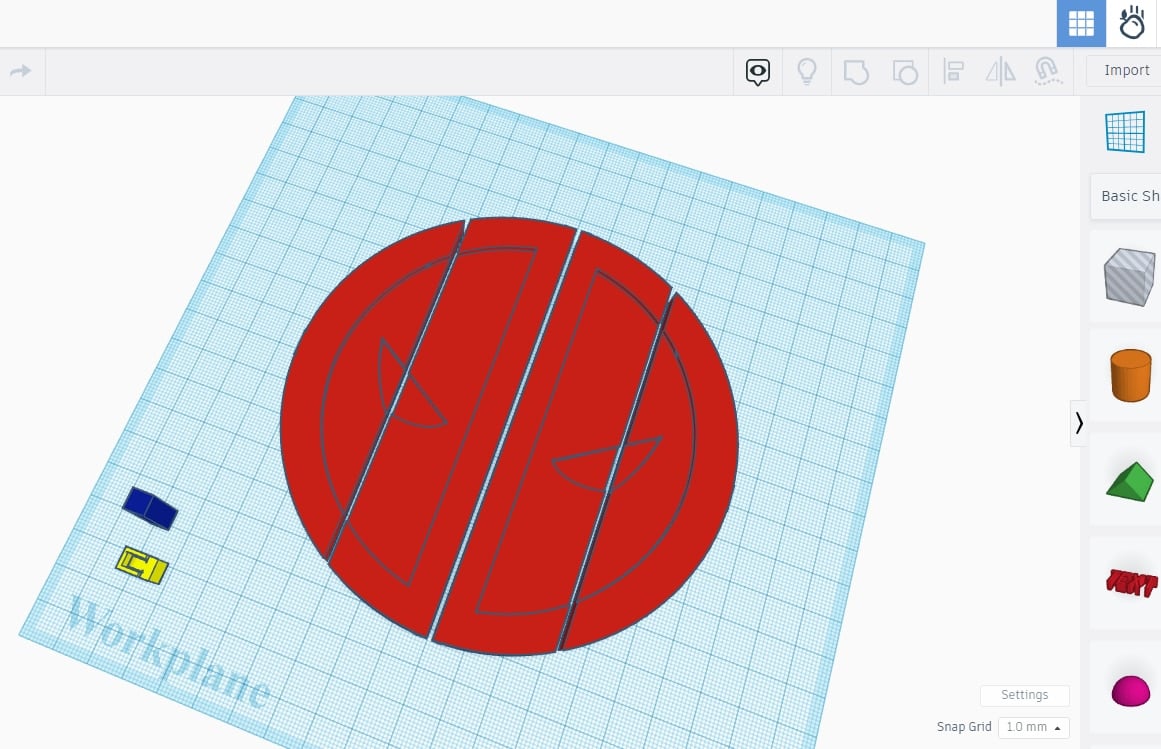
This will cut holes through your Deadpool model where your joints should be.
4. Insert a Hinge Mechanism into the Gaps You Created and Group Everything
To make your articulated 3D print move smoothly, you’ll need to insert a hinge into your gaps. This will enable your joints to rotate. You can design a hinge in TinkerCAD, as shown in the video below.
However, as I explained before, the fastest way would be to download one online and fit it into the gaps you created. Here is how to fit the hinges into your gaps:
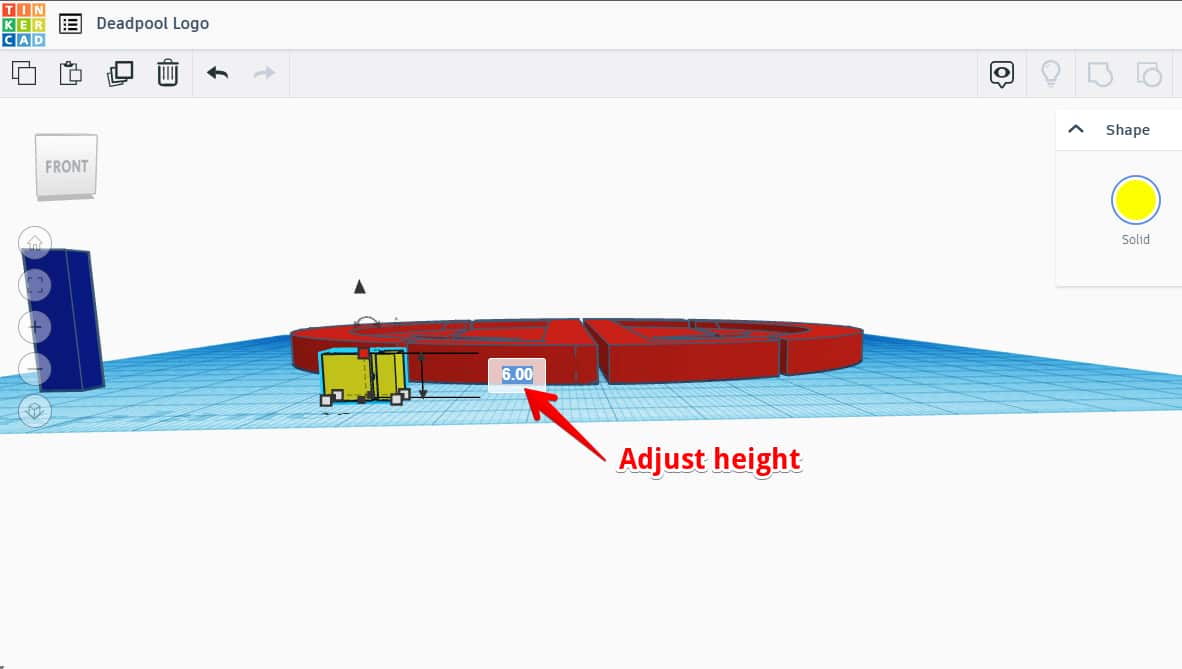
- To start, change the height of your predesigned hinge to match your Deadpool logo model (6.0mm).
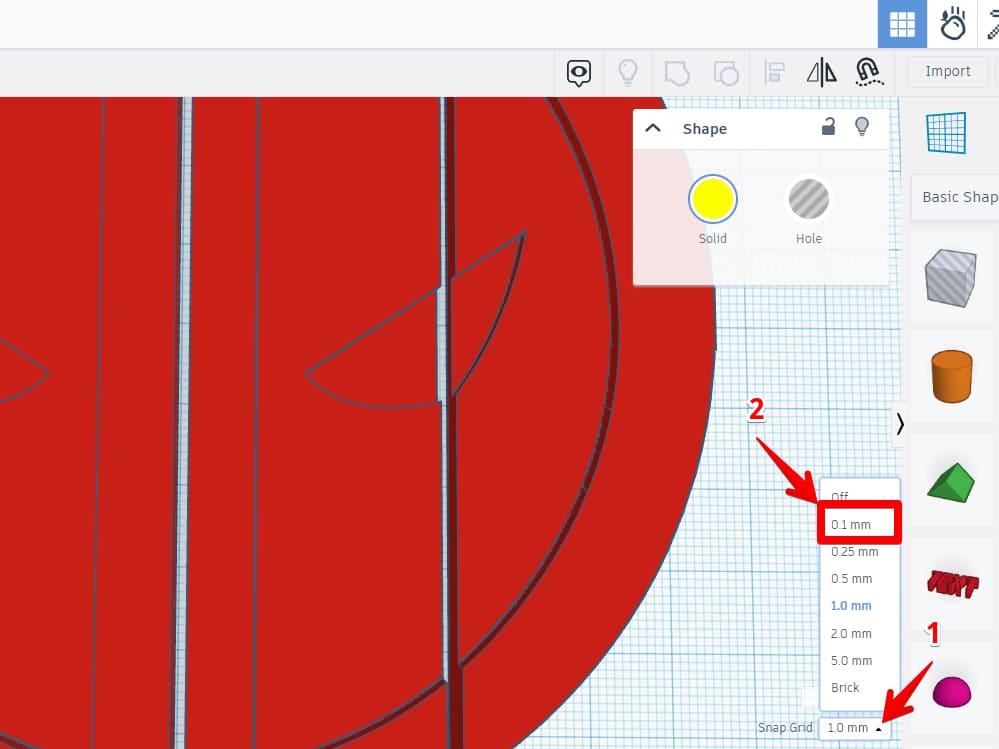
- After that, edit the grid to 0.1mm to fit your hinge into the gap more precisely.
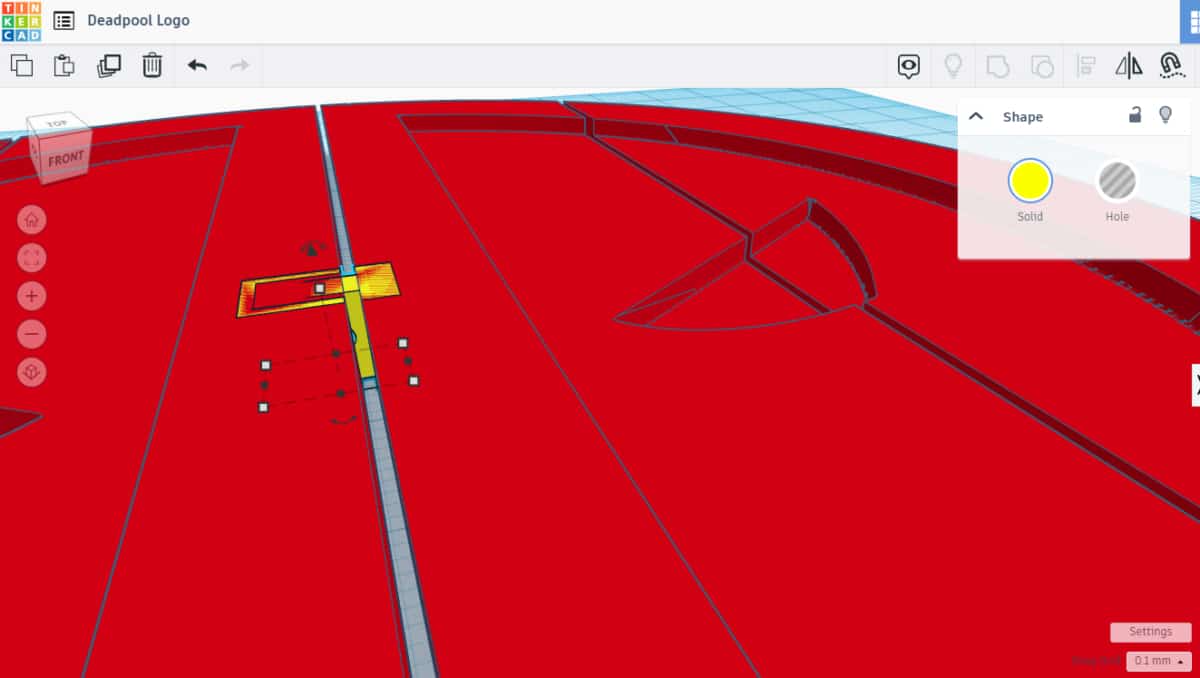
- Position the hinge so that it fits snugly inside the gap. Use your right and left arrow keys to move it until it aligns correctly.
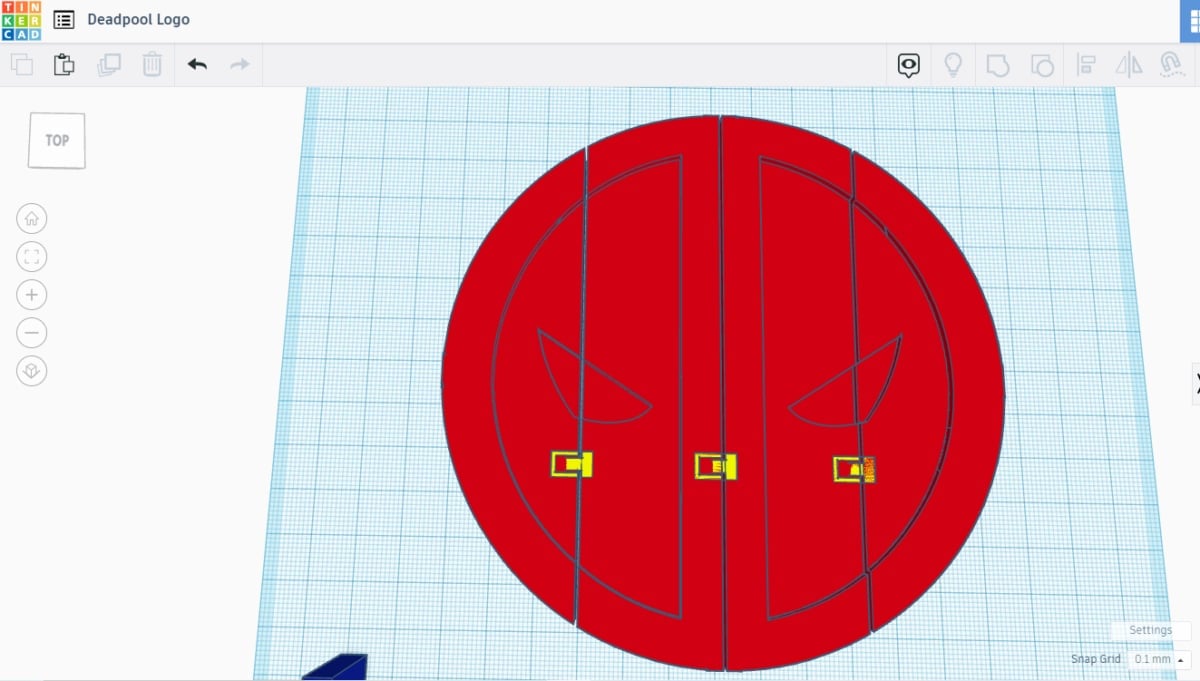
- Duplicate the hinge, move them to the remaining gaps, and repeat the same procedure to fit them into place.
- Now, use the blue box to cut out portions of the 3D model from the hinged mechanism so you only remain with a moveable hinge.
Start by positioning the box over the hinge so that it covers the moveable section of the hinge but doesn’t cover the gap. Duplicate the box and place it over the other hinges.
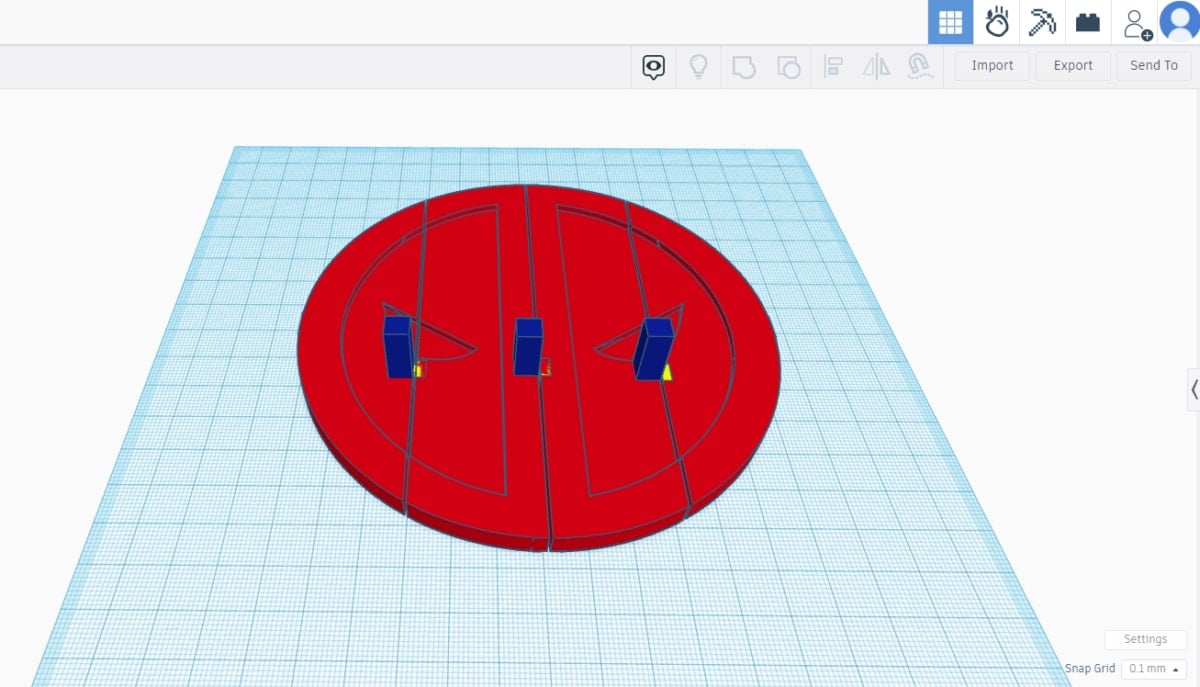
- Select the three boxes by holding down Shift and clicking each one of them. Turn them into holes by clicking the hole function.
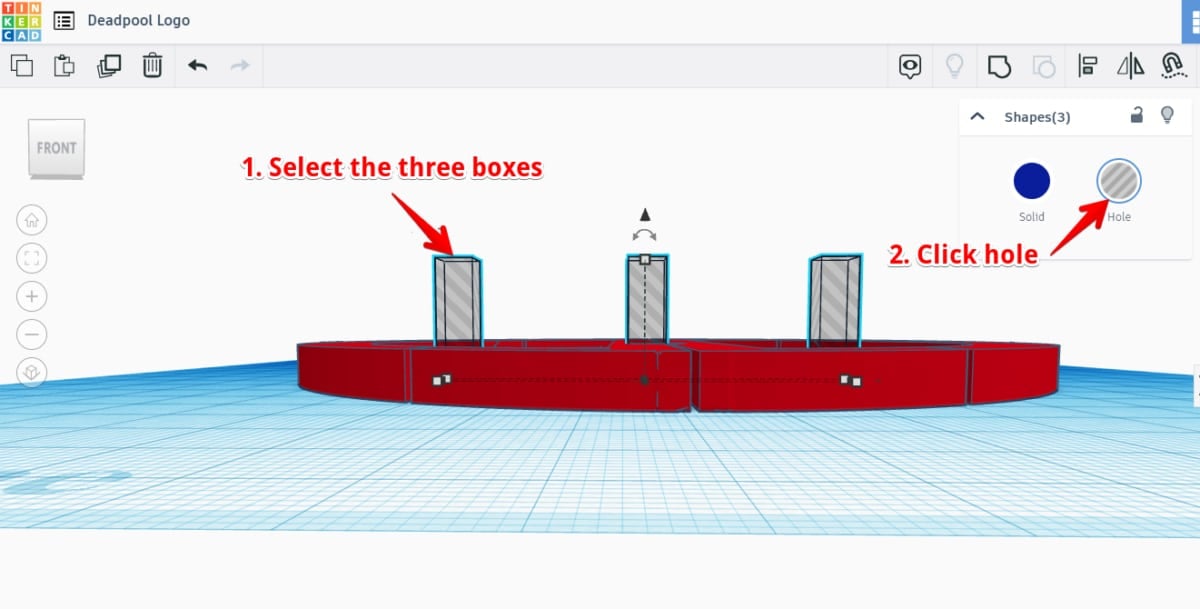
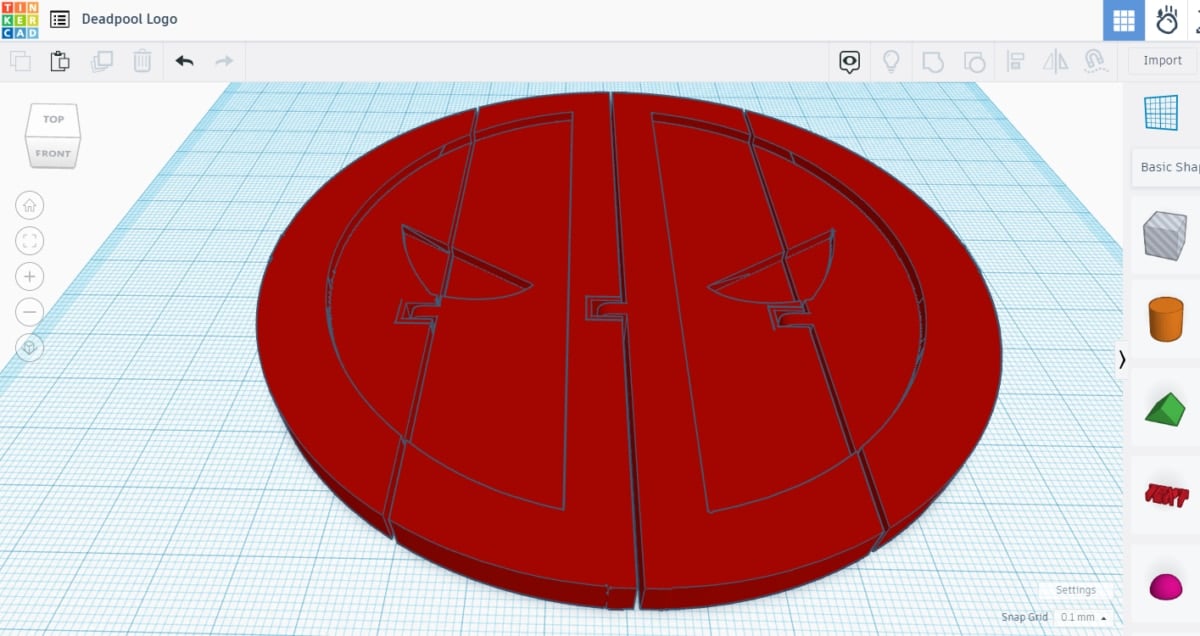
- After that, hold down the Shift button and select the three boxes plus the Deadpool logo model. This will cut out the hole for the hinges but leave the hinges.
Group your Deadpool model and hinges together, and voilà! You get your Articulated Deadpool logo.
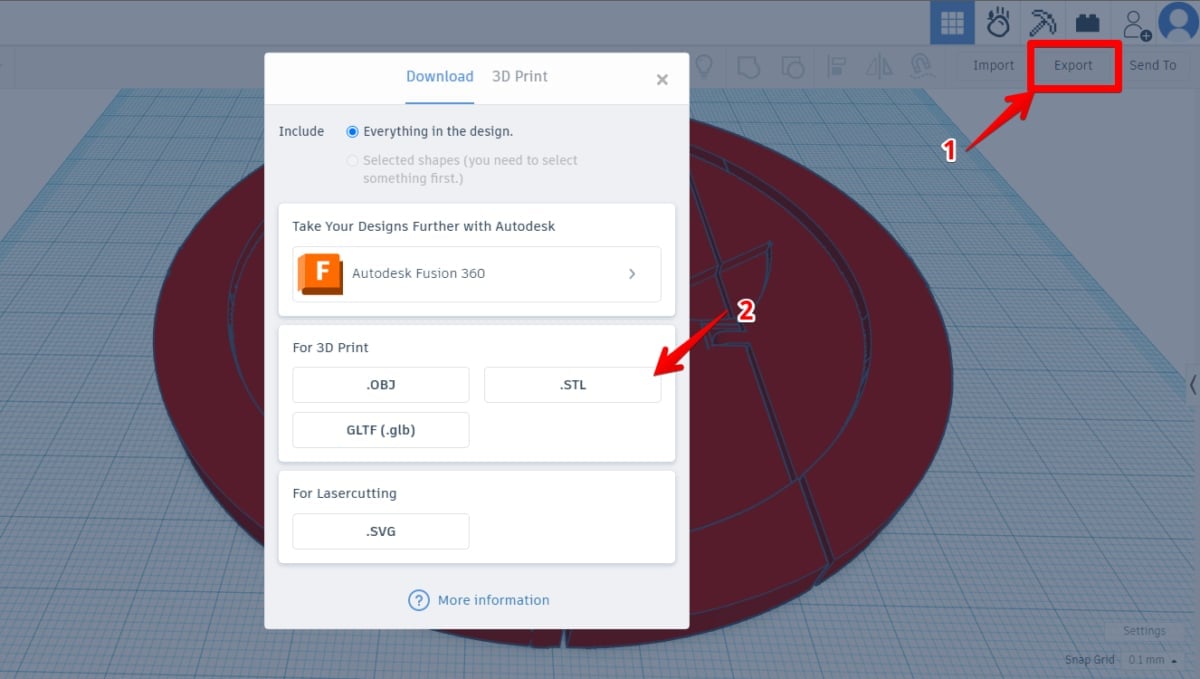
- Finally, export the articulated Deadpool model STL file and store it on your computer for slicing, and printing.
This video by CHEP shows you how to design 3D Printable Hinged Anything in TinkerCAD.
