How to Make 3D Printed Jewelry – 4 Steps
Many users who get into 3D printing are interested in being able to 3D print jewelry, be it for personal or commercial use, but are unsure of how to do it. That’s why I wrote this article, to teach people how to make 3D printed jewelry.
To make 3D printed jewelry, you’ll need to choose or design your jewelry model and then prepare it to be 3D printed. After that, you’ll need to choose the printing materials that you’ll work with and start your print. You may need to do some post-processing, depending on the model you selected.
This is just the basic answer, keep reading for more information on how to make 3D printed jewelry.
How to Make 3D Printed Jewelry
These are the main steps in order to make 3D printer jewelry:
- Choose or design your jewelry model
- Prepare for 3D printing and choose printing materials
- Print and post-process the jewelry
- Finishing touches
Choose or Design your Jewelry Model
The first step in order to make your own 3D printed jewelry is to choose or design the jewelry model. If you are going to create your own model, you should start by brainstorming the type of jewelry you want to create.
Whether it’s a pendant, ring, earrings, or something entirely unique, having a clear concept is essential. It’s also essential to select a 3D modeling software that suits your skill level and needs.
Beginners can start with user-friendly options like TinkerCAD, while more experienced users might opt for Blender or Fusion 360.
Check out the video below for a detailed tutorial on how to create a 3D printed ring.
You can also choose a pre-existent model from platforms such as Thingiverse and MyMiniFactory.
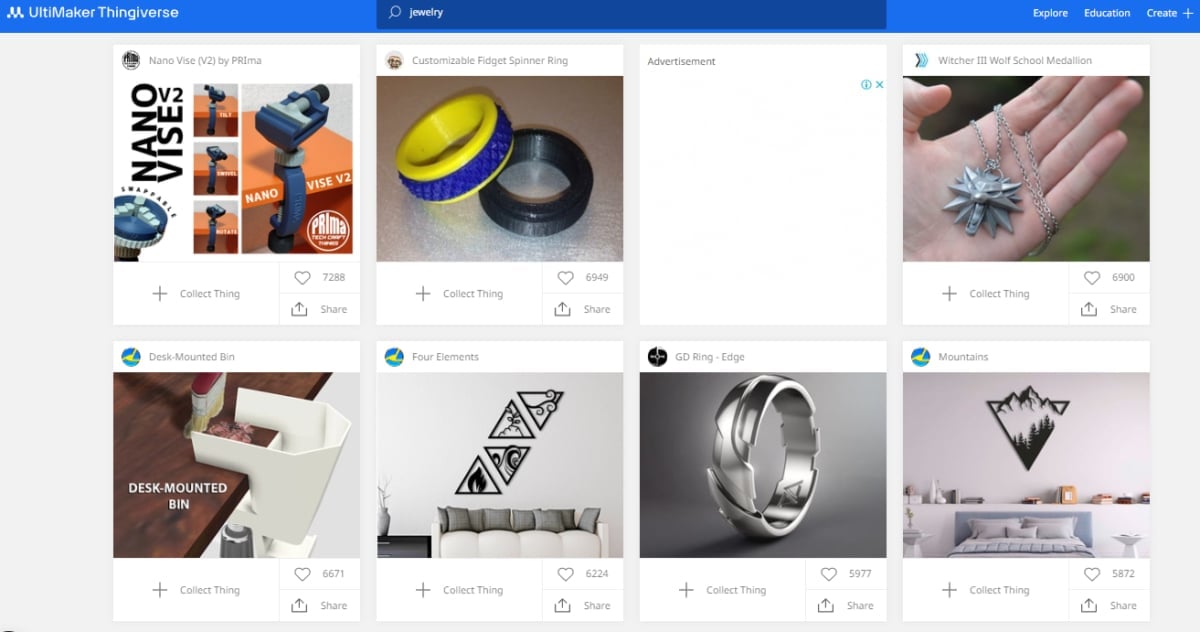
Take a look at some of the most popular and original jewelry models from Thingiverse:
- GD Ring – Edge
- Stretchy Bracelet
- DARTH VADER RING
- Pi Earrings! Geek Chic Nerdy Jewelry
- Bubble Jewelry Set
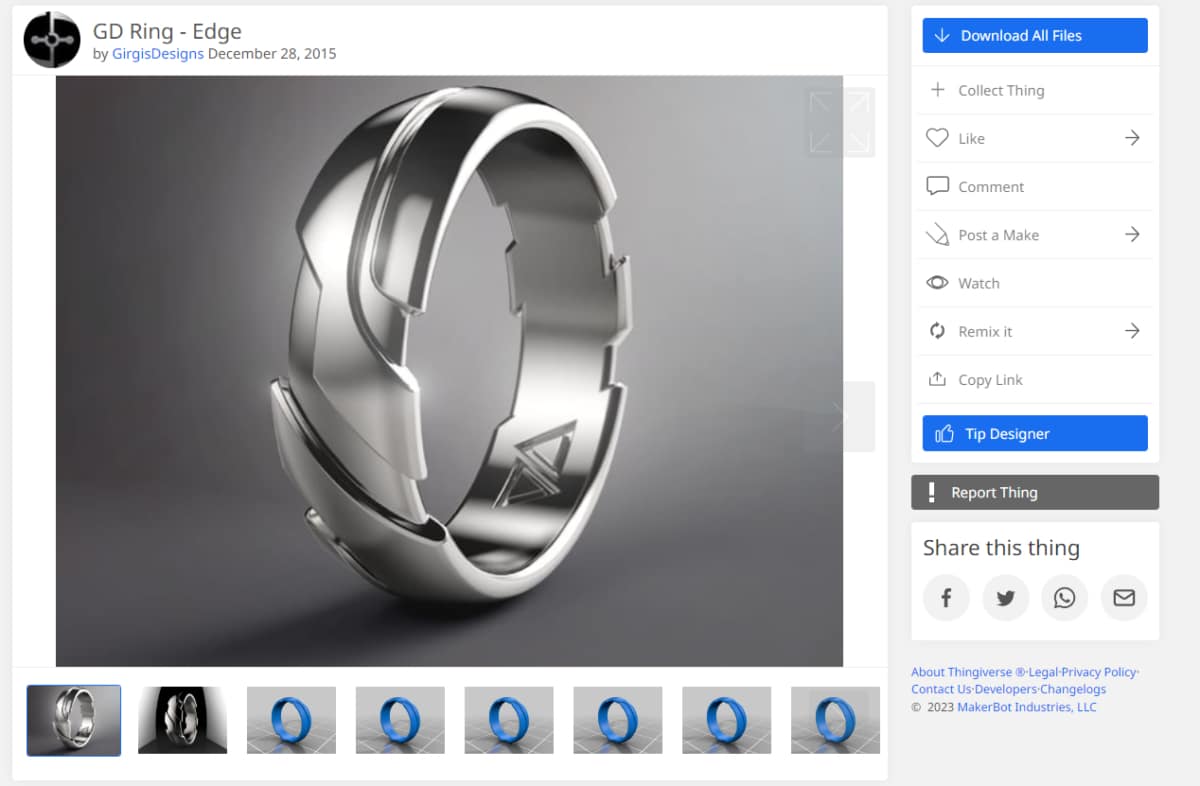
One user recommends printing in black TPU to have nice and flexible end result. He printed the GD Ring – Edge like this and turned out very comfortable.
Another user suggests using a 3D printing service like Shapeways that can print your 3D model on gold, silver, titanium, and other materials.
Check out the video below to see a 3D printing hobbyist designing his own 3D printable jewelry.
Prepare for 3D Printing and Choose Printing Materials
The next step is to prepare for 3D printing and choose print materials. Make sure that your design is suitable for 3D printing.
Check for any overhangs, unsupported structures, or intricate details that might be too fragile to print successfully.
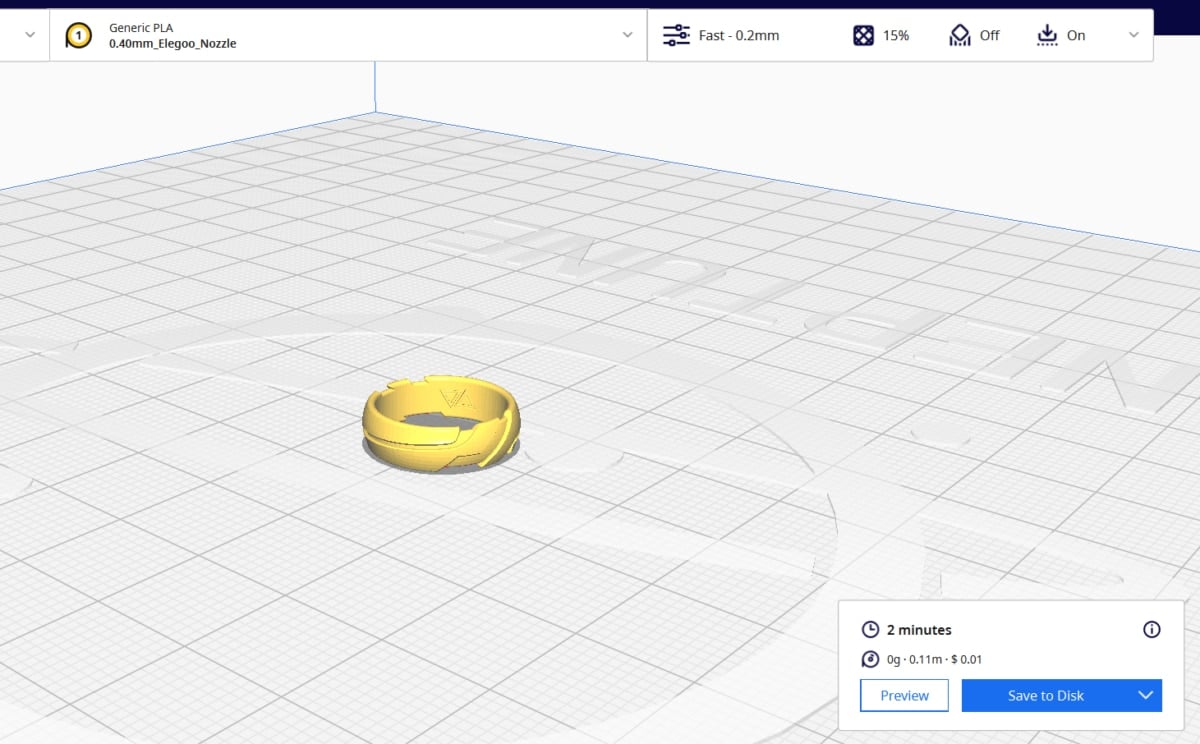
Save your design as an STL and open the file in slicing software, such as Cura or PrusaSlicer to adjust the scale and orientation of your design.
After preparing the model to be 3D printed, you’ll need to choose the printing materials. This will depend on mostly if you are using a resin 3D printer or a filament-based one.
Different materials offer varying aesthetics and durability. Filament is more beginner-friendly, while resin provides finer detail. Metals, such as gold and silver, are also possible with specialized printers.
These are some popular materials that are used to 3D print jewelry:
- Silk Green Bronze PLA
- Shiny Silk Gold Silver Copper PLA Filament
- AMOLEN PLA 3D Printer Glow in The Dark Green Filament
All of them are available at Amazon for a great price.
One user recommends using FDM printers if you are planning on wearing the jewelry after it is 3D printed because resin is touch-safe only and not suitable for wearing.
He stated that there are bio-compatible resins but they are relatively expensive.
Another user recommends using the Silk Green Bronze PLA as he’s been using it to make jewelry and they are all turning out great. You can also use PETG for 3D printed parts that are more durable than PLA.
Check out the video below to see a nice piece of 3D printed jewelry done with an FDM printer.
Print and Post Process the Jewelry
The next step is to print the model and post-process it. When printing, make sure that the printing process is running smoothly and make any necessary adjustments.
Once printing is complete, carefully remove any supports or rafts from your jewelry piece. Use pliers, tweezers, or sandpaper to clean up edges.
If you use a resin printer, cure your jewelry piece under UV light to harden the resin completely.
Depending on the piece you 3D printed, sanding and polishing may be required.
Smooth the surface of your 3D printed jewelry using fine-grit sandpaper, such as the HYSMQ Wet and Dry Sandpaper Assortment, which you can find on Amazon.
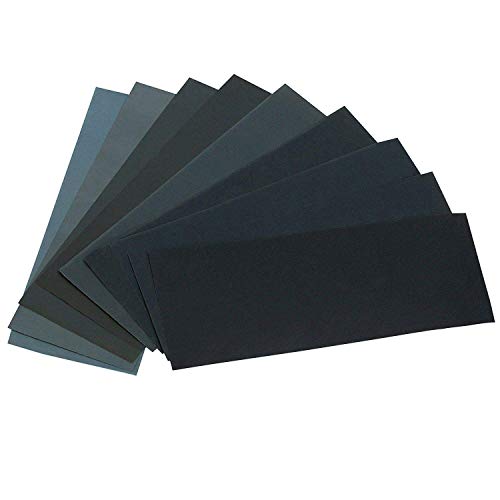
- 12 Grits Assortment:120/150/180/240/320/400/600/800/1000/1500/2500/3000 Grit, each grit got 2 sheets
Prices pulled from the Amazon Product Advertising API on:
Product prices and availability are accurate as of the date/time indicated and are subject to change. Any price and availability information displayed on [relevant Amazon Site(s), as applicable] at the time of purchase will apply to the purchase of this product.
You may also need to apply paint, varnish, or coatings to enhance the appearance of your jewelry. This can add color, protection, and a professional finish.
One user recommends printing with good tolerances and doing a lot of post-processing to get a good quality 3D printed jewelry.
Check out the video below for a tutorial about how to polish bronze and copper filaments.
Another way people create 3D printed jewelry is by integrating casting into the process. This involves 3D printing a master model of the jewelry piece with casting in mind.
Resin 3D printers are favored for their ability to produce highly detailed and precise designs ready for casting without the need for a separate mold.
A lot of users recommend this method to do 3D printed jewelry, especially if you are planning on starting a jewelry brand or store.
Check out the video below for more information about this method.
Finishing Touches
The last step is to do any finishing touches. You may need to do some assembly depending on the model that you 3D printed or add components.
If your design involves multiple parts, assemble them using appropriate adhesives or connecting mechanisms.
Your 3D printed jewelry should be ready to be worn or displayed.
Share your creation with friends, and family, or even consider selling it online if you’re looking to turn your hobby into a business.
Take a look at this awesome ring that was 3D printed in an SLA 3D printer.
Check out the video below for a tutorial on how to 3D print a ring with copper filament.