4 Ways How to Fix Z-Axis Falling/Slipping Down, Dropping or Loose
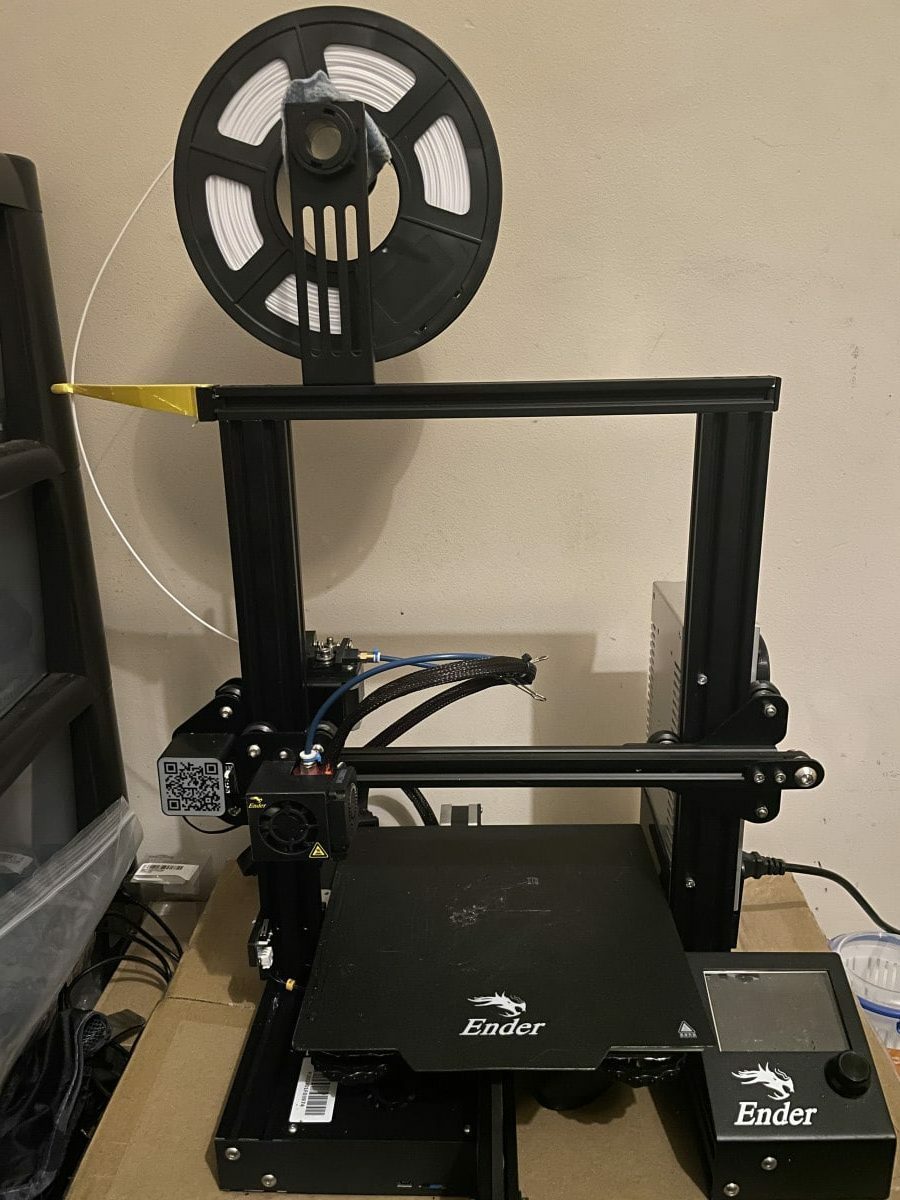
I went through a long period of great 3D printing with no issues, but then I started to experience my Z-axis starting to slip down and slowly fall while it was raised up. I couldn’t figure out why it was dropping like this, so I went to try and figure this out.
To fix your Z-axis slipping down, you should try tightening your eccentric nuts that hold the X-gantry to the Z-axis. You should also look towards fixing binding issues on your 3D printer by loosening and tightening the right screws. Lubrication works well for improving movements in your printer.
Keep on reading through this article for more in-depth information about fixing your Z-axis slipping or falling during the printing process.
Why Does Your Z-Axis Keep Falling or Slipping on Your 3D Printer?
There are instances when the Z-axis falls or slowly slips down on the print bed, often in the middle of printing, resulting in a ruined print. It has now become a common issue among 3D printing enthusiasts and creators.
The issue of your Z-axis falling can arise from quite a few issues, but the majority of the problem comes down to nuts and screws being too loose.
The function of Z-axis is to control the up and down movement of the printer’s nozzle. This is carried out by a long twisting screw known as the lead screw.
A binding of your Z-axis nuts with the leadscrew and 3D printer can definitely cause this dropping of your Z-axis, meaning your motor finds it harder to lift the Z-axis all the way through.
- Loose eccentric nuts
- Binding of your 3D printer Z-axis and lead screw
- Bad lubrication of your 3D printer
- Z-coupler and other screws not maintained
How to Fix Your Falling or Slipping Z-Axis On Your 3D Printer
1. Tighten the Eccentric Nuts
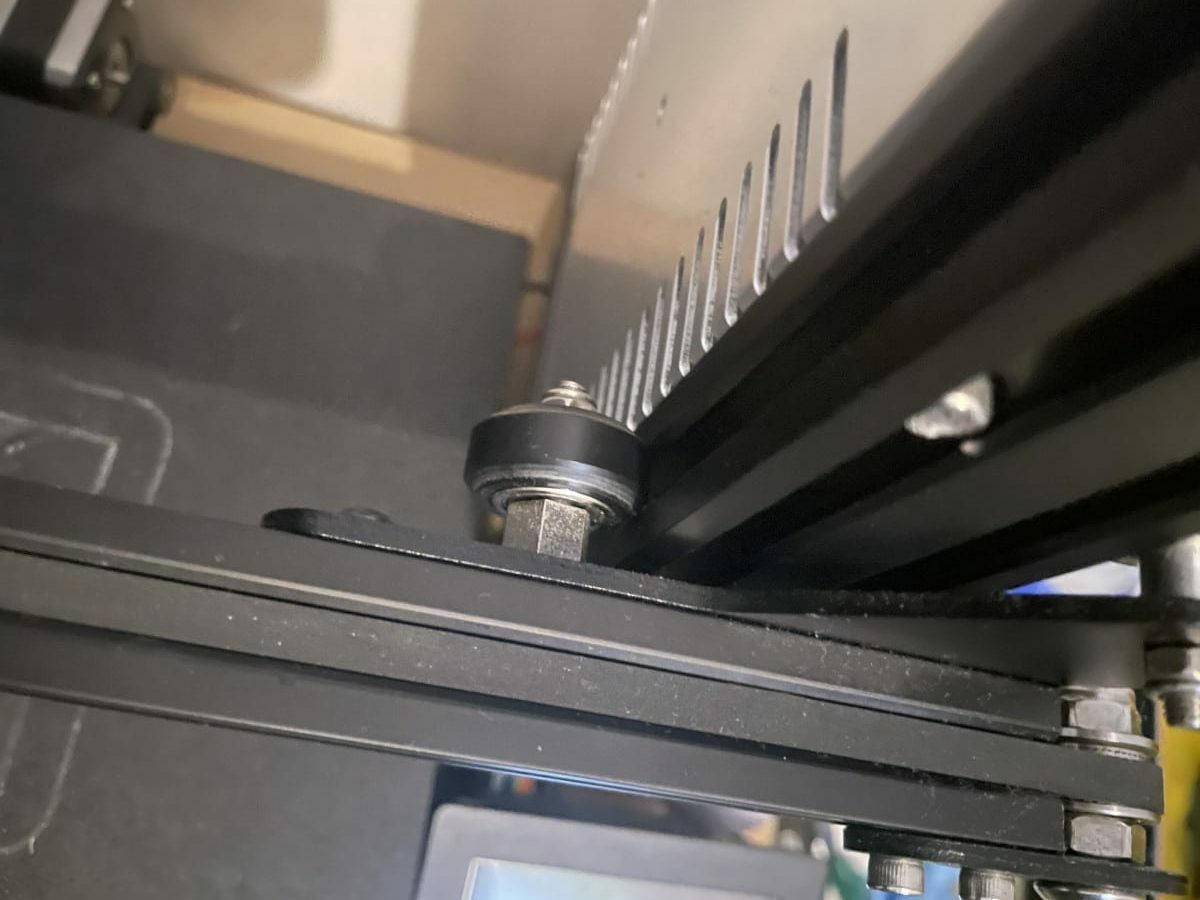
One of the simpler fixes for your Z-axis slipping or falling is to tighten the eccentric nut. This is the nut that is attached to the inner sides of the Z-axis, attached near the belt going across the X-axis.
You should see two eccentric nuts on both sides of the Z-axis. When I went through this issue, I tried all sorts of things with the lead screw and putting it all back together again, but it didn’t work.
When I finally tightened the eccentric nut along the Z-axis, my Ender 3’s Z-axis no longer slipped like before.
There is a single wheel on each of the Z-axis. Each wheel consists of an eccentric nut that is used for tension adjustment. You need to turn this nut with the help of a wrench until you are able to move the wheel smoothly.
What it does is tighten any gaps between the wheels and your printer’s frame. You’ll need a wrench that fits the size, but the wrench that comes with your 3D printer is usually smaller. I managed to use an adjustable wrench to get this tightened.
Note that the wheels shouldn’t rotate freely but should touch the extrusion just enough to keep the gantry straight. It’s also important not to have them too tight where it makes it hard to move the wheels along the gantry.
That can result in poor printing quality, especially if you have z-hops in your printing.
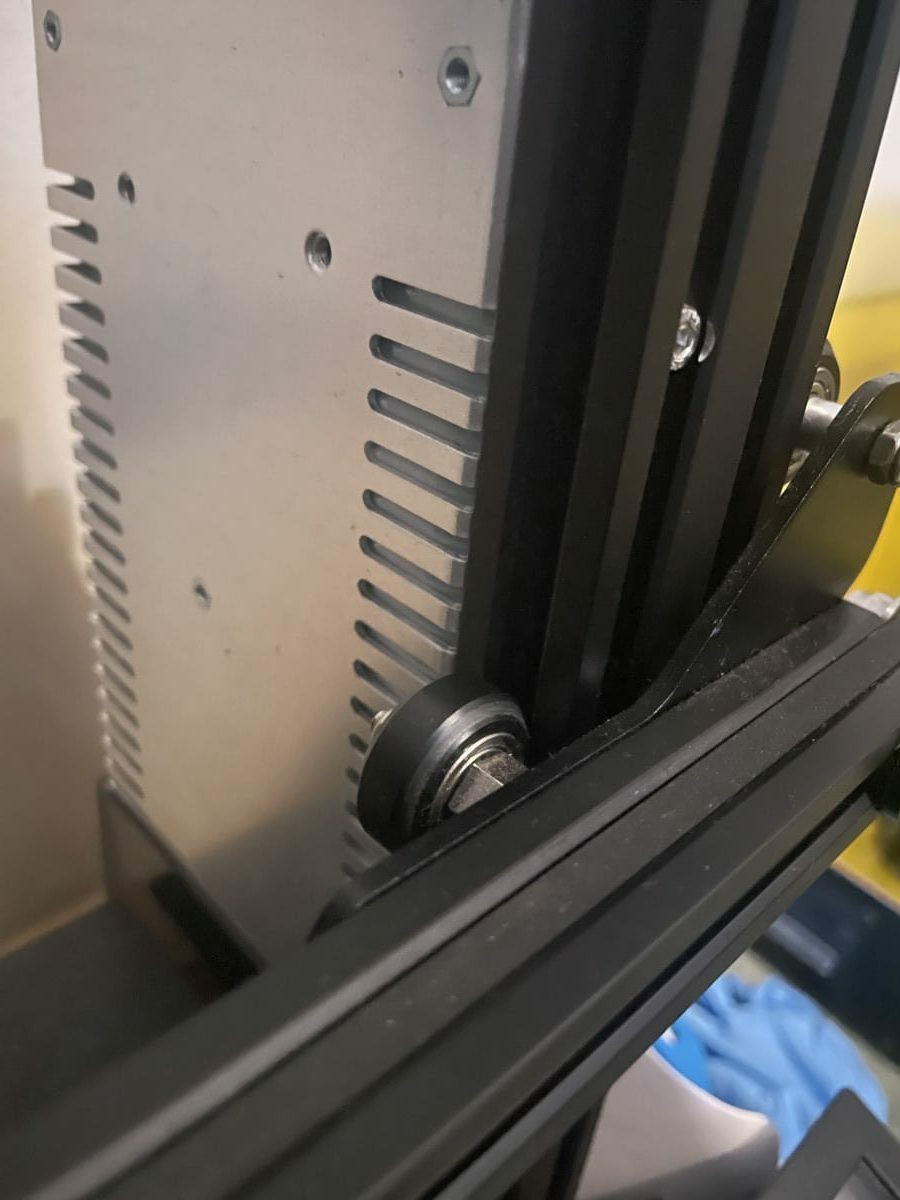
When you are experiencing this problem, you should be able to turn the wheels and feel a “looseness” in some of them. Once you’ve tightened the eccentric nuts enough, they should be connected to the frame nicely.
2. Fix Binding Issues in Z-Axis
Another issue that can cause your Z-axis to fall comes from binding from your printer.
One user who fixed their original issue of the Z-axis falling down by tightening the eccentric nut, then found another issue where when auto-homing their 3D printer, the last motion of moving down stalled and wouldn’t move at all.
In order to fix this issue of binding, the user loosened the two screws for the brass lead screw nuts. You don’t want to loosen this so much that there is vertical play in this section, but loose enough that you can slightly feel some side-to-side play.
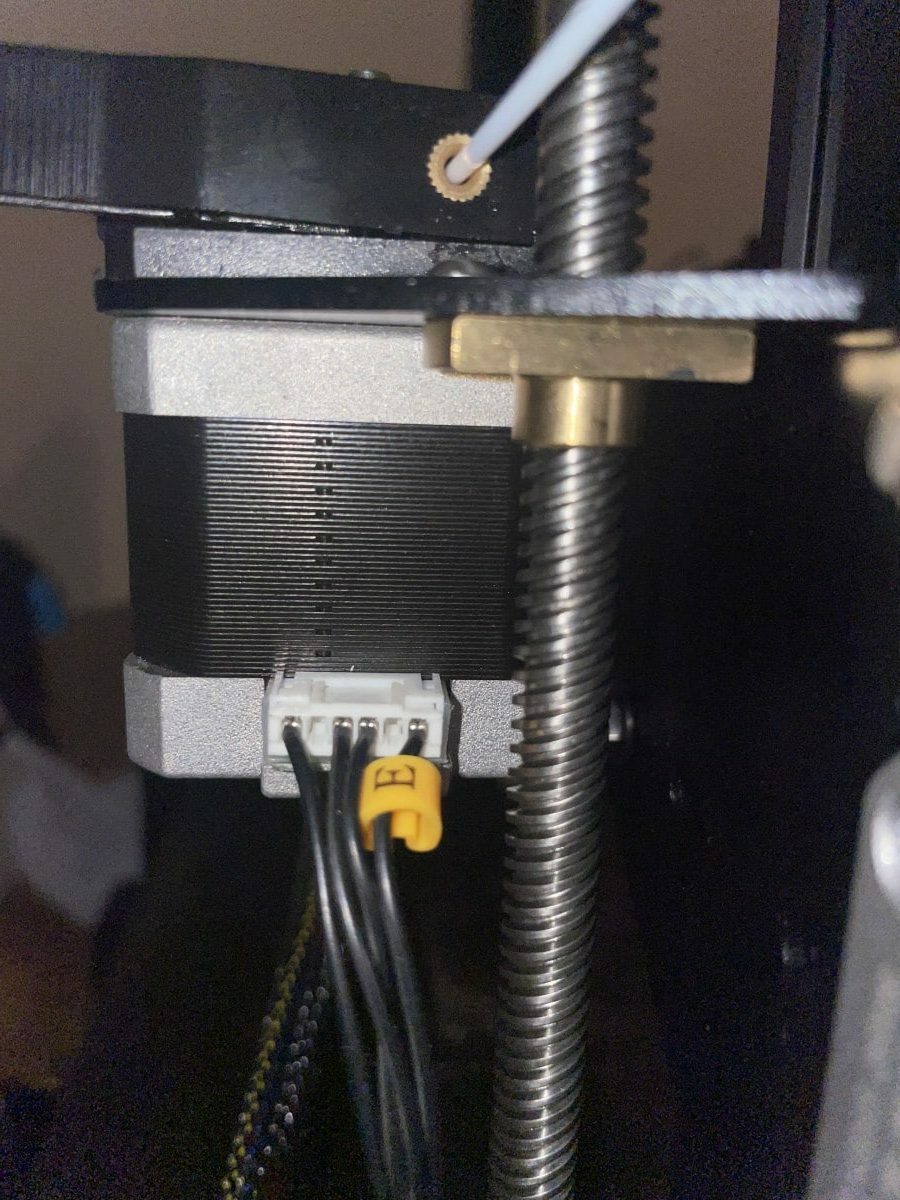
When this brass lead screw nut is too tight, it causes that binding which leads to restricted movements.
Depending on what 3D printer you have, there may be a higher likelihood that you experience these kinds of problems.
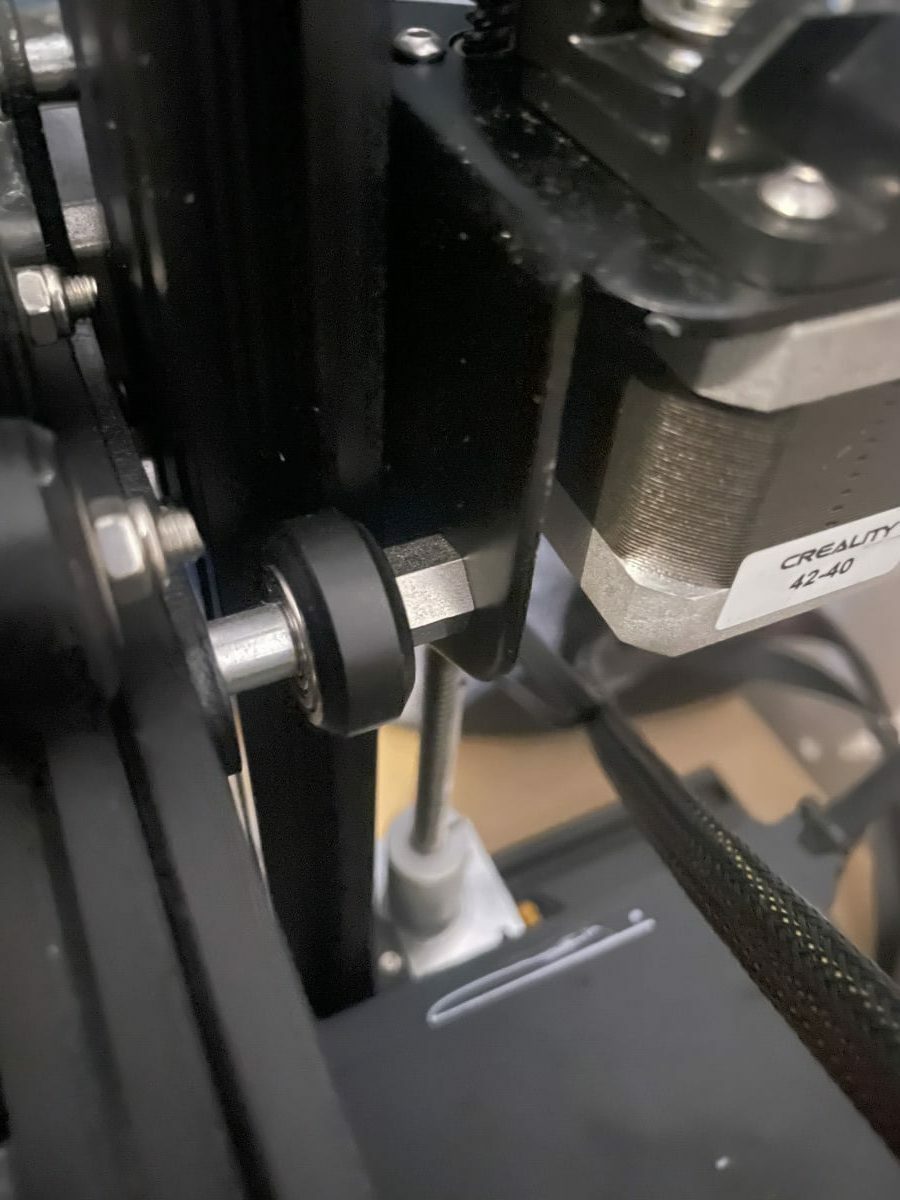
One issue with the Ender 3 is related to the plastic mount that holds the Z-motor in place. When you tighten the screws, what it does is actually turns the motor closer towards the vertical frame, leading to a binding of the leadscrew.
A test you can do is disconnecting your Z-stepper motor cable, lifting your X-gantry to the top of your 3D printer, then from there you should be able to push the gantry easily from top to bottom without it stalling.
If you do find there is some binding, you want to check that the related screws aren’t too tight.
Another thing I’d recommend is to shim the motor for a quicker fix. A popular Z-motor spacer/shim you can get on Thingiverse is the Ender 3 Z-Motor Spacer from Supavitax.
It provides support for the Z-motor to give it better alignment to prevent your leadscrew from binding.
A more solid fix for this issue is to print yourself a better mount for your Z-motor. This Ender 3 Adjustable Z Stepper Mount that you can find on Thingiverse is a great solution.
3. Lubricate Your Z-Axis
If you find that your Z-axis leadscrew is properly installed and is not binding, then you should try lubricating your 3D printer, especially around the Z-axis.
This can be as simple as using a lubricant PTFE spray or using a popular lubricant like Super Lube Synthetic Oil with PTFE from Amazon.
4. Tighten Your Z-Coupler & Screws
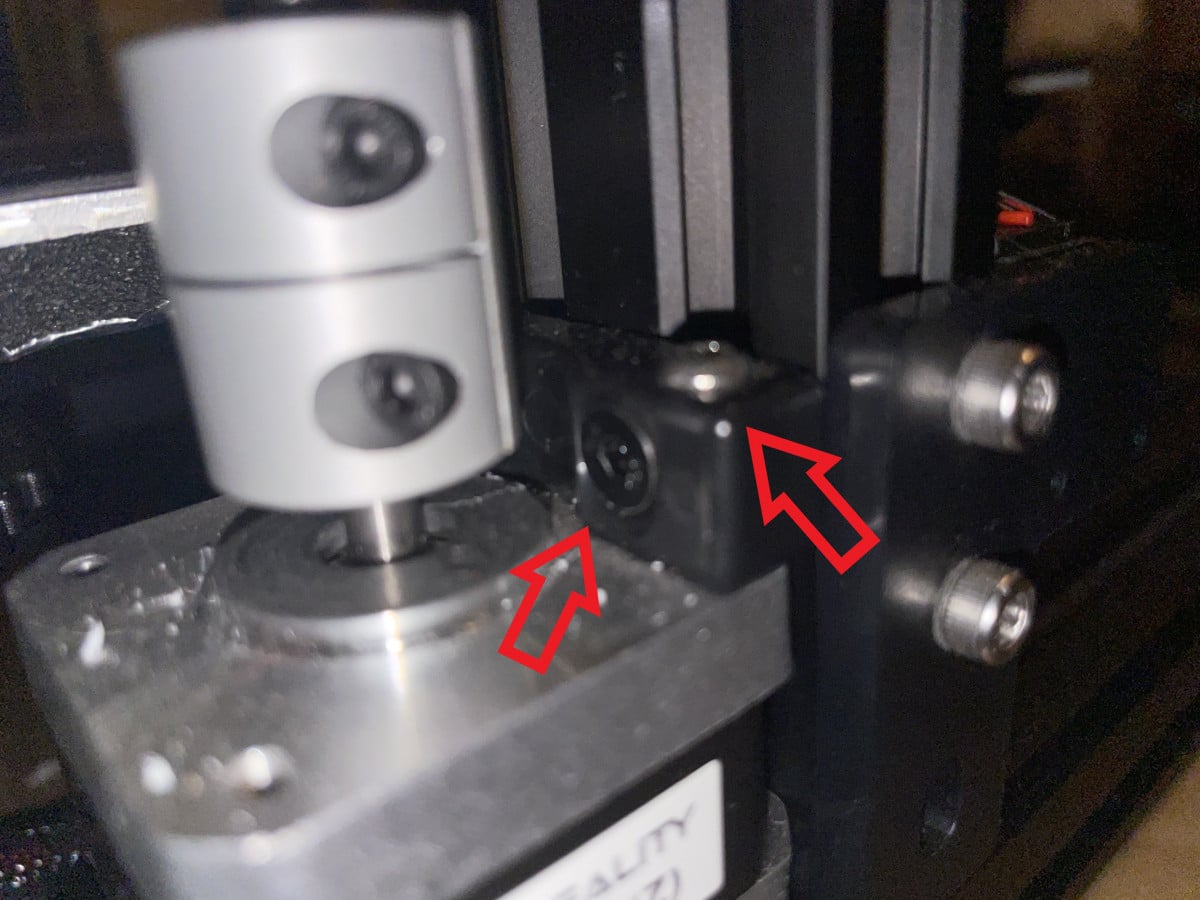
Another fix this works for some people is tightening your coupler so that it is securely fixed onto the leadscrew. You have the two screws for the coupler itself that you would’ve tightened during your initial assembly, so double-check those.
There are also more screws that are related to the Z-motor which are shown in the picture below. Tighten up these screws a little, so they aren’t loose.
Once you’ve implemented these four fixes, you should have a Z-axis which stays in place, especially while the motor is turned on. I’ve also heard of issues regarding faulty wiring on the Z-axis, but this doesn’t come up very often.
This article caused me a lot of time and head ache trying to fix a problem that didn’t exist. When the stepper motors are not engaged you want the Z axis to able to move easily. This might include you barely touching it and it falls. If you over tighten the eccentric nuts by even a little the prints are going to become really screwed up especially at the base because you won’t be able to Z-Hop fast enough.
When the stepper motors are engaged, the print won’t fall. Looser is better than tighter.
Sorry that you ran into issues from this. In the article, it says to tighten the eccentric nuts if they are freely spinning, but not necessarily to have them tight. I’ll edit this for clarity.