Best Filament to Use for 3D Printed Lithophanes
3D printed lithophanes have been gaining a lot of popularity and many different filaments are used for them. I’ve been wondering which filament is actually best to use for the perfect lithophane picture.
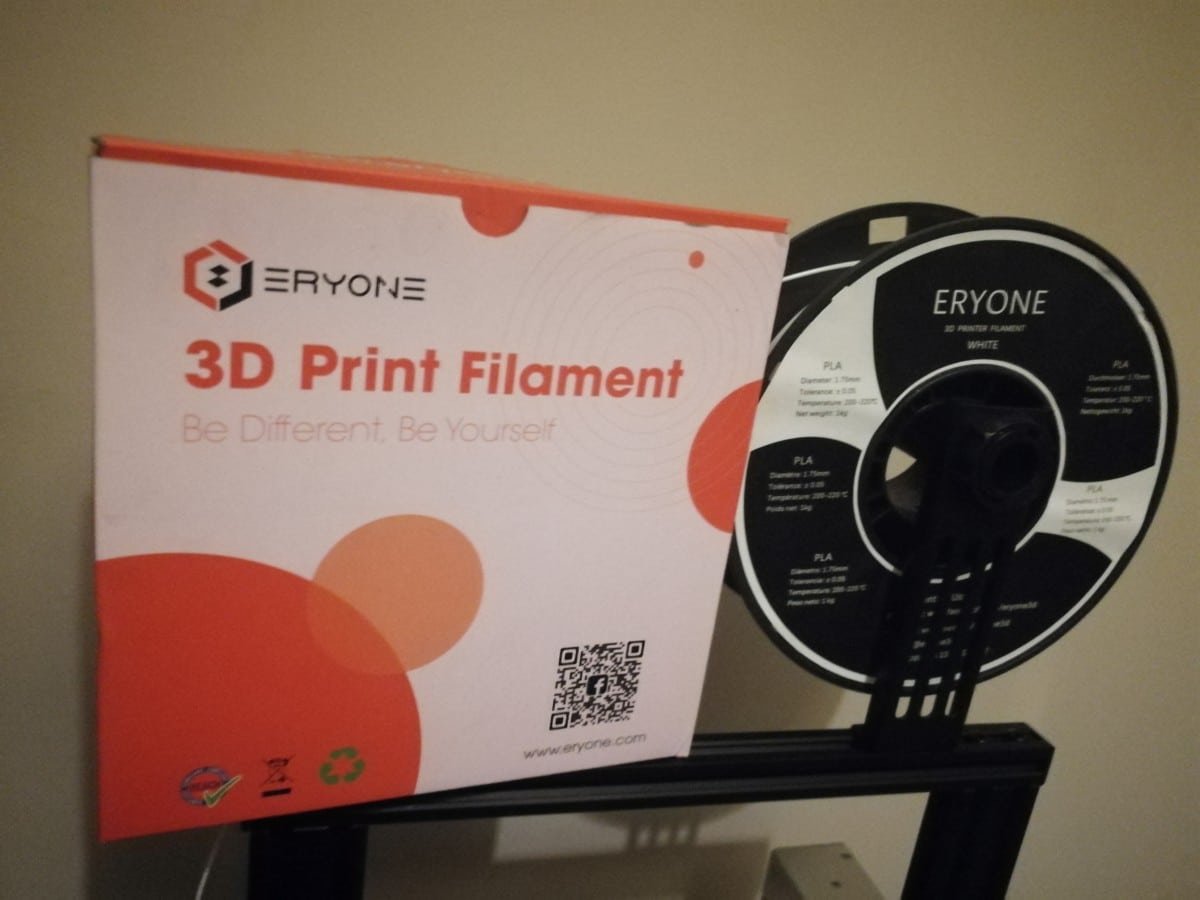
The best filament for 3D printing lithophanes is ERYONE White PLA, with many proven lithophanes to show. Lithophanes show up best when they are a very light color and PLA is a very easy filament to print with. Many people have used this filament with great results.
There are some other important things to know when 3D printing lithophanes, such as ideal print settings and some cool tips to create great lithophanes. Keep reading to find out these details.
If you are interested in seeing some of the best tools and accessories for your 3D printers, you can find them easily by clicking here (Amazon).
Which is the Best Filament for Lithophanes?
Lithophanes are fairly difficult to make because you have to take many things into account. Other than getting precise print settings, your filament plays a big role in it.
You definitely want white filament for lithophanes that show up the best. Now there are several brands of filament which produce white PLA filament, so which is the best out there?
When we are talking about the premium brands of filament, you won’t find an extraordinary amount of difference between them. For the most part, they will work similarly as well so you have to look at which filament manufacturers have a long-standing reputation of high quality.
This category has a few options but one stands out for me.
If you are after a premium option, then it’s a good idea to go for that premium brand.
A great premium white PLA to use for lithophanes that I recommend is ERYONE PLA (1KG) from Amazon.

It’s specially designed so you won’t have tangle issues or nozzle jams while in the middle of a long print. Sometimes you just have to pay extra for that top quality, and this is one of those time, especially for a great lithophane.
If you aren’t too caught up on the absolute best quality, a budget white PLA should work just fine for a lithophane.
A good budget white PLA to use for a lithophane that I recommend is eSUN White PLA+ from Amazon.

Out of the many 3D printer filaments out there, it makes amazingly high quality lithophanes, as widely described in Amazon reviews. The dimensional accuracy of this filament being 0.05mm, ensures you won’t have under extrusion issues from bad filament diameter.
You can also 3D print lithophanes with other materials such as PETG, but PLA is hands down the easiest filament to print with. Unless you are planning to keep your lithophane outside or in a hot area, PLA should hold up just fine.
How Do I Create Lithophanes?

Creating a lithophane might seem like a complex task, which I can imagine it used to be, but things have been made a lot easier.
There is great software out there which allows you to generate lithophanes from any photo. It takes all the main technical work out of creating a lithophane into an easy-to-use app that you simply insert your picture into.
It breaks down your photos into levels of color to make light and dark areas show up more or less, creating a beautiful picture. I’ve seen some very high quality lithophanes from these software.
After you have your lithophane image and settings done, you can download it from the browser-based software and import the STL file straight to your slicer.
The Best Lithophane Software To Use
Lithophane Maker
Lithophane Maker is a more modern software which gives you more choices to make changes to your pictures, but it does get pretty complicated, especially if you want a quick, simple lithophane.
This is a better option if you have already made a few lithophanes and are looking for more options. For the sake of this article, we will focus on a more simplistic option.
It does have some pretty awesome options though:
- Lithophane Lamp Maker
- Heart Lithophane Maker
- Night Light Lithophane Maker
- Lithophane Globe Maker
- Ceiling Fan Lithophane Maker
3DP Rocks
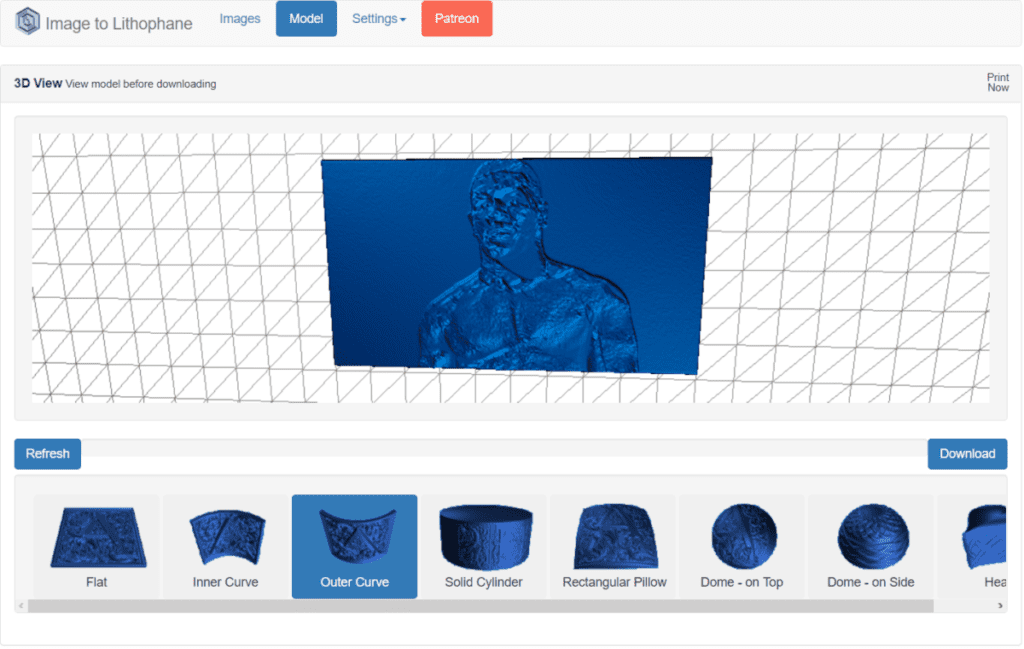
This is one that anyone can easily get the hang of, with its very short learning curve. The makers of this software realized that sometimes, simple is better and you get a feel for this as soon as you use 3DP Rocks.
If you want a simple solution for making a great lithophane, I recommend using 3DP Rocks.
What Lithophane Settings Should I Use?
- Infill should be at 100%
- Layer height should be 0.2mm at most, but the lower the better (0.15mm is a good height)
- No support or a heated bed is needed, but use your usual heated bed setting.
- Cooling at around 70%-80% works just fine.
Outline/perimeter shells has a wide range, with the middle being around 5, but some people go up to 10 or more. Even 1 perimeter shell works so don’t worry about this too much. It depends on the thickness of your lithophane.
You don’t want your nozzle accidentally leaving residue on the outside of your perimeter while travelling. There is a setting for that in Cura called ‘Combing Mode’ which keeps the nozzle in already printed areas. Turn this to ‘All’.
In Simplify3D, this setting is called ‘Avoid crossing outline for travel movements’ which you can simply check.
Tips for Creating a Great Lithophane
There are many orientations for create lithophanes such as the shape of it. I find that the ‘Outer Curve’ model on 3DP Rocks works pretty well in terms of quality and it can stand up by itself due to the shape.
You should print your lithophanes vertically because it gives better results than laying it flat usually.
There is a lithophane setting you’ll find in 3DP Rocks called ‘Thickness (mm)’ and the higher it is, the better the quality.
What it does is process your picture more finely, so more levels of gray are shown off. A 3mm thickness for your lithophane thickness should be just fine.
It does however take longer to print out a lithophane with a bigger thickness. You should also keep in mind that the thicker your lithophane, the stronger the light behind it is required to properly display the picture.
A border is a good idea to use just to give your picture some contrast. 3mm for your border is a pretty good size. You can use a raft when printing your lithophanes to protect your corners from warping and give it stability while printing.
You don’t want to 3D print your lithophane too fast because quality is very important.
Check out my article about 3D Print Speed vs Quality or ways to Speed up your 3D Prints Without Losing Quality.
It’s all about letting your 3D printer take it’s time and slowly create a highly detailed object. A good printing speed for lithophanes ranges from 30-40mm/s.
You don’t need an amazingly premium 3D printer to create great lithophanes. They work just well on Ender 3s and other budget printers.
Some people put their lithophane image in a photo editor and play around with different picture effects. It can help smooth out the rough transitions which make the overall print better.
Do Lithophanes Have to Be White?
Lithophanes don’t have to be white but light passes through white filament a lot better, so it produces higher quality lithophanes. It’s definitely possible to 3D print lithophanes in different colors, but they don’t work as great as white lithophanes.
The reason behind this is the way lithophanes work. It’s mainly about light passing through the object to showcases the different levels of depth and levels from a picture.
Using colored filaments doesn’t allow the light to pass through in the same way as white filament, rather more in an unbalanced fashion.
You even find that some white filament has different tones to it, which definitely show up in your lithophanes. Many people find that even using natural color filament is pretty translucent and is hard to get the contrast out of it.
Some people have definitely 3D printed some cool looking lithophanes, but if you are after details, white works out the best.
The blue kitty lithophane does admittedly look kinda cool.

If you love great quality 3D prints, you’ll love the AMX3d Pro Grade 3D Printer Tool Kit from Amazon. It is a staple set of 3D printing tools that gives you everything you need to remove, clean & finish your 3D prints.
It gives you the ability to:
- Easily clean your 3D prints – 25-piece kit with 13 knife blades and 3 handles, long tweezers, needle nose pliers, and glue stick.
- Simply remove 3D prints – stop damaging your 3D prints by using one of the 3 specialized removal tools.
- Perfectly finish your 3D prints – the 3-piece, 6-tool precision scraper/pick/knife blade combo can get into small crevices to get a great finish.
- Become a 3D printing pro!
