5 Ways How to Test Your Ender 3 (Pro/V2/S1) – Best Methods
The Ender 3 is one of the most popular 3D printers available today and many users wonder how to test their newly-bought 3D printer.
To test your Ender 3 (Pro/V2/S1) you can do a series of calibration tests, such as printing an XYZ calibration cube, a temperature tower, doing a first layer and extruder calibration as well as a retraction test. Once you do these tests, your Ender 3 should be properly calibrated and working well.
Keep reading for more information about how to test your Ender 3.
How to Test Your Ender 3 Properly
These are the best methods to test your Ender 3 properly:
- XYZ calibration cube
- Temperature tower
- First layer calibration
- Extruder calibration
- Retraction test
1. XYZ Calibration Cube
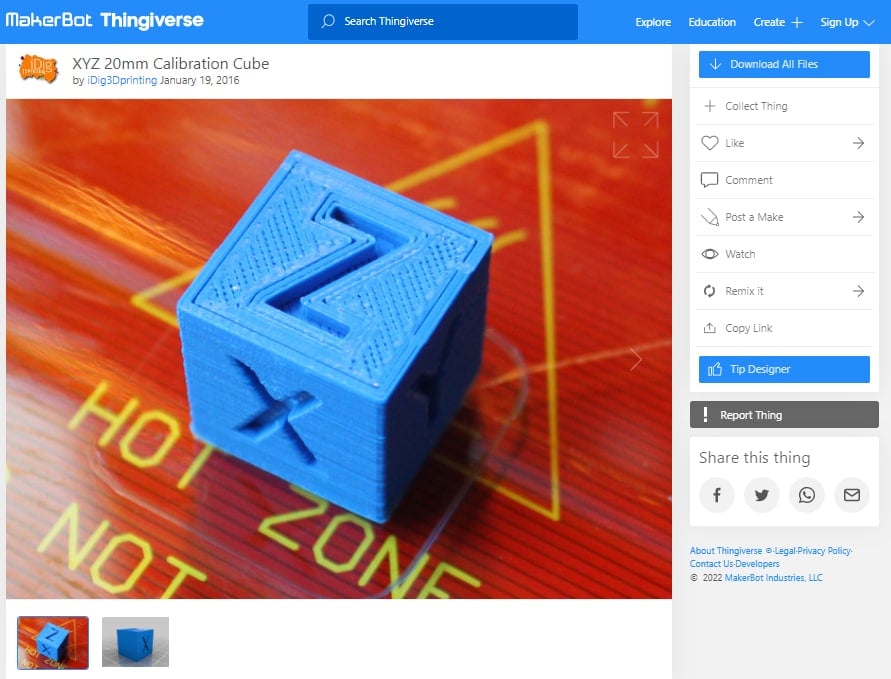
The first step in order to test your Ender 3 should be printing an XYZ calibration cube, which is an important test that helps you measure the accuracy of your printer’s dimensions.
To perform this test, you’ll need to print a cube and measure its dimensions using a caliper. If the dimensions of the cube are accurate, then your printer is calibrated correctly.
You can find a model for the XYZ Calibration Cube on Thingiverse for free and you can buy a caliper, such as the Jiavarry Digital Caliper Measuring Tool, from Amazon for a great price.
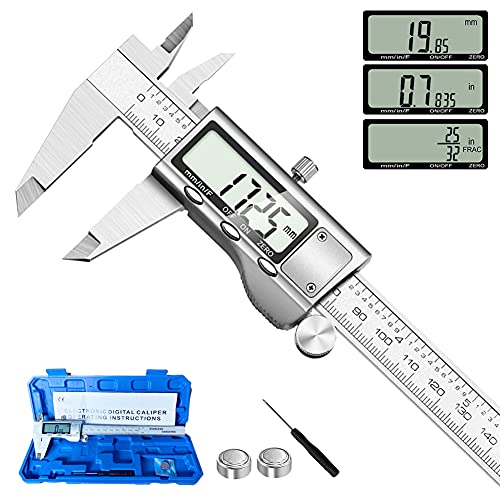
- 【STAINLESS STEEL MATERIAL】The vernier caliper is made of high-strength stainless steel and is waterproof and dirt-proof. The service life of this stainless steel digital caliper is longer than that of calipers with plastic or carbon fiber parts. Powered by battery, comes with a pre-installed battery and 2 spare batteries for gift.
Prices pulled from the Amazon Product Advertising API on:
Product prices and availability are accurate as of the date/time indicated and are subject to change. Any price and availability information displayed on [relevant Amazon Site(s), as applicable] at the time of purchase will apply to the purchase of this product.
A lot of users recommend printing this cube for calibration as it can help a lot to better the quality of your prints. One user was amazed at how accurate my printer was after calibrating it with the help of this cube.
Another user recommends the Jiavarry Digital Caliper to help calibrate your 3D printer as the caliper feels sturdy and has helped him a lot.
To perform the test, follow these steps:
- Download and print an XYZ calibration cube
- Use a caliper to measure the dimensions of the cube, including the height, width, and depth.
- Compare the measured dimensions to the expected dimensions of the cube.
If the dimensions are not accurate, adjust the printer’s settings until the cube’s dimensions are correct.
One user recommends using the caliper and checking if the X, Y and Z axis length are all exactly 20mm. If there is a deviation of even 1mm, he suggests that you tighten the belts, re-level the bed and print more slowly.
Check out the video below for more information on how to print XYZ Calibration Cubes.
2. Temperature Tower
Another great test you can do is printing a temperature tower to help you determine the optimal temperature for your filament.
To perform this test, you’ll need to print a tower with different temperature zones and observe the results. By doing so, you can determine the temperature that produces the best quality prints with your filament.
You can find a good temperature tower model, such as the Ender 3 Smart PLA and PETG Temp Tower on Thingiverse to be downloaded for free.
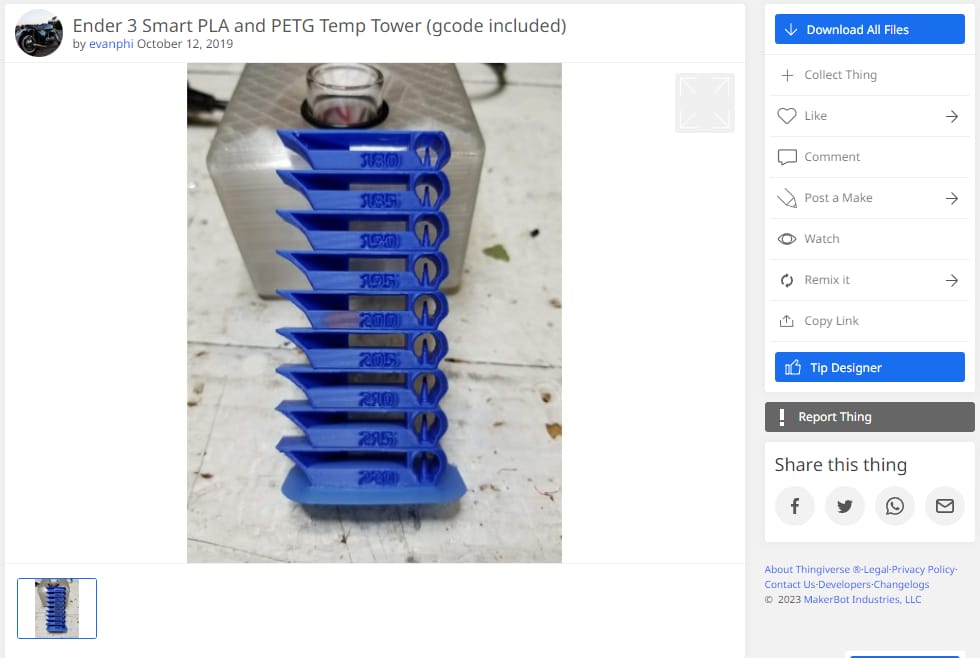
One user recommended this tower and says he has been using the model for calibration for over a year. He stated that printing temperature towers speed up new filament testing and remove any guesswork.
To perform the test, follow these steps:
- Download and print a temperature tower with different temperature zones.
- Start with the lowest temperature zone and observe the quality of the print.
- Gradually increase the temperature for each zone and observe the quality of the print at each temperature.
Determine the optimal temperature for your filament based on the quality of the prints at each temperature zone.
One user recommends downloading the G-code file for the temperature tower and never an STL file as you’ll have to manipulate the G-code to get the temperature changes.
You can also create your own temperature tower in Cura software using the plugin called “Calibration Shapes”.
Check out the video below with detailed instructions on how to create your own temperature tower on Cura.
3. First Layer Calibration
Calibrating your printer’s first layer is another crucial test for ensuring that your prints adhere correctly to the build plate.
To perform this test, you’ll need to print a test object and observe the first layer. If the first layer adheres properly, then your printer is calibrated correctly. If not, you’ll need to adjust the bed level or nozzle height until the first layer adheres correctly.
The first layer of a print is crucial for ensuring adhesion and a strong foundation for the rest of the print.
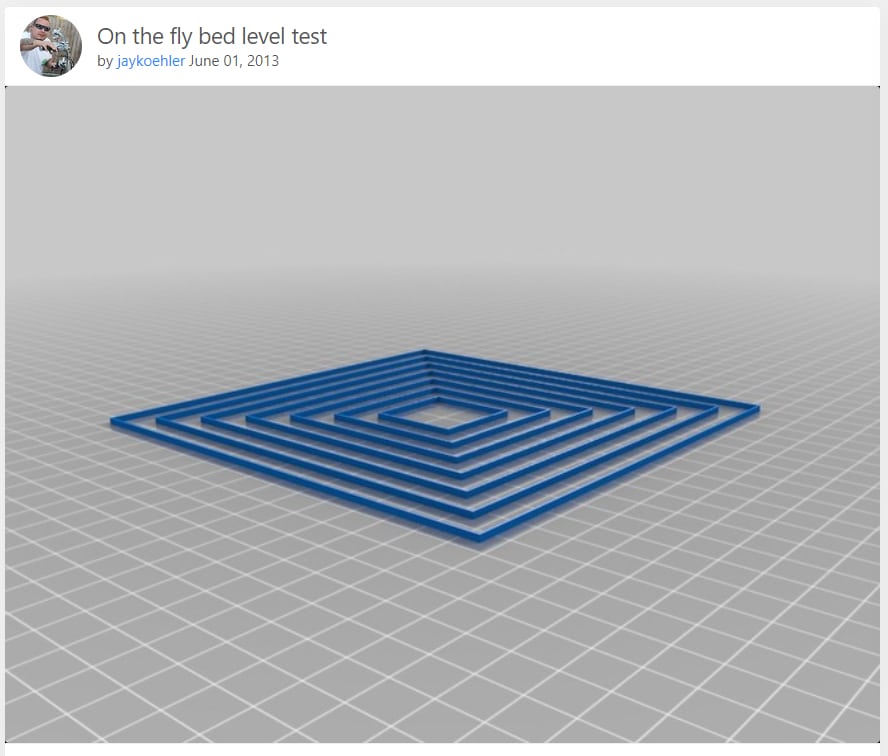
A lot of users recommend printing the On The Fly Bed Level Test as a test object for first layer calibration. They stated it really helps with calibrating the bed and getting that perfect first layer.
I wrote an articled called Best 3D Printer First Layer Calibration Tests – STLs & More that can be useful when choosing a good first layer calibration test.
To calibrate the first layer, follow these steps:
- Download and print a test object
- Level the bed during the test to get a good first layer
If the first layer does not adhere correctly, adjust the bed level or extruder height until the first layer adheres correctly.
One user stated that the only way to properly calibrate the first layer is through trial and error. For him, what works is to find a layer that gives his first layer a little extra “smoosh” but it’s even and flat without any excess material between the lines.
Check out the video below for more information about first layer calibration.
4. Extruder Calibration
The next test you do should be calibrating your printer’s extruder to ensure that the correct amount of filament is being extruded.
You need tell your 3D printer to extrude 100mm of filament through the display screen and measure that out. Depending on how much you measure, you make adjustments to the extruder steps setting for the 3D printer.
- Using your Ender 3’s control interface, go to ”Control > Motion > E-steps/mm”. The value there is the “E-steps/mm”
- If you can’t access the value using the control interface, don’t worry. Using a software like Pronterface connected to the printer, send an M503 command to the printer.
- The command should return a block of text. Find the line that starts with “echo: M92”.
- At the end of the line, there should be a value starting with “E.” This value is the steps/mm.
You’ll want to repeat this after making the adjustment until your 3D printer actually extrudes 100mm of filament.
Use a calculator, such as the E-Step Calculator, to determine the extruder steps needed to extrude the correct amount of filament. You can find online calculators that will help you with this step.
To calibrate the extruder, follow these steps:
- Feed out a small length and cut it flush where it exits the extruder.
- Tell the printer to extrude 100mm of filament
- Measure the extruded filament with calipers or a ruler
- Enter the actual length that was extruded into the calculator
One user stated that he always uses this test to calibrate the extruder of this Ender 3 but he does not recommend people who are just starting out to do it as it can be a complex test.
Check out the video below for more information about calibrating your extruder.
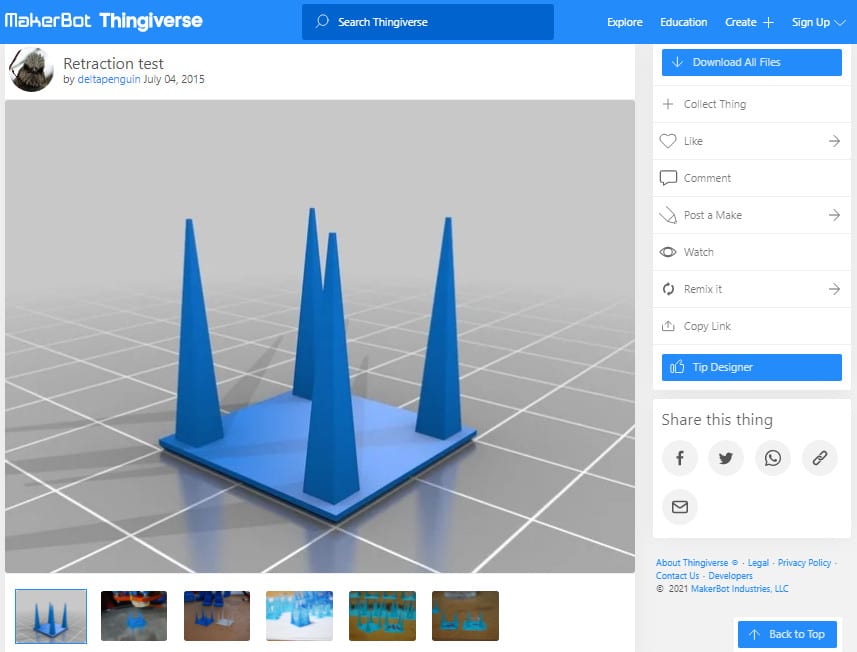
5. Retraction Test
Finally, a retraction test can be very useful to help you determine the optimal retraction settings for your printer. Retraction is the process of pulling filament back into the hotend to prevent oozing and stringing between printed parts.
To perform this test, you’ll need to print a test object with different retraction settings and observe the results. By doing so, you can determine the retraction settings that produce the best quality prints with your filament.
Users recommend using the Retraction Test Model available on Thingiverse as the test is perfect to reach the optimal retraction settings.
To test the retraction settings, follow these steps:
- Download and print a retraction test object with different retraction settings.
- Observe the stringing on the test and adjust retraction settings
- Repeat test until your results are satisfactory.
The optimal settings will depend on factors such as the type of filament, the print speed, and the temperature.
Users recommend doing retraction tests when you’re changing to a new filament or material that you never worked before, that way you can work out any issues before printing something important.
Another better test that you can do for retractions is a direct one from Cura. It’s a retraction tower that allows you to adjust the Retraction Distance or Speed automatically using G-Code scripts.
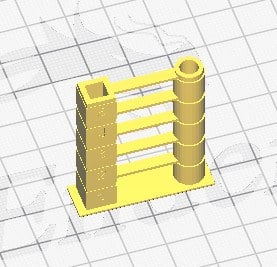
CHEP covers how to do this in the video below.