Why Do 3D Printers Make an Outline/Skirt?
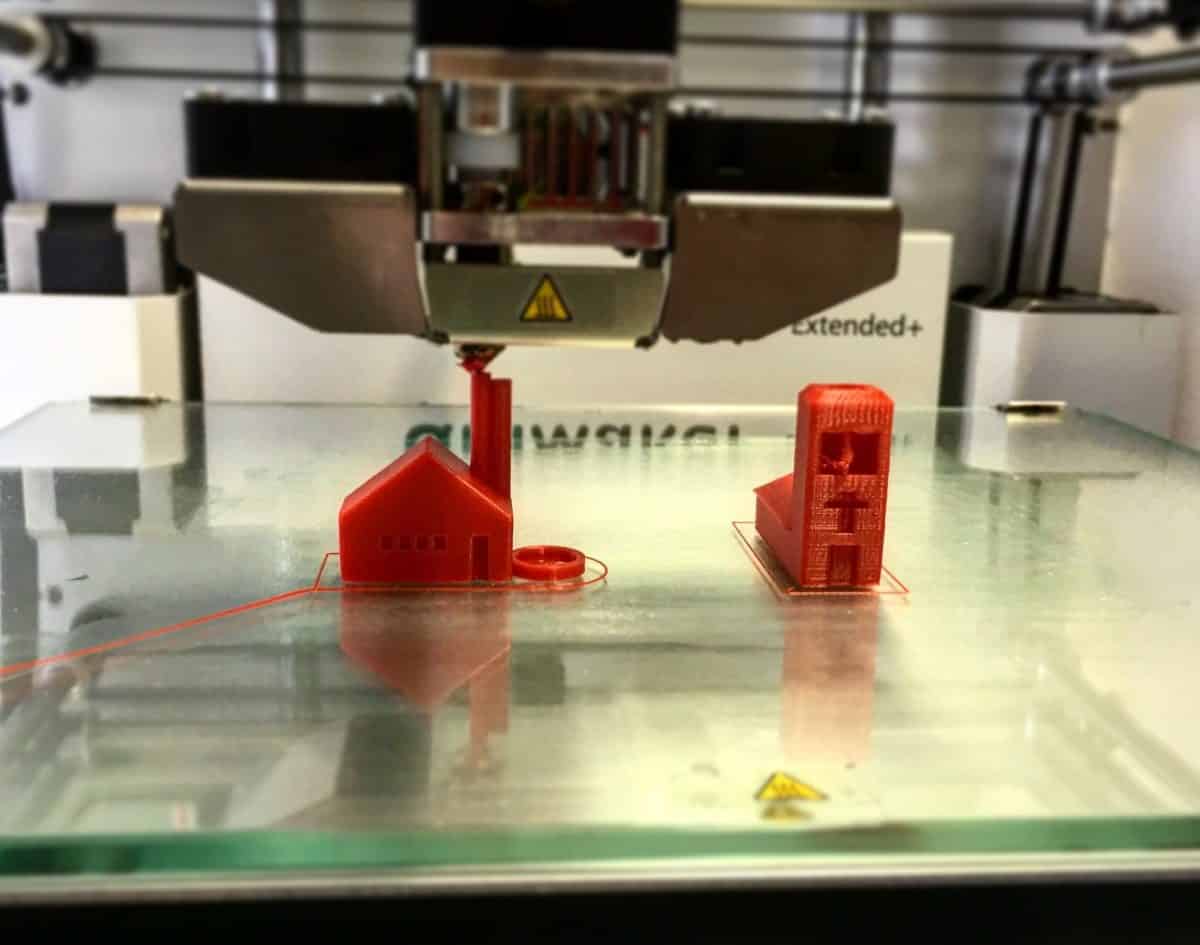
You might have noticed, when a 3D print is about to start it makes an outline wider than the actual object itself. It seems pretty odd at first, especially to beginners, so I set out to answer why 3D printers actually make an outline.
Why do 3D printers make an outline? 3D printers make an outline, called a skirt mainly to ensure that the nozzle is primed and ready to smoothly print your 3D object. Sometimes your nozzle can be slightly blocked, so making this outline can remove this blockage so your first layer comes out clean and forms a good foundation.
This is the basic answer which explains the question, but there are some more details you will want to know in terms of these outlines and how to make sure it’s done properly in your settings.
Why is a Skirt/Outline Important When 3D Printing?
In your 3D printing journey you may have heard of skirts, brims, and rafts; three terms which help your prints finish more successfully. In this case we are talking about a skirt, which is named quite well because it looks like the skirt of your main print.
I’m going to describe its importance and why they are used.
To Build a Great First Layer
It’s always good practice to print at least one single-layer skirt before your main print is started. A skirt is a great way to get your material flowing and evenly extruding before going in and building the actual layers.
Similar to when you test your pen on the corner of your page before you start writing.
The first layer of a print is arguably the most important. Once it’s completed, the success rate of your print completing without issues goes up substantially.
Since your printer works by extruding plastic filament through your heated nozzle, it can take some time to build up enough pressure to extrude as smoothly as it needs to build up a solid foundation with full layers.
A lot of times after laying the skirt down, you’ll see a little blob of plastic come out which is just the leftover material from your last print.
You wouldn’t want this coming out during your vital first layer, so it’s better extruded beforehand, around your main print.
A skirt is also a good way to see just how well your bed is levelled and whether the nozzle and material is creating enough contact with the bed’s surface to create a sturdy first layer.
When the nozzle is too high off the bed, it doesn’t create enough downward pressure to stick to the bed firmly. When it’s too close to the bed it doesn’t flow through evenly and can even scrape the bed surface.
Making sure you add a skirt to your 3D print will save you a lot of time, filament and frustration in the long-run so definitely add this to your 3D printing routine.
To Gauge How Well Your Printing Parts Are Working
This ties in with the first layer, so it gives you the insight into how well your printer, and its parts are working when printing.
After printing out one or two layers of the skirt, you’ll easily be able to tell whether you need to stop your print and do some troubleshooting, or if things are ready to continue to create a high quality model.
If things aren’t flowing so great you know you might need to adjust your printing temperature, increase your bed temperature, clean out the nozzle, re-level the bed and so on.
It’s a great way to save time from going halfway through a print and realizing that there are many imperfections on your print.
Sometimes after changing materials or colors you may still have some left in the nozzle. A skirt will print this out first so your changes are properly implemented before it’s printed to be a part of your final object.
Use the Skirt as a Barrier
Most people don’t think about this use, but you can use the skirt as a thermal or draft barrier which protects your prints. A print bed which has a nice skirt around it can provide slight insulation and protection from drafts which can easily alter temperatures around the room the printer is in.
It can help with surface warping with these protection layers.
If you don’t have an enclosure and sometimes experience these adverse environments, a skirt can be just enough protection to have your print finish without issues.
How Do I Add a Skirt to my Prints?
This will depend on your slicing software, but it’s pretty straightforward for all the main ones out there. You simply want to go into your slicer and look into your settings. It will usually be under ‘print settings’ then under some type of adhesion title.
To add a skirt on the Cura slicer:
- Go to print settings near the top right corner
- Scroll down to the ‘Build Plate Adhesion’ row and expand by pressing the down arrow
- Beside the ‘Build Plate Adhesion Type’ put in ‘Skirt’
- Beside the ‘Skirt Line Count’ put in the number of skirts you want your prints to have.
If the skirt line count is on 0, this means it will disable the skirt. You want to have at least one skirt in your prints.
A lot of times, when you download the STL files from a website like Thingiverse, they will have already added the skirt in the settings, so you won’t have to manually add the skirt, but not every file that you download will have it.
What Will Happen If I Don’t Add An Outline/Skirt to my Prints?
You might be thinking, what’s all this hassle about skirts and not want to go through worrying about adding a skirt.
The end result here is that you’ll save a few centimeters of filament in the very short term, but if your first layers don’t come out up to standard because you avoided using a skirt, you’ll just be giving that saved filament right back and even more than you saved in the first place.
I don’t see there being much advantage over removing a skirt from your printer settings, so I wouldn’t recommend it. The main reason you wouldn’t use a skirt is because you don’t know just how beneficial they are to your 3D printing process.
Since you’ve read this article I’m sure you now know the benefits and will continue using a skirt in your 3D printing journey!