Simple Voxelab Aquila S2 Review – Worth Buying or Not?
The Voxelab Aquila S2 is a beginner-friendly 3D printer designed for those new to 3D printing. Priced at around $180, it’s an affordable option for creating 3D prints and getting into the field. While it may not have top-end specifications, it gets the job done.
In this simple review, we will discuss various aspects of the Voxelab Aquila S2 (Amazon), including its features, specifications, benefits, downsides, and unboxing process. By the end, you’ll know whether it’s worth buying or not.
Features of the Voxelab Aquila S2
- High Temperature Hotend – 300°C
- Direct Drive Extruder
- PEI Magnetic Build Plate
- Supports Multiple Filaments
- Power Failure Resume Function
- Dual Cooling Extruder
- Control Screen with Rotary Knob
- All-Metal Body
- Lifetime Technical Assistance

- 🎅【Spring Steel PEI Magnetic Build Plate】:Aquila S2 has used the spring steel PEI magnetic build plate, which has good adhesion to the printed model and enables fast heating up of the heat bed. The build plates is not only durable but also flexible. Once the printing completes, users can remove the printed model effortlessly with just a slight bend.
Prices pulled from the Amazon Product Advertising API on:
Product prices and availability are accurate as of the date/time indicated and are subject to change. Any price and availability information displayed on [relevant Amazon Site(s), as applicable] at the time of purchase will apply to the purchase of this product.
High Temperature Hotend – 300°C
One of the most unique features of the Voxelab Aquila S2 is how the hotend reaches very high temperatures of 300°C. A lot of filaments 3D print at temperatures much below this, but if you use certain advanced filaments, having this feature can be useful.
Direct Drive Extruder
Rather than having a Bowden setup, this machine has a direct drive extruder which is great for 3D printing flexible filament and makes changing filament a lot easier. I’m starting to prefer direct drive extruders for these reasons, and the print quality is still great.
There is a full metal body that provides high resistance to pressure. If you get extrusion issues, they are easier to identify with this type of extruder since the filament doesn’t have to travel as far.
PEI Magnetic Build Plate
Having a PEI magnetic build plate is a great feature of the Aquila S2, especially due to it being flexible and having anti-warping qualities. You can save a lot of time, effort, and frustration with this high-quality build surface.
It has great adhesion while 3D printing and after finishing and cooling down, models usually pop off the surface by themselves. The platform can reach temperatures up to 100°C.
Supports Multiple Filaments
As mentioned, the high-temperature hotend allows for a wider range of filaments that it can 3D print. It supports multiple filaments such as:
- PLA
- ABS
- PLA-CF
- PETG
- PETG-CF
- PA12-CF
- PA (Nylon)
- PC
- TPU
Power Failure Resume Function
In an event of an unplanned power outage or an accidental plug removal, you can rest assured that you can continue your print without having to start again. After you turn the 3D printer back on, it will resume printing from its last location. This would help save time and material.
Dual Cooling Extruder
The Aquila S2 comes with a dual fan system fitted on its extruder assembly. Both fans are mounted on the extruder assembly, with one on the side and the other at the front. One of the fans helps to keep the hotend cool and the other for cooling the layers of the print.
Control Screen with Rotary Knob
Like most modern-day 3D printers, the Aquila S2 also has an LCD screen integrated for added control of the printer. The LCD screen features a knob as opposed to a touchscreen. While the LCD’s UI is fluid and very functional, the LCD has very limited control over settings.
All-Metal Body
The body of the Aquila S2 is made from metal (Aluminum). This increases its durability and its resistance to wear and tear. Also, its extruder system is not left out, which is why it is able to attain very high temperatures at the hotend.
Lifetime Technical Assistance
Voxelab offers lifetime technical support on the Aquila S2 3D printer. In case you run into any issues with your printer, you are rest assured that they are willing to attend to your needs. There are also resources on their webpage that can easily solve some of the issues you may run into.
Some of the after-sale services they offer include the following:
- 1-year warranty on the 3D printer, 3-month warranty on the extruder, and a 1-month warranty on the LCD.
- There is a return policy for 3D printers within 30 days, after the printer has been purchased (terms and conditions apply).
Specifications of the Voxelab Aquila S2
- Nozzle Diameter: 0.4mm
- Nozzle Temperature:≤300℃
- Hotbed Temperature: ≤100℃
- Layer Resolution: 0.1-0.4mm
- XY Axis Precision: ±0.2mm
- Filament Diameter: 1.75mm
- Print Speed: ≤180mm/s, 30-60mm/s normally
- Print Size: 220 x 220 x 240mm
- Slicer Software: Simplify/Cura/Voxelmaker Support OS: macOS/Windows XP/7/8/10
- Net Weight: 8kg
- Screen: 4.3-Inch Screen
- Input: AC 115/230V 50/60HZ
- Output: 24V, 13.3A
- Power: 350w
- Running Noise: 50dB
Benefits of the Voxelab Aquila S2
- Can switch between brass and steel nozzles easily
- Filament changing is faster with just a light press
- Fast heating for the heated bed
- Knobs for the X and Y-axis make belt tensioning much easier.
- Noise levels during printing are very low.
- Comes with replacements for certain components like the nozzle.
Downsides of the Voxelab Aquila S2
- Automatic Bed-leveling is absent. You have to manually level your bed, which may be time-consuming and stressful.
- Z-axis features a single lead screw and as a result, there may be cases of deviation, layer skips, and other imperfections associated with single lead screws.
- There is no filament runout sensor to help keep track of your filament when it breaks or finishes.
- Only has printing presets for ABS and PLA. This means you have to create presets for other filaments like PETG, TPU, Wood, and so on.
- LCD screen has limited control of the printer’s settings.
Unboxing and Assembly of the Voxelab Aquila S2
The unboxing and assembly of the Voxelab Aquila S2 was pretty straightforward. The package is a large compact box with a 3D printer somewhat pre-assembled inside.
The box is a two-tier setup with each layer housing various components. Once you open the box, you are greeted with some warning fliers about selecting the appropriate voltage level for the 3D printer and some little spools of filament to run some test prints.
After removing the top foam layer, you gain access to the first layer of the box. This contains the user manual, X-axis motor, magnetic PEI coated sheet, the LCD, mounting brackets, power cable, and the base of the printer with the extruder attached, all fitted into the foam inserts.
The second layer of the box contains more filaments, a spatula, a Z-axis bracket, and the bars for the gantry (with a Z-axis limit switch attached to one of them).
Also, the second layer contains the Z-axis motor, filament holder, X-axis tensioner, extra nozzle, tool set, and other accessories all fitted nice and tight into the foam inserts.
You may have to lay all the parts on a table and compare them to the parts on the instruction manual to ensure all the parts are intact.
Check out this video from 3D Printing Doctor on the unboxing of the Voxelab Aquila S2.
The assembly process should take about 30 minutes or thereabout because it still requires you to assemble intricate parts of the printer which may be time-consuming, especially if you haven’t assembled one before.
To assemble the Aquila S2, you just need to follow the guide included in the box. The bottom part of the printer is already assembled, so it’s just a matter of following the guide step-by-step.
The assembly majorly requires you to attach the base to the gantry and then set up the X-axis assembly. The wiring is pretty straightforward, just follow the labels on the wires.
Again, ensure you select the right voltage level based on the supply from the mains in your area. After this, you can plug in the power cable to the 3D printer, turn it on, and start the leveling process.
Here is a timelapse video showing the assembly process of the Voxelab Aquila S2.
Leveling the Voxelab Aquila S2
Unlike most recently released 3D printers that come with some form of automatic bed leveling system, the Aquila S2 bed can only be leveled manually.
To level your bed, first, you need to use a wrench to tighten the knobs under the bed to ensure it is firm. Using the printer’s display, select “Control” and then move the extruder to its home position. Then disable the stepper motors using the LCD.
Using the control knobs under the bed, adjust the height of the bed depending on how high or low it currently is. Then place a piece of paper at one edge of the bed and lower the nozzle until there is a slight resistance when you pull the paper.
Now repeat this process at the other edges, the center of the hotbed, then go around each point a second time.
Customer Reviews of the Voxelab Aquila S2
One user of the Aquila S2 said it has worked great for dozens of prints after the first few weeks, including some of the models from the SD card and some from online.
They did get some failures, but they are still learning how to adjust the settings properly. One thing they mentioned was that the parts are relatively cheap and are able to be modified. It’s a good idea to watch videos and learn about the process to get good at it.
Another user stated that after setting up his printer and using it that he would rate the printer as a pretty decent one with great features for its price. Although he had to tweak some settings, he had no issues printing overture PLA.
He also commented that the Y-axis was pretty squeaky and he had to apply lubricant to stop the noise.
A person who has used this 3D printed stated that the Aquila S2 with its upgraded direct drive extruder is a great option for a 3D printer.
One user stated that the Aquila S2 is his second printer from Voxelab and it’s pretty impressive for its price. He also stated that it is quieter than the basic Aquila and he’s currently trying to print with ASA.
Modbot made a great review you can watch it below. He commented about the direct drive extruder set up that it was a welcome addition to the Aquila 3D printer series.
You can also check out this video review from MakeUseOf about the Voxelab Aquila S2.
Print Quality – Voxelab Aquila S2
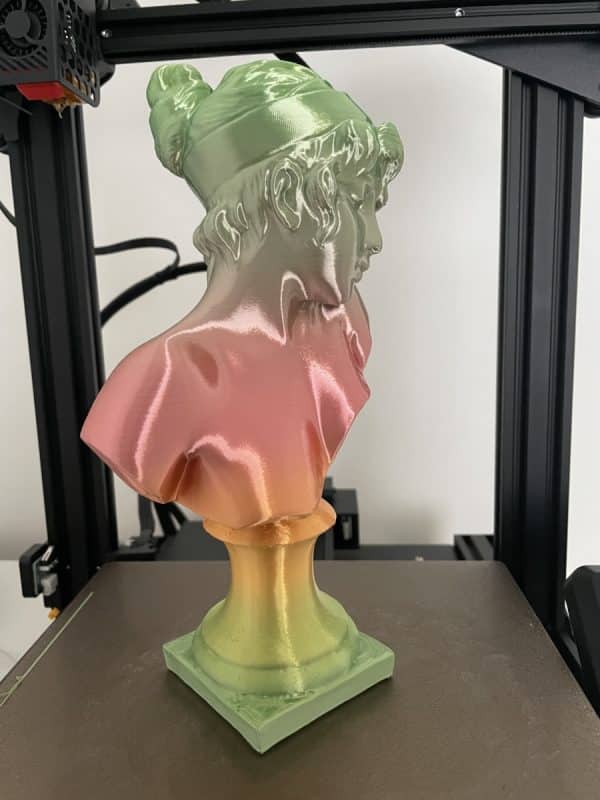
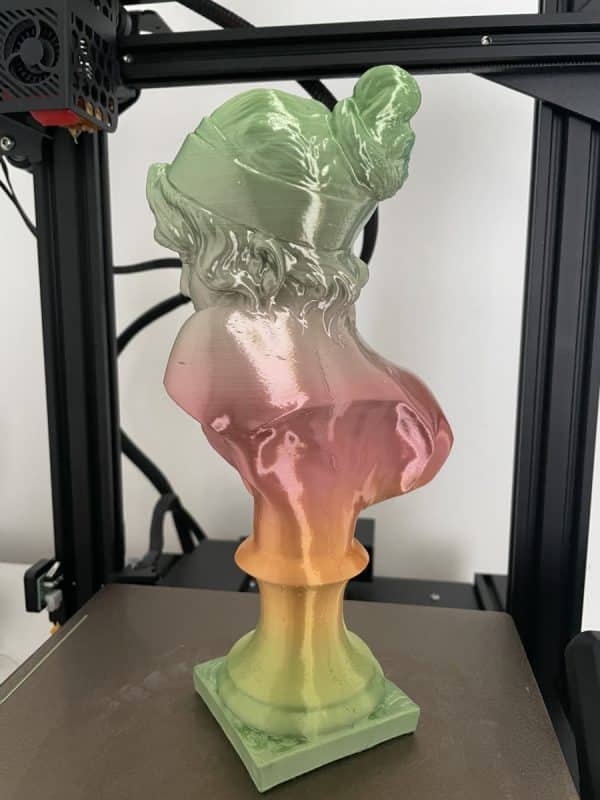
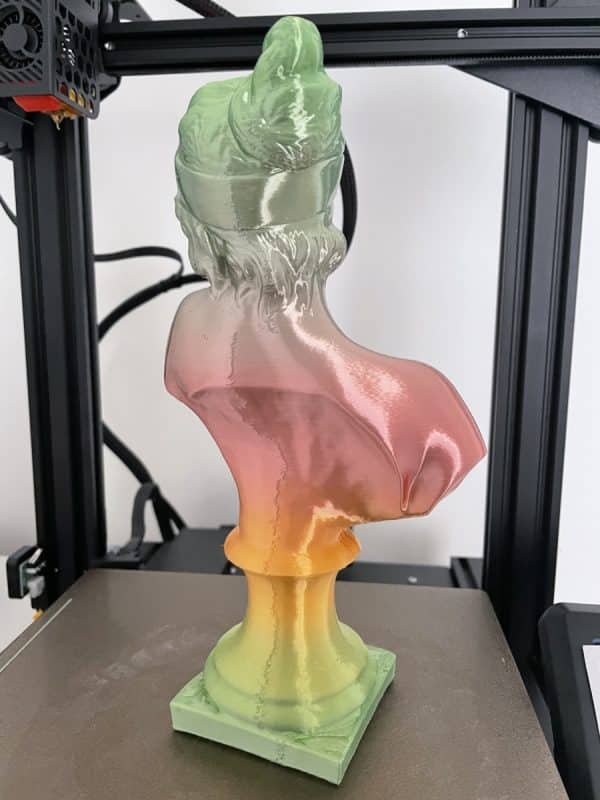
Sappho’s Head
This multicolor 3D printed Sappho’s head was made using the Voxelab Aquila S2, and I’m genuinely impressed with the outcome. The printer managed to capture all the intricate details and blend the colors beautifully. It’s a great example of the Aquila S2’s capabilities and definitely an interesting piece to discuss.

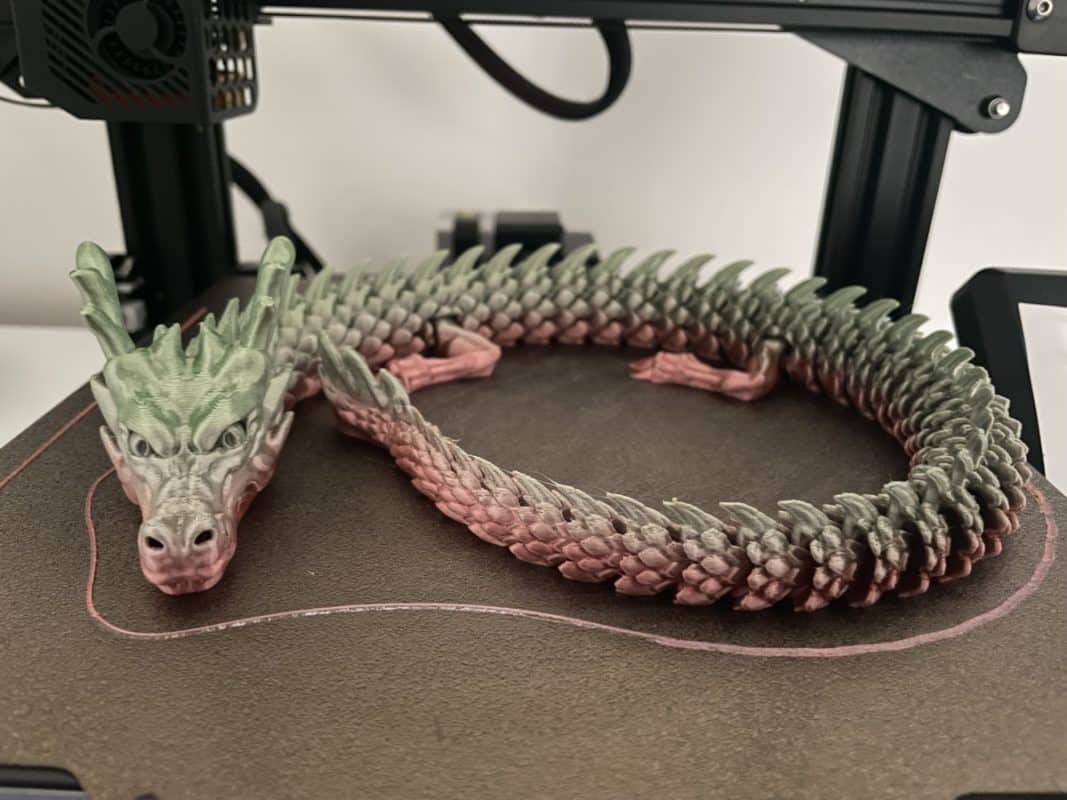
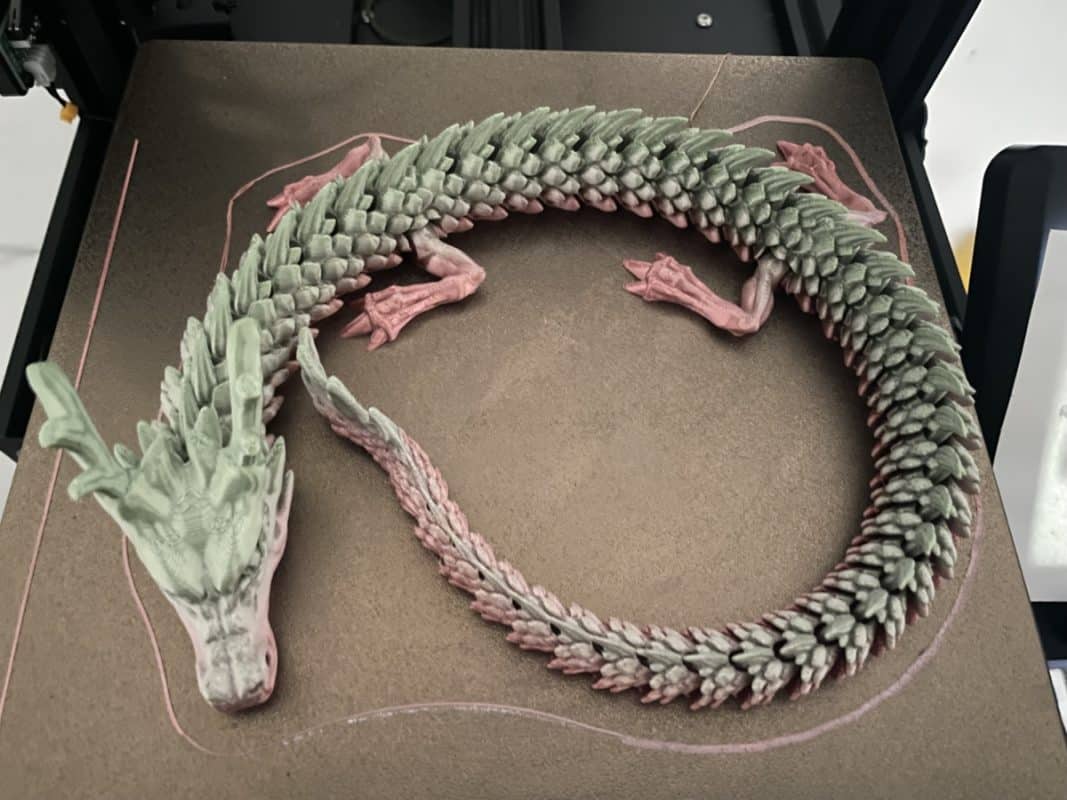
Articulated Dragon
This articulated, multicolor 3D printed dragon was crafted using the Aquila S2, and the results are truly remarkable. The printer skillfully captured the intricate details and seamlessly blended the colors, bringing the mythical creature to life. It’s an excellent showcase of the Aquila S2’s potential and an interesting piece to talk about.

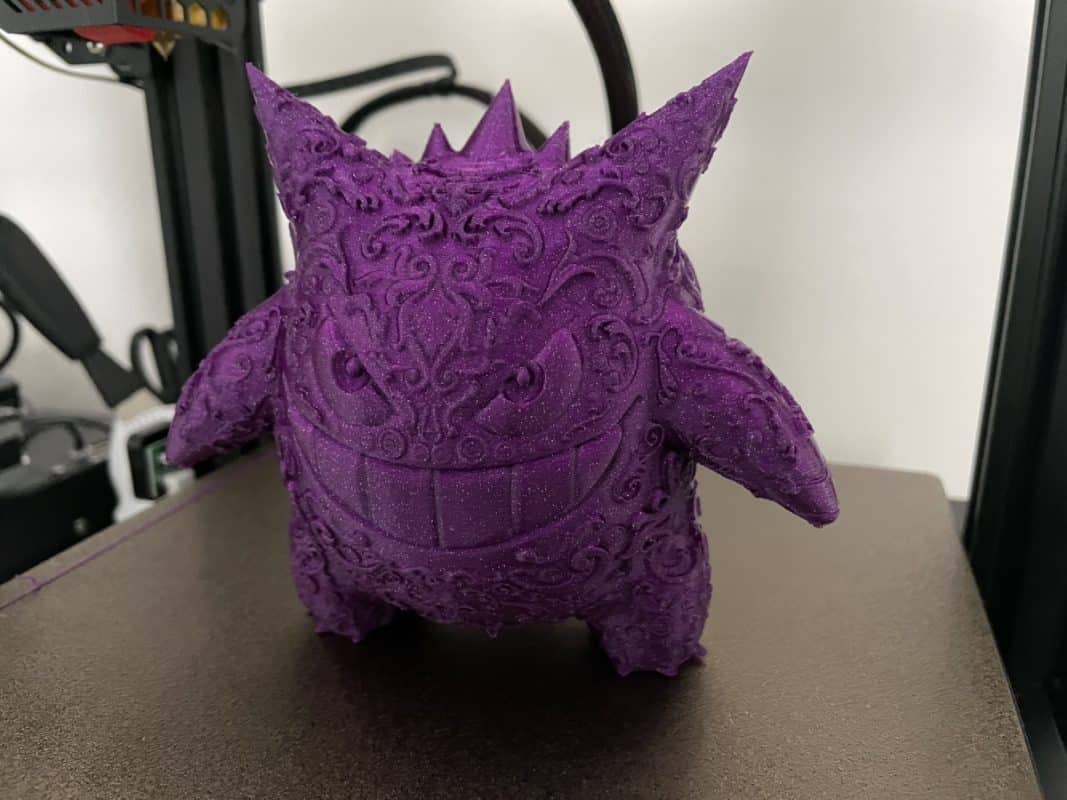
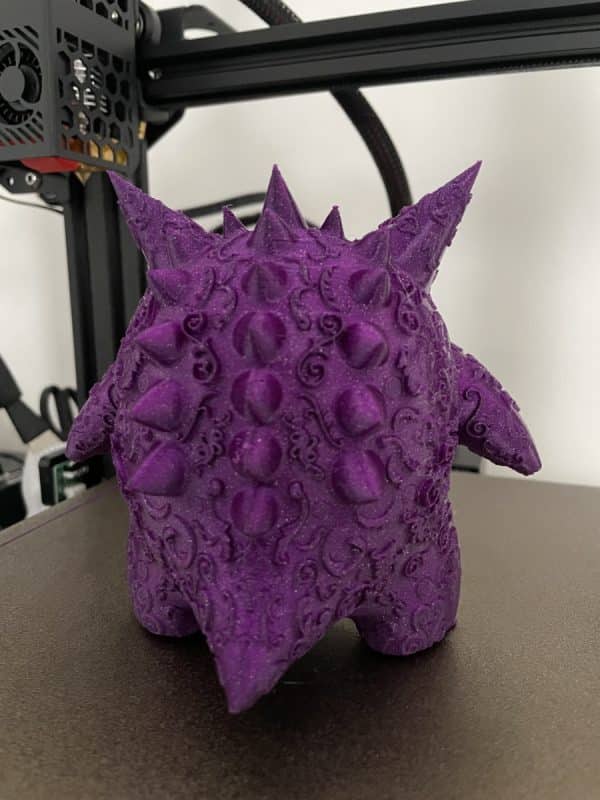
Ornamental Gengar
Another model I created is this ornamental Gengar, and the finished piece is genuinely eye-catching. The printer effectively captured the character’s unique features and produced a lovely purple hue that stands out. It’s a great example of the printer’s capabilities and a great conversation starter for Pokémon fans.

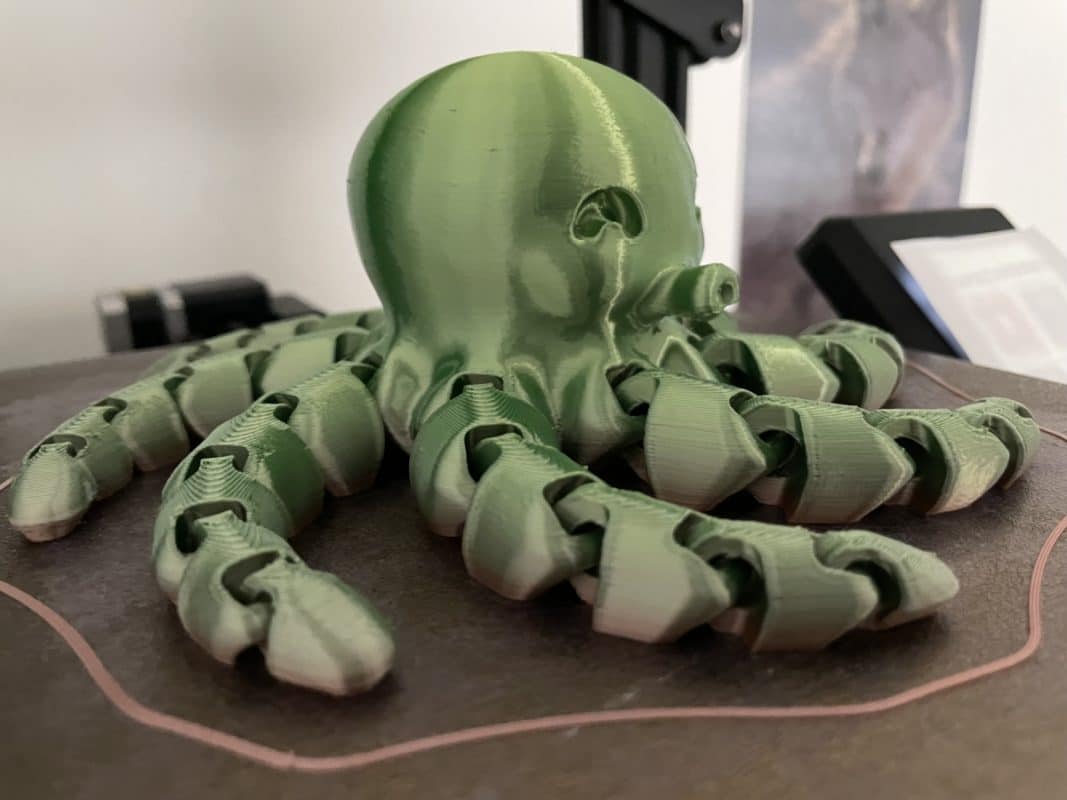
Cute Mini Octopus
I made this cute little 3D printed octopus, and it turned out really nice. The printer did a good job showing the small details and smooth shapes of the octopus. The quality is really nice, though I did have a slight failure by not supporting the nose or snout, whatever you call it.

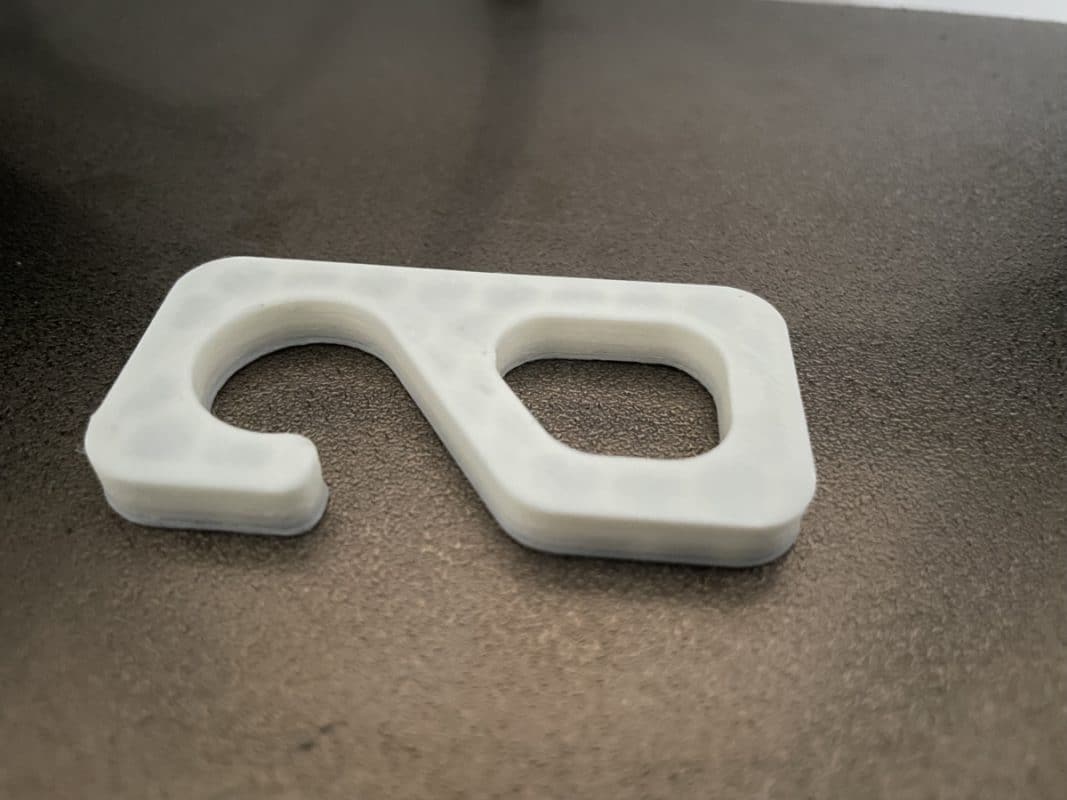
3D Printed Hooks
I made some 3D printed hooks using different materials: black PETG, black carbon PLA, and white nylon. Each material gave the hooks a distinct look and feel, showing off the printer’s ability to work with various materials.


Verdict – Worth Buying or Not?
While the Voxelab Aquila S2 (Amazon) is a pretty decent printer, it is not going to be my first choice when I recommend a 3D printer to someone. This is because it lacks some of the important features present in budget printers.
But for its price, it seems like a fair deal for anyone who is just getting into 3D printing. This is because the Aquila S2 has the basic features required for 3D printing. It also features an all-metal hotend that is only present in top-end printers that allow you to print a variety of filaments.