Simple Mintion Beaglecam Review – Worth Buying or Not?
The Beagle camera is a 3D printing tech by Mintion. It’s a tech intended to be a plug-and-play, time-lapse camera rivaling its competitors in quality at an affordable price.
This review will take you through the features of the Beagle camera, specifications, benefits, downsides, other customer reviews, the unboxing and assembling process, as well as the camera quality.
If you are looking for this, keep reading to learn more. To check out the Mintion Beagle Camera from Amazon or their Official Store, click the link for the product page.

Features of the Mintion Beagle Camera
- Plug-and-Play
- Remote Monitoring and Control
- Auto Time-Lapse
- Compatibility
- Night Vision with Color
Plug-and-Play
The plug-and-play feature is one of the Mintion Beagle Camera’s key features and popular slogan for their camera. The plug-and-play feature comes from the ease of setup and use.
Mintion Beagle doesn’t require you to take apart your 3D printer to install it like Raspberry Pi and OctoPrint. It only needs a working Wi-Fi, a power plug, and a USB cable to operate.
It also has a user-friendly interface that makes it easy for experienced and first-time 3D printer users to operate without issue. The easy setup and use, with its relatively affordable price, have made it an early favorite.
Remote Monitoring and Control
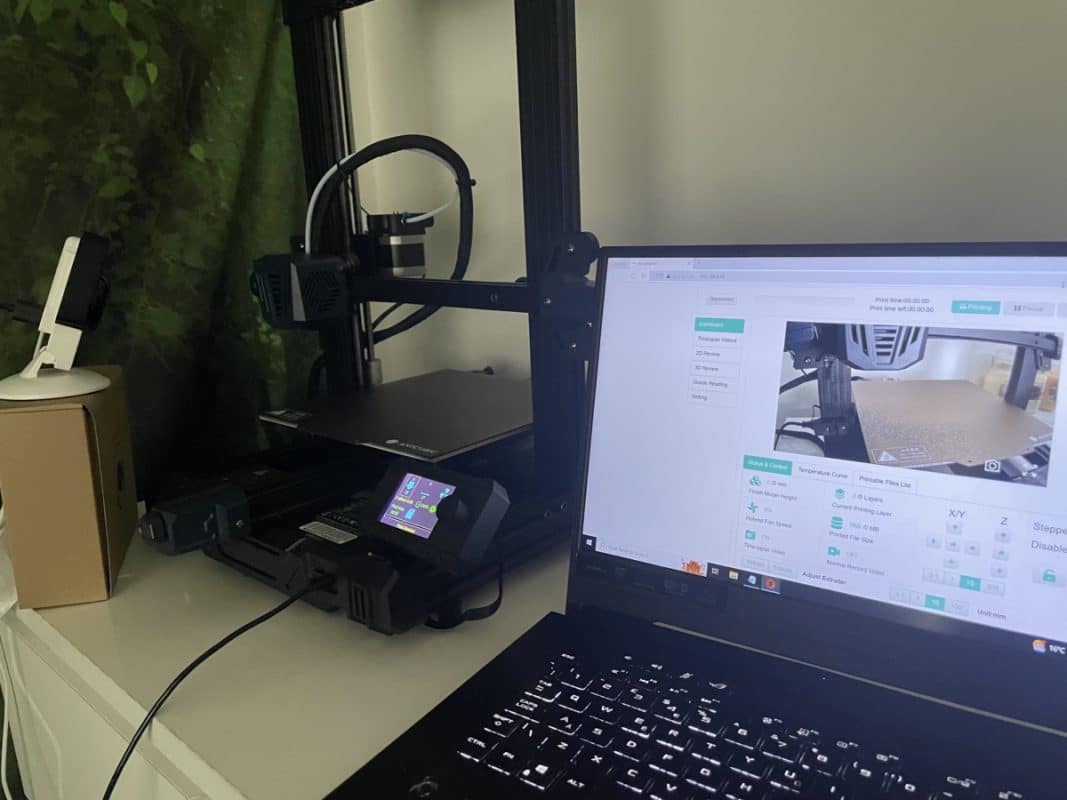
The Remote monitoring feature allows you to view your print in real-time from any location within and outside the house.
You can view it using your phone by downloading the app or copying the camera’s IP address onto your home computer or tablet to monitor your prints.
Aside from viewing your prints through the camera, you can also view the number of layers printed, the temperature of your bed and hotend, and hotend fan speed. Monitoring all of this can help you decide if you need to intervene if a print is going wrong.
Many users have voiced out how this feature is one of the key reasons they brought the Mintion Beagle camera in the first place.
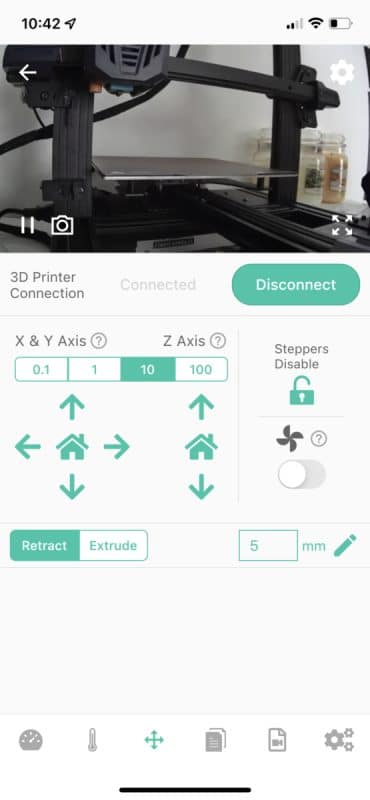
Another feature similar to monitoring your print is controlling your print remotely. The beagle camera allows you to upload your G-Code directly from your local or cloud storage and print.
It can remotely heat your bed and hotend. It also allows you to control your X and Z Axis from your device. This feature is especially useful when you intend to stop a print that has gone wrong remotely or if you notice the filament has run out.
Auto Time-Lapse
Auto time-lapse allows your camera to record your print automatically in layers. It does this by stopping the print after each layer to take a quick picture. While taking the picture, it moves the hotend out of view to capture only the model.
Doing this for the print allows it to compile the images and create a video showing the model being built layer by layer. It then saves the complied video and is ready for download.
The time-lapse feature may lead to stringing, so your print settings must account for the few seconds the camera stops to snap pictures.
You can also edit or turn this feature off from the setting menu on the user interface.
Compatibility
The Mintion Beagle Camera firmware is compatible with most Marlin firmware 3D printers and adds to the list daily. Mintion updates its firmware regularly, sometimes as often as once every two weeks.
The updates don’t only solve bugs but also update the printers that work with the Beagle camera automatically.
When you connect the camera to the 3D printer on the application, you will need to choose your 3D printer make and model from a list. You can customize your print settings on the application if your printer isn’t on the list.
Choosing the right 3D printer is important because each setting varies. Selecting the right make and model ensures the printer does not have problems monitoring or controlling your 3D printer.
Night Vision with Color
The Mintion Beagle Camera comes with a night vision mode. It means you can monitor and create a time-lapse video in black and white.
The video is also very sharp in black and white, but Beagle went a step further, and you can also view your video in a dark room with colors. The camera does this by concentrating small lights in the print’s direction to light up the area.
This feature can help you save on light bills by switching them off when not present.
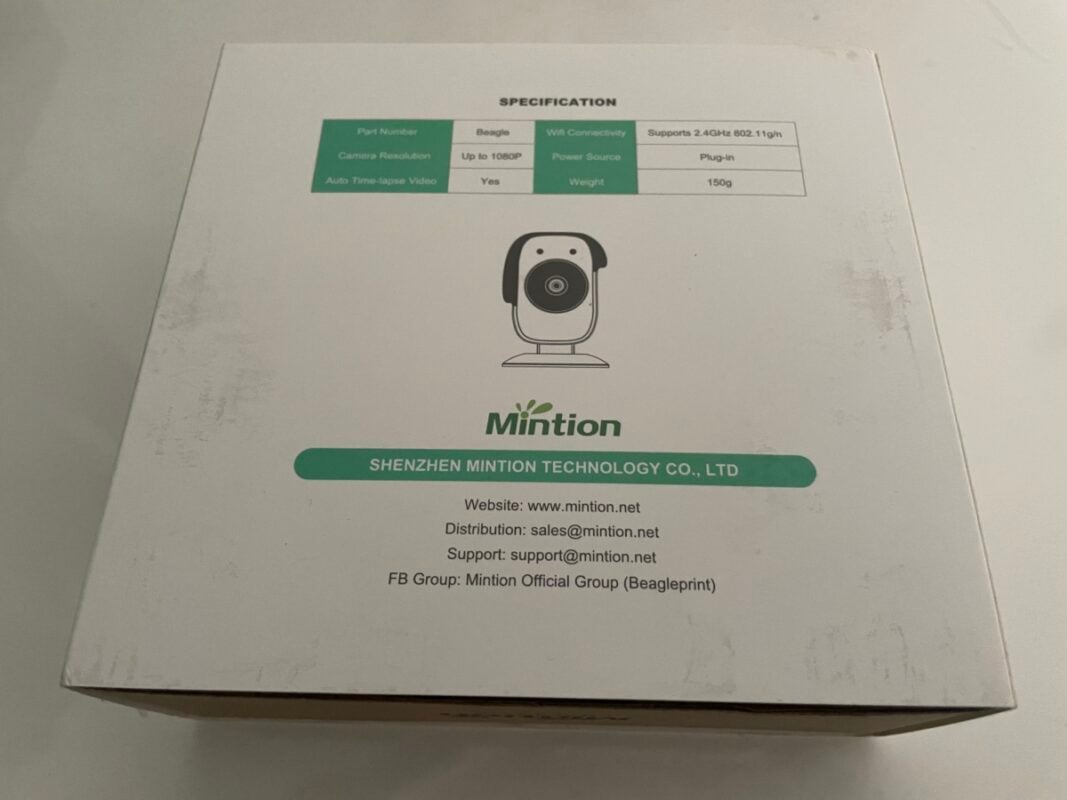
Specifications of the Mintion Beagle Camera
- Video Resolution: 1080p
- Video Compression: H.264
- Auto-Time-Lapse: Yes
- Frame Rate: 25 fps
- Night Vision: Yes
- Wi-Fi: 2.4GHz 802.11g/n
- Compatibility: Marlin 3D Printers and Slicers
- Operation: Application, Browser
- Connection To Printer: USB cable
- Files Storage: Micro SD card (32 Gigabytes)
- 3D Printer Files: G-Code
- 3D Printer Temperature Monitoring: Yes
Benefits of the Mintion Beagle Camera
- Camera is easy to set up and use compared to competitors like the OctoPi and Raspberry Pi.
- Beagle Print application gives you access to monitor and control your printer from your computer, phone, or tablet.
- Straightforward to upload G-Code and print from the Beagle print App.
- Creates automatic time-lapse videos
- Compatible with most 3D printers, and the list keeps growing.
- Mintion has excellent customer and support service to assist with problems.
- Firmware is regularly updated to fix bugs.
Downsides of the Mintion Beagle Camera
- Needs a stable Wi-Fi connection
- Regular firmware updates can sometimes cause other issues but bugs are quickly fixed.
- Some people complain about the picture quality, though there are methods to improve it.
Customer Reviews of the Mintion Beagle Camera
Most users who purchased the Mintion Beagle camera are satisfied with their purchase, and even those with issues have them quickly resolved by Mintion’s customer service.
One user looking to install the Raspberry Pi camera decided against it because of the steps involved in installing it. He rather went for the Beagle camera and didn’t regret it.
He said it was a simple setup, and he slices and prints straight from his tablet. When he had a problem with a long filename and complained to customer service about it, they fixed it the following week when a new update for the firmware was released.
He also ended up buying two more for his other printers.
Another user whose camera didn’t record a 56-hour print complained to customer service, and they swiftly responded and helped him with the issue.
The user said there is room for improvement in the camera quality, but he would still recommend the Mintion Beagle Camera to anyone using an FDM 3D printer.
The user issue with his time-lapse recording seems to be a one-off since no other comment referred to this issue. A user turned off his time-lapse video feature because he said while it was a good feature, it’s not ideal for everyday printing because it increases your print time.
He was satisfied with the product but only gave it a 4/5 star because a recent firmware update caused his camera says Wi-Fi connected 3-4 times before starting a print job.
There is no update on this issue, but I assume customer support resolved it since other users didn’t mention this in their reviews.
One user complimented the monitoring and remote control feature, the affordable price, and its relative ease of setup, but said he was disappointed with the camera quality.
He also mentioned when the camera pauses a print to take photos – it affects print quality. He advised users to turn it off if not creating a time-lapse video.
I found out that camera quality can be improved by taking it apart and manually adjusting the camera’s focus.
A user who claims not to be tech-savvy said purchasing the Mintion beagle feature was one of his best decisions. It was easy to connect his device to the camera and plug the camera into the printer. He has had no issue with his camera so far and recommends it.
Another user with a Raspberry Pi + OctoPi setup retooled his printer shop and had to rebuild his Pi cameras. He bought a Beagle camera and has enjoyed it. While his 3D printer was in his basement, he could remote print from his living room.
He was pleasantly happy with the strong Wi-Fi connection.
One user with experience using Raspi with Repetier Host said the Beagle Camera was amazing.
He also said that it works well with his HICTOP TL-D3 and Tenlog Hands 2 3D printers, and the only problem he had was when his printer stopped printing after 63 layers when he was using a Cura 5. He had to re-slice it with Simplify3D, and it worked.
He said he hoped they release a future update that allows users to log on more than one device at a time.
There are some great video reviews on the Mintion Beagle Camera you can check out.
One of them is a review by The 3D Print General.
Another good review is the one by Chris Riley.
Unboxing & Assembly
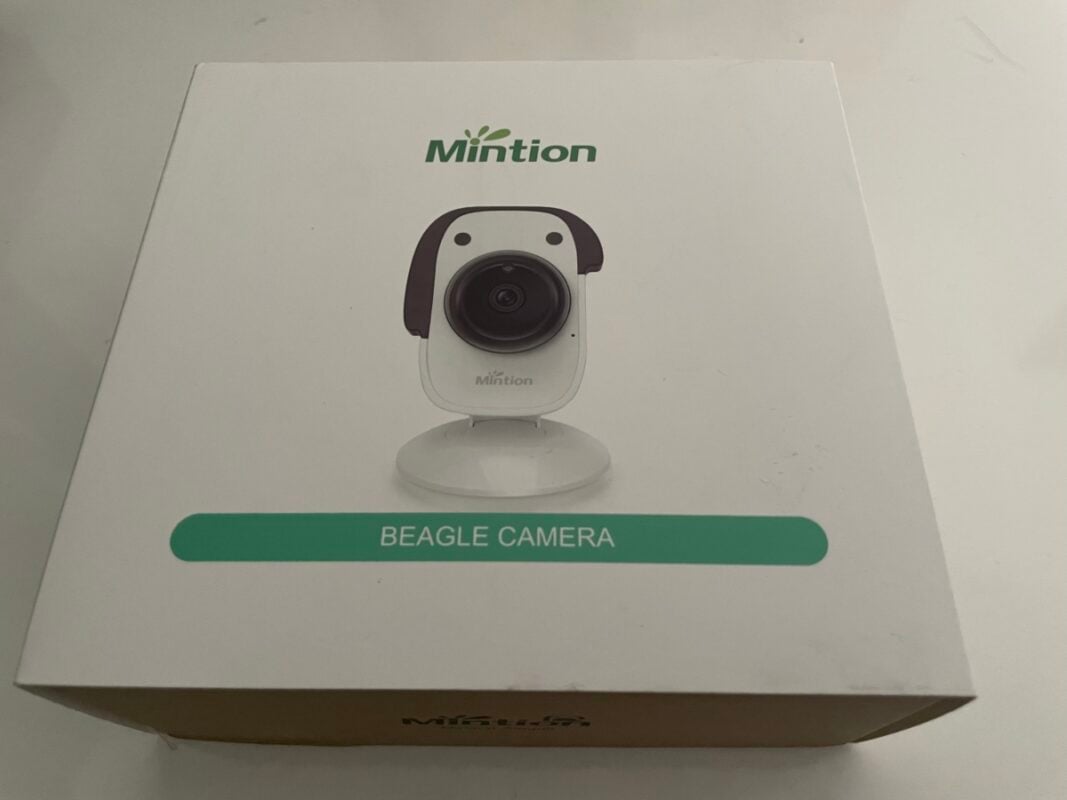
The unboxing and assembly process of the Mintion Beagle Camera – (Official Store) was relatively straightforward. The camera comes in a small white well-packaged box weighing around 150g.
Mintion Beagle Camera from Amazon or their Official Store
I recommend taking out the individual piece and laying them on the table to ensure all the parts are available. The Mintion Beagle Camera box comes with:
- Beagle Camera
- Power cable
- USB cable for connection to the printer
- Micro SD card
- Operating instruction Manual
- Reset pin


Once you open the box, you are greeted with the manual, which has everything you need to know to get your camera set up and running. It also has QR codes that will help you find and download the right app.

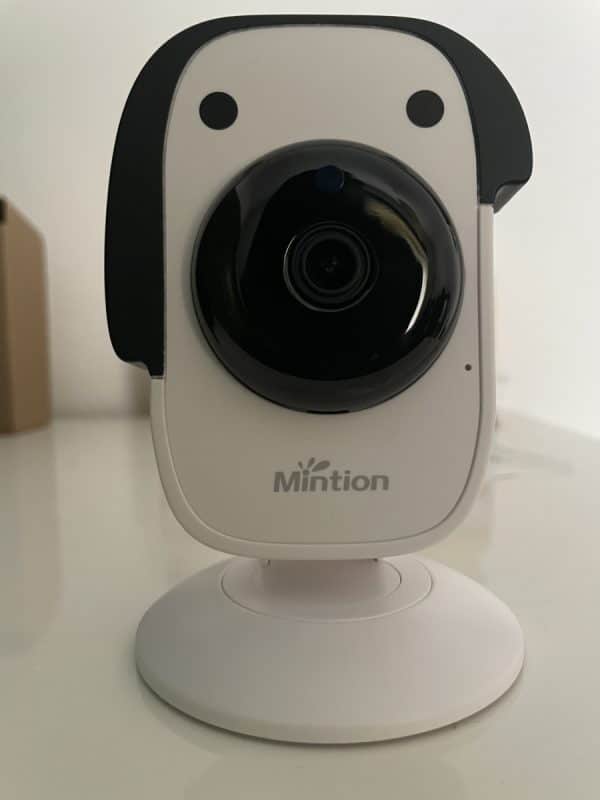
Next is the Beagle camera itself. The hardest part is determining the best place to set it to get the best picture of your time-lapse.
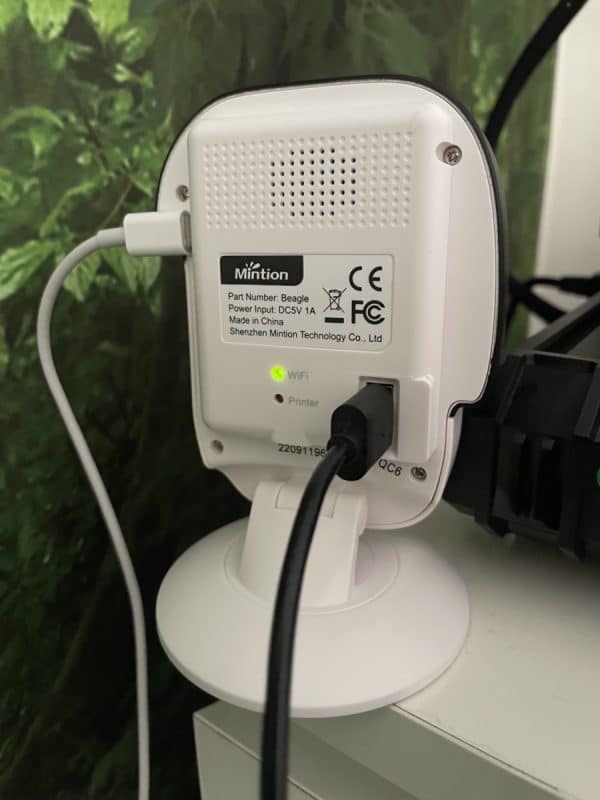
The SD card is pre-installed in the camera itself, and then comes the power supply cable, which connects the camera to the power source, and a micro USB cable which will connect to your printer.
You also get a reset pin to reset the camera if you need to do so.
Setting up the camera was relatively straightforward. You can do this by simply following the instructions in the manual. The manual tells of three ways, but I will give directives on two simple ways to set up the Mintion Beagle Camera.
The first way is to use the QR code to set up your camera.
Method 1: Using QR Code
Step 1: Plug the power into the camera; it will take several minutes to connect. You will get a voice prompt telling you it’s ready for connection.
Step 2: Once you hear the tone, use the camera to scan the QR code for the application to download it.
Step 3: After downloading the app, click on the “add device” icon on your device and then click on the “QR scan connection” option. On the screen, you are also going to check on the “you heard the voice” box and select next.
Step 4: Put in your Wi-Fi name and password, then connect to the “2.4hz Wi-Fi network” and click on next.
Step 5: Once you do this, a QR code will appear on your screen. Put the camera in front of your device and wait for a beep. Once you hear the beep, you are ready to connect.
Step 6: Then check the “I heard the beep prompt sound” box and click on next. It will take some time for your device to connect to the camera. You will hear the statement “Successfully connected to the Wi-Fi” once it’s ready.
Step 7: Connect the printer using the USB cable provided. If it’s not the right head, you can use any other USB cable that will connect.
Then click on the connect button on the screen of your device, and it should do so.
After this, you can adjust the camera to a favorable angle to capture better pictures.
Method Two: Using AP Configuration
Alternatively, you can connect your device to your camera by using the AP configuration option.
Step 1: First, download the app Beagle print and open it.
Step 2: Select the plus button in the top-right corner of the app and select the AP configuration option.
It will ask you to connect your power plug to your camera, then wait for a voice prompt to tell you it’s online. After this, check the “you heard the voice” box and click next.
Step 3: It will bring you to a page where you need to put in the Wi-Fi name of your device and the password. Do this and click on next.
Step 4: The next page will provide the camera’s Wi-Fi name and password to connect your device.
If you use this method, your camera acts like a router or access point. Because of this, it provides you with a name and password to link your device.
Link your device by selecting the “Go to setting option”. It will take you out of the app to your phone settings.
Step 5: Click on the “Wi-Fi” option to display the Wi-Fi name it showed you earlier. Connect to it using the password it provided you with earlier.
If using an android or macOS, it will complain that it is an insecure network, ignore it, and continue.
Step 6: Once connected to the camera, navigate back to the Beagle print application and check the box that says, “Yes, I have connected to the camera,” and select next. If everything goes well, your beagle app will say, “Successfully Connected to the Wi-Fi.”
If the connection is unsuccessful, try it again and ensure your phone is close to the camera when doing this.
Step 7: After this, connect the micro USB cable that came with the camera to the printer.
Step 8: Go into the application and select the “Printer” option. You will choose the printer’s brand and model and then save. If your printer isn’t on the app, select the “Custom” option.
Step 9: Select the “Connect” button after saving, and it should show on the screen you can “disconnect.”
This video by Studio Zombie 3D goes through the assembly process using the QR codes.
This other video by Make With Tech goes into details using the AP configuration method to assembly the Mintion Beagle Camera.
Verdict – Worth Buying or Not?
Mintion’s Beagle is a camera I highly recommend to both beginners and experienced 3D printing hobbyists. It’s an excellent option because of its amazing features, affordable price, and regular improvement, thanks to its frequent firmware updates.
You can get the Mintion Beagle Camera from Amazon or the Official Store today.