How to Get the Perfect Print Cooling & Fan Settings
When looking into your slicer settings, you would have come across the cooling or fan settings that control just how fast your fans are running. These settings can have a pretty significant impact on your 3D prints, so many people wonder what the best fan settings are.
This article will attempt to guide you through how to get the best fan cooling settings for your 3D prints, whether you are printing with PLA, ABS, PETG, and more.
Keep on reading through to get some of the key answers to your fan setting questions.
The video by CH3P does a great job in illustrating that it is possible to 3D print without a cooling fan and still get some pretty good results. You do have to keep in mind though, it won’t maximize your printing performance, especially for certain models.
Which 3D Printing Materials Need a Cooling Fan?
Before getting into how to set your cooling and fan settings, it’s a good idea to know which 3D printing filaments need them in the first place.
I’ll go through some of the most popular filaments that are used by 3D printer hobbyists.
Does PLA Need a Cooling Fan?
Yes, cooling fans significantly improves the print quality of PLA 3D prints. Many fan ducts or shrouds that direct the air to PLA parts work well to give better overhangs, bridging, and more detail overall. I would recommend using high quality cooling fans at 100% speed for PLA 3D prints.
Your slicer usually defaults to leaving the cooling fan off for the first 1 or 2 layers of the print to allow for better adhesion to the build surface. After these initial layers, your 3D printer should start to activate the cooling fan.
Fans work so well with PLA because it cools it down enough to ensure that the melted filament hardens enough to form a strong foundation for the next layer to extrude.
The best overhangs and bridges occur when the cooling is optimized properly, allowing you to have better success with complex 3D prints.
There are many great FanDuct Designs that you can find on Thingiverse for your specific 3D printer, usually with plenty of reviews and comments on how well it works.
These fan connectors are a simple upgrade that can really improve your 3D print quality, so you should definitely try it and see how it works for your PLA prints.
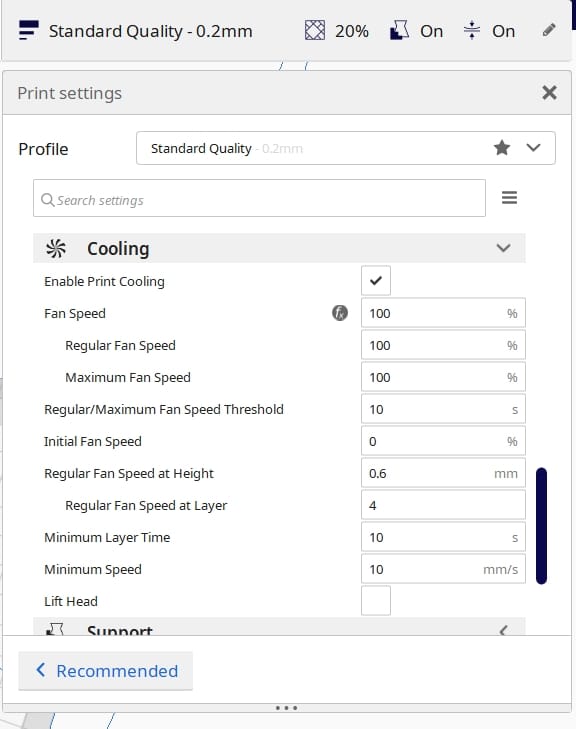
You want to be cooling your 3D prints evenly and at a consistent pace to avoid warping or curling in your PLA models. A Cura fan speed of 100% is the standard for PLA filament.
It’s possible to print PLA without a cooling fan, but it’s definitely not ideal all the way through because the filament probably won’t harden quick enough for the next layer, leading to a poor quality 3D print.
You can reduce the fan speed for PLA and this actually have the effect of increasing the strength of your PLA prints.
Does ABS Need a Cooling Fan?
No, ABS does not need a cooling fan and will likely cause printing failures if turned on due to warping from rapid temperature changes. Fans are best disabled or kept at around 20-30% for ABS 3D prints unless you have an enclosure/heated chamber with a high ambient temperature.
Many of the best 3D printers that are optimized to 3D print ABS filament do have cooling fans, such as the Zortrax M200, but it does require a little more planning to get this right.
Once you have your ideal ABS printing setup, ideally with a heated chamber where you can regulate the printing temperature, cooling fans can work really well for overhangs or sections which have a short time per layer, so it can cool down for the next layer.
In some cases, if you have multiple ABS prints to do, you can space them out on your print bed to give it more time to cool.
You can also slow down the printing speed altogether or set a minimum time for each layer in your slicer, being the ‘Minimum Layer Time’ setting in Cura which defaults at 10 seconds and forces the printer to slow down.
For your ABS cooling fan speed, you generally want to have it at 0% or a lower amount like 30% for overhangs. This lower speed reduces the chance that your ABS prints warp, which is a common issue.
Does PETG Need a Cooling Fan?
No, PETG does not need a cooling fan and works much better with the fan off or at a maximum level of around 50%. PETG prints best when laid down gently rather than squished on the build plate. It can cool too quickly while extruding, leading to poor layer adhesion. 10-30% fan speeds work well.
Depending on the setup of your fans, you can have different optimal fan speeds for PETG, so testing is the best practice to determine the ideal fan speed for your specific 3D printer.
Sometimes it can be difficult to get your fans going when you input lower speeds, where the fans can stutter rather than flow consistently. After giving the fans a little push, you can usually get them going properly.
If you need to have better quality sections on your 3D prints such as corners, it makes sense to turn your fan up more to around the 50% mark. The downside however, is that your layers may separate easier.
Does TPU Need a Cooling Fan?
TPU doesn’t need a cooling fan depending on what settings you are using. You can definitely 3D print TPU without a cooling fan, but if you are printing at a higher temperature and a high speed, then a cooling fan at around 40% can work well. Using a cooling fan is recommended when you have bridges.
When you have a higher temperature, a cooling fan helps to harden the TPU filament so that the next layer has a good foundation to build upon. Its similar when you have higher speeds, where the filament has less time to cool, so fan settings can be very useful.
If you have dialed-in your settings to print with TPU, having a lower speed and good temperature, you can avoid the need for a cooling fan altogether, but this can depend on what brand of filament you are using.
In some cases, you can actually experience a negative effect to the shape of TPU 3D prints from the fan’s air pressure, especially at higher speeds.
I think TPU requires extra time to really get that good layer adhesion, and the fan can actually disrupt that process.
What is the Best Fan Speed for 3D Printing?

Depending on the printing material, temperature settings, ambient temperature, whether your 3D printer is in an enclosure or not, the part orientation itself, and the presence of overhangs and bridges, the best fan speed is going to fluctuate.
Generally, you either have a fan speed of 100% or 0%, but in some cases you’ll want something in between. For an ABS 3D print that you have in an enclosure which requires overhangs, the best fan speed would be a low fan speed like 20%.
The picture below showcases the ATOM 80 Degrees Overhang Test with all settings the same except for the fan speeds (0%, 20%, 40%, 60%, 80%, 100%).

As you can see, the higher the fan speed, the better the overhang quality, and if a higher speed was possible, it looks like it would improve even more. There are more powerful fans out there that you can use, which I’ll discuss further in this article.
The user who did these tests used a 12V 0.15A blower fan with a rated air flow of 4.21 CFM.
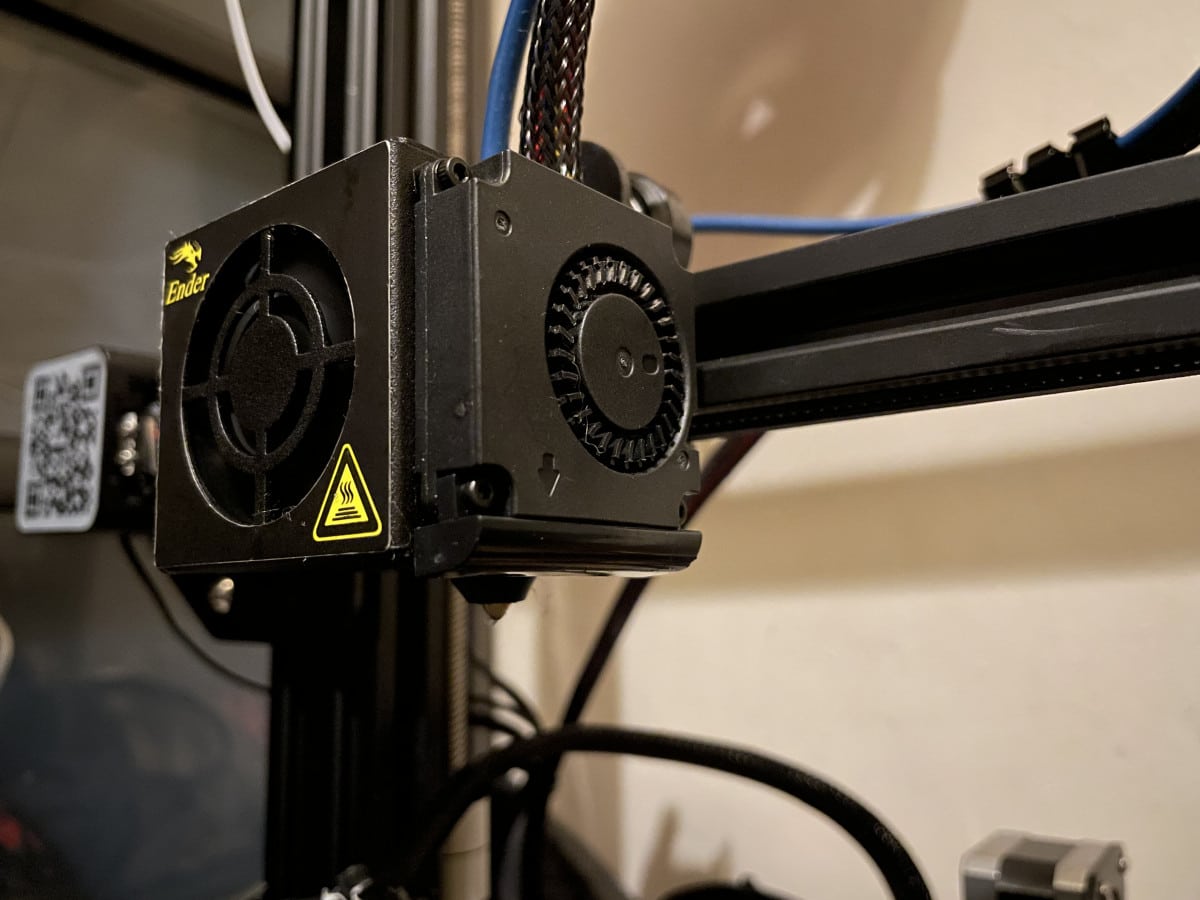
Best Ender 3 (V2) Fan Upgrade/Replacement
Whether you want to replace a broken fan, improve your overhang and bridging distances, or improve the airflow towards your parts, a fan upgrade is something that can get you there.
One of the best Ender 3 fan upgrades you can get is the Noctua NF-A4x10 FLX Premium Quiet Fan from Amazon, a staple 3D printer fan that is loved by several users.
It works at a 17.9 dB level and is an award winning A-series fan with a superior quiet cooling performance. People describe it as the ideal replacement for a noisy or broken fan on their 3D printers.
It is well-designed, sturdy and gets the job done with ease. The Noctua fan also comes with anti-vibration mounts, fan screws, a low-noise adaptor, and extension cables.
You’ll need to use a buck converter on the mainboard since its a 12V fan which is a lower voltage than the 24V that the Ender 3 runs on. Many satisfied customers comment on how they can barely hear the fans anymore and how its unbelievably quiet.

Another great fan for the Ender 3 or other 3D printers like the Tevo Tornado, or other Creality printers is the SUNON 24V 40mm Fan from Amazon. It has dimensions of 40mm x 40mm x 20mm.
A 24V fan is a better choice for you if you don’t want to have to do the extra work with the buck converter.
It’s described as a definite improvement over the 28-30dB stock fans, running around 6dB quieter. They are not silent, but are much quieter as well as providing some real power behind your 3D printer.

Several successful 3D printer users make use of the Petsfang Duct Fan Bullseye upgrade from Thingiverse. The good thing about this upgrade is how you can still use the stock fans on your Ender 3.
It provides much better cooling since the standard setup doesn’t do much to direct cool air to your 3D prints. When you upgrade to a proper fan shroud or duct, your fans get a better angle for airflow.
The Hero Me Gen5 is another fan duct which uses a 5015 blower fan and can give a much quieter fan noise while printing when done correctly.
When replacing the fans on your Ender 3 or V2, you need to get 24v fans or a 12v fan with a buck converter to change your 24v down to 12v.
The WINSINN 50mm 24V 5015 Blower Fan from Amazon is a great option for a quiet fan that works with the HeroMe ducts.

3D Printer Fan Troubleshooting
How to Fix a 3D Printer Fan That’s Not Working
There are many reasons why your 3D printer fan stops working, which can either be repaired or will need to be replaced. Your extruder fan should always be spinning to cool down the heat sink.
One issue that happens is a broken wire, a common thing that happens since there is a lot of movement that can easily bend the wire.
Another issue is that it may be plugged into the wrong jack on the motherboard. A way to test for this is to turn your 3D printer on without heating things up.
Now go through to the menu and find your fan settings, usually by going to “Control” > “Temperature” > “Fan”, then raise the fan up and press select. Your extruder fan should be spinning, but if it isn’t, the hotend fan and parts fan is likely swapped around.
Check that nothing is stuck in the fan blades like a loose strand of filament or dust. You should also check that none of the fan blades are snapped since they can break quite easily.
The video below goes through a great explanation about how your hotend and fans works.
What To Do if 3D Printer Fan is Always On
It is normal for your 3D printer extruder fan to always be on and it is controlled by the 3D printer itself rather than your slicer settings.
The part cooling fan however, is what you can adjust with your slicer settings and this can be turned off, at a certain percentage, or at 100%.
The cooling fan is controlled by the G-Code, which is where you change fan speeds according to what filament you are using.
If your part cooling fan is always on, you may have to swap fan 1 and fan 2. One user who always had their cooling fan blowing swapped over these fans on the motherboard, then was able to adjust the cooling fan speed through the control settings.
How to Fix 3D Printer Fan Making Noise
The best method to fix your 3D printer fan that makes noise is to upgrade to a high quality quiet fan. With 3D printers, manufacturers tend to use fans that are quite noisy because they reduce the overall costs of your 3D printer, so you can choose to upgrade it yourself.
Lubricating oil can work for reducing the noise of blower fans on your 3D printer, so I’d recommend trying it out. Super Lube Lightweight Oil is a great option that you can find on Amazon.

Hopefully this article helps with understanding your fan and cooling settings, leading you on the way to more successful 3D printing!
my fan is hitting my filament after two or 3 layers. Can it be adjusted
You mean after being extruded the filament is coming off the bed and hitting the fan?
You can turn off the fans for a certain number of layers. This sounds more like a bed adhesion problem. Make sure you clean your bed using dish soap and warm water, then increase bed temperature by 5-10C and see if that helps.