How to Format USB for 3D Printing – Best Flash Drives
Some people wonder how to format their USB or flash drives for 3D printing. This article will give you the details on how to do this, as well as list some of the best flash drives.
To format your USB drive, you need to insert it into your computer so that you can access its formatting tools. Locate your USB drive on your computer and select it to gain access to the “format/erase” option. Make sure that the File System is set to FAT32/FAT to ensure compatibility with your printer.
While this is just the basic answer, keep reading for more information on how to format your USB for 3D printing.
There are a few reasons why you might want to format your USB drive:
- Your USB drive File System is not compatible with your 3D printer
- There is malware on your USB drive
- You have low storage
You can either format your USB drive on Windows or macOS, so we’ll go through each operating system.
How to Format USB Drives on Windows
Here’s how to format USB drives on Windows:
- Insert the USB drive into your Windows PC
- Locate your USB drive on your PC
- Select and Format your USB drive
- Eject your USB drive
1. Insert the USB Drive into Your Windows PC
Obtain the affected USB drive and insert it into an available USB port on your computer. Once it’s inserted, a notification pops up that the USB drive has been connected.
2. Locate your USB Drive on Your PC
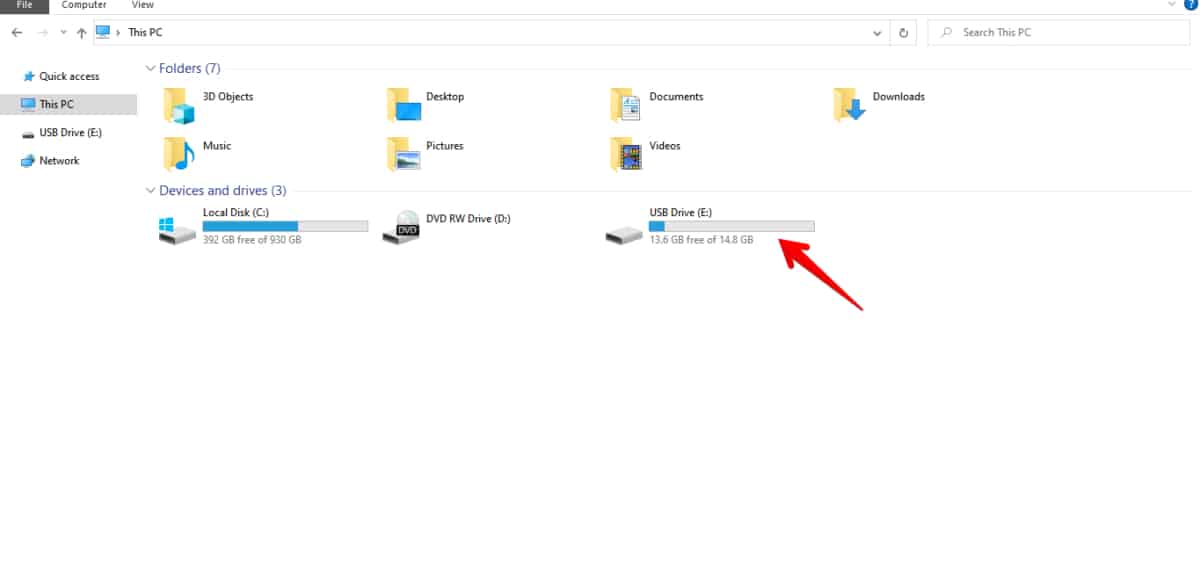
Once you have inserted the USB drive into your PC, the next step is to locate the drive on your computer. To locate the USB drive, simply hold and press “Windows + E” on your keyboard to access your “File Explorer”.
Click on “This PC” from the dropdown menu on the left-hand side to access the USB drive. It is usually labeled with a drive letter (e.g., “E:”, “F:”) or a custom name if you’ve assigned one.
You can also access File Explorer by clicking on the folder icon on the taskbar at the bottom of your home screen.
3. Select and Format Your USB Drive
After you have located the USB drive, you can now format the USB drive. Right-click on the USB drive’s icon and select the “Format” option from the pop-up menu. On the dialog box that pops up, set the “File System” to FAT32. Keep the “Allocation Unit Size” at its default value.
You may decide to change the “Volume Label” for the USB drive. Also, you can choose a name that is descriptive and easy to remember, such as “USB DISK”. Click the “Start” button to initiate the formatting process.
A warning message may appear, informing you that all data on the drive will be erased, then confirm your decision to proceed.
The formatting process should begin immediately and may take a few minutes, depending on the size of the USB drive. Once completed, you will receive a notification.

4. Eject Your USB Drive
Once you are done formatting the drive, you can eject the USB drive from your PC. Simply go to the list of connected devices from the “File Explorer”. Locate your USB device, and right-click on its icon.
On the menu that pops up, click on “Eject”. You should get a message informing you that you can remove the USB drive.
Check out this video from Northern Viking Everyday on how to format USB drives on the Windows operating system.
How to Format USB Drives on macOS
Like on the Windows PC, formatting your USB drive follows the same process with just a few tweaks. Here’s how to format USB drives on macOS.
- Insert your USB drive into your macOS PC
- Locate your USB drive on your PC
- Select and Format your USB drive
- Eject your USB drive
1. Insert Your USB Drive into Your macOS PC
Plug your SB drive into the USB ports on your Mac. Once you insert the drive into your Mac, a notification should pop up that the USB drive has been connected. In case your Mac doesn’t have a USB A port, you may need to get an adapter so that you can connect one to your Mac.
You can get the Techtobox USB-C Hub from Amazon.
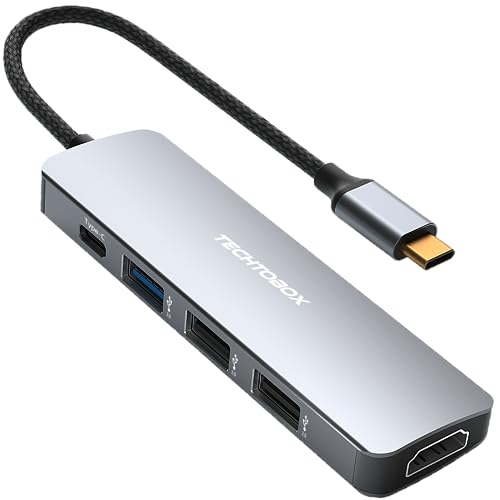
- USB C HUB 5 IN 1: Integrated 1 x 4K@30Hz HDMI, 1 x 100W PD charging port and 3 x USB 3.0/2.0. Plug and play is the perfect solution for devices with limited ports.
Prices pulled from the Amazon Product Advertising API on:
Product prices and availability are accurate as of the date/time indicated and are subject to change. Any price and availability information displayed on [relevant Amazon Site(s), as applicable] at the time of purchase will apply to the purchase of this product.
2. Locate your USB Drive on Your Mac
The next step is to locate your USB drive on your Mac so that you can format it. Here’s how to locate the USB drive on your Mac.
- On your keyboard, simply press the keys “Cmd + Space” to use the Spotlight Search.
- Type in “Disk Utility,” and press Enter when it appears in the search results. You should have a list of storage devices connected to your Mac on the left-hand side.
- Locate and select the USB drive you want to format.
3. Select and Format Your USB Drive
Now that you’ve selected the USB drive, the next step is to format it.
- With the USB drive selected, click on the “Erase” button in the toolbar at the top of the Disk Utility window.
- Now, choose a name for the newly formatted USB drive and set the File System format to “MS-DOS (FAT)” and the scheme to “Master Boot Record”
- Click the “Erase” button to start the formatting process.
- A confirmation prompt will appear asking you to proceed.
- Disk Utility will now format the USB drive according to your chosen settings. This process might take a few moments, depending on the size of the drive.
- Once the formatting process is complete, Disk Utility will display a confirmation message that your USB drive is now formatted and ready to use.
4. Eject Your USB Drive
Eject the USB drive from your Mac by clicking the eject button next to the drive’s name in Disk Utility.
Your USB drive is now formatted with the chosen file system and ready for use on a 3D printer. Keep in mind that formatting erases all data on the drive, so be sure to back up any important files before proceeding.
Here’s a video from TheAppsWorld on how to format USB drives to FAT32 on Mac.
Best USB Drives for 3D Printing
Most 3D printers are not usually compatible with USB drives that are above 32GB. I’d suggest you keep that in mind before you decide to get one. Here are some USB drives that you can use for 3D printing.
1. PNY Turbo Attache 3 32GB USB 3.0 Flash Drive
The PNY drive is one device you can use for 3D printing. It works seamlessly with both FDM and resin printers. Despite its size, it’s very durable and can be used for multiple cycles of printing operations.

- The durable, light-weight design of the Elite Turbo Attaché 3 USB 3.2 Flash Drive is the essential mobile storage solution
Prices pulled from the Amazon Product Advertising API on:
Product prices and availability are accurate as of the date/time indicated and are subject to change. Any price and availability information displayed on [relevant Amazon Site(s), as applicable] at the time of purchase will apply to the purchase of this product.
One user stated that it’s a great high-capacity USB drive. He said that he got this to use with his 3D resin printer and it worked great. However, due to the larger capacity, he had to find a workaround to format it as FAT32 for compatibility.
Once he found the program he needed to make that happen, it worked perfectly, and he had both the increased storage and low profile he was looking for.
2. SanDisk 16GB Ultra Flair USB 3.0 Flash Drive
The SanDisk USB drive is another great option for 3D printing. You should enjoy a seamless printing experience with this USB stick.
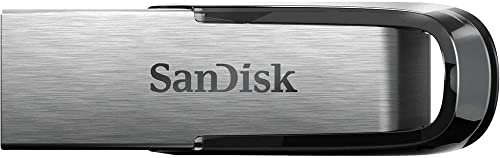
- High-speed USB 3.0 performance of up to 130MB/s(1)
Prices pulled from the Amazon Product Advertising API on:
Product prices and availability are accurate as of the date/time indicated and are subject to change. Any price and availability information displayed on [relevant Amazon Site(s), as applicable] at the time of purchase will apply to the purchase of this product.
One user stated that he used it to transfer files between his computer and his resin printer and it worked perfectly. However, he said the USB stick gets a bit warm when loads of files are loaded and read.
Another user stated that he really likes SanDisk drives and that PNY makes some pretty decent ones too.
However, he said that a lot of card readers of systems like 3D printers, video game consoles, and other complex electronics can have a limit to the size of cards they can read.
This is because, he bought a 256GB SD card before only to find out that the reader was capped at 32GB, meaning he couldn’t use it on his printer.
3. JBOS USB 2GB Flash Drive
Another great alternative for 3D printing is the JBOS USB flash drive. Even with 2GB of space, it should be sufficient for most of your 3D printing operations.
One user stated that he got this USB drive for his embroidery, cutting machine, 3D printer, and other needlework files. He said it was one of his best decisions ever.