How to Create a Creality Timelapse – 3D Printing
Many users have Creality 3D printers and want to be able to create amazing timelapse videos of their 3D prints but are not sure how to do it. That’s why I wrote this article to teach them how to create a Creality timelapse.
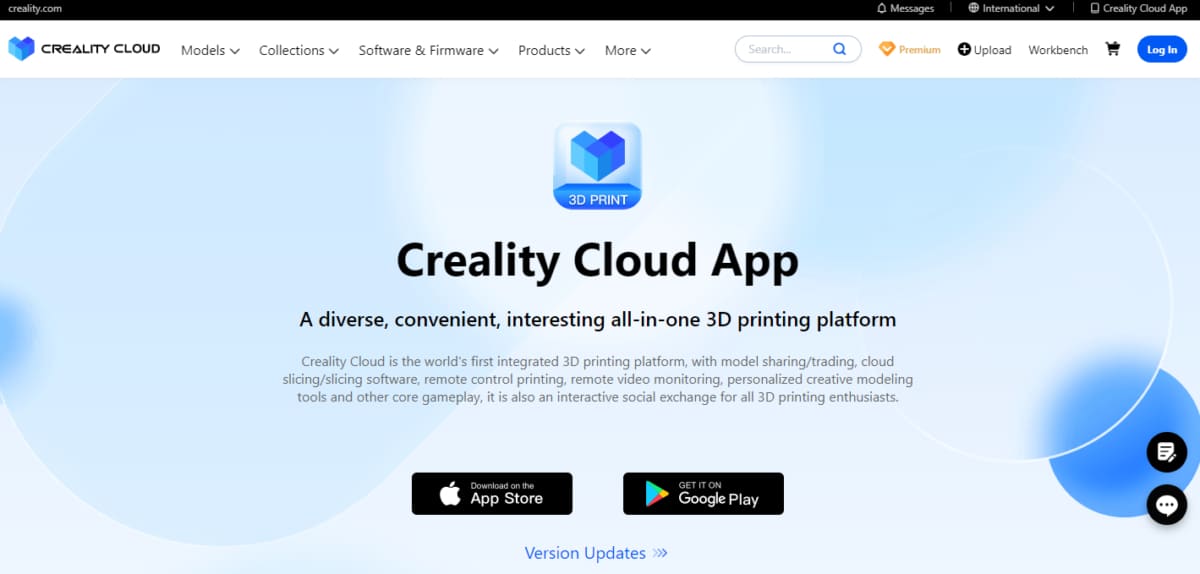
To create a Creality timelapse you’ll need the Creality Cloud app, which works on tablets and phones and will work with a webcam connected to your printer or by using the Creality Sonic Pad, which is a kind of tablet that you’ll be able to connect a webcam directly to.
This is the basic answer so keep reading to find out how to create a Creality timelapse.
How to Create a Creality Timelapse
These are the main ways to create a Creality timelapse:
- Use the Creality cloud app
- Use the Creality sonic pad
Use the Creality Cloud App
The first method to create a Creality timelapse is by using the Creality Cloud App, which is a powerful platform that helps you to remotely monitor and control Creality 3D printers.
It also provides an easy way to capture stunning timelapse footage of the printing process.
To create a timelapse with the Creality cloud app, you will need to:
- Gather a webcam and a phone or tablet
- Install the app and connect the webcam
- Choose and slice the model
- Enable timelapse recording on the app
- Start the print and monitor progress
- Download and share
Gather a Webcam and a Phone or Tablet
The first step you’ll need to do is to gather a webcam and a phone or tablet to run the Creality Cloud app.
The Creality Cloud App is available for both Android and iOS devices and you can use it on a phone or tablet.
Users recommend the Creality K1 AI Camera 3D Printer Camera as the best webcam option, which is available at Amazon for a great price.

- 【Real-time viewing】The Creality K1 AI Camera allows users to monitor the printing status in real-time through the Creality Cloud or Creality Print, providing live updates.
Prices pulled from the Amazon Product Advertising API on:
Product prices and availability are accurate as of the date/time indicated and are subject to change. Any price and availability information displayed on [relevant Amazon Site(s), as applicable] at the time of purchase will apply to the purchase of this product.
One user suggests using the Creality webcams because they work a lot better with the Creality Cloud app.
Check out the video below with detailed instructions on how to install the Creality K1 AI Camera on your 3D printer.
Install the App and Connect the Webcam
The next step is to install the app and connect your webcam. You can connect your webcam directly to your 3D printer.
If your machine does not feature this kind of support, you can get a Creality WiFi Box 2.0 to serve as a connector between your printer and a webcam.
Error: Unknown Link Type
They can be found on Amazon for a nice price. Users stated that creating a timelapse video with the Creality Cloud app via the Creality WiFi Box 2.0 is easy and they look pretty good.
One user stated that the Creality Cloud app is super easy to install and makes timelapses almost automatically.
Choose and Slice the Model
After properly installing the app and connecting the webcam, you’ll need to choose and slice the model you want to 3D print.
You can download the model you want from platforms that provide free models to be 3D printed, such as Thingiverse.
The Creality Cloud app also features a library where you can choose the 3D model you want to print.
Take a look at the video below to see some cool models available to be printed on the Creality Cloud app.
Check out the video below for a detailed tutorial on how to slice your model on the Creality Cloud app.
Enable Timelapse Recording on the App
Enabling timelapse recording on the app is the next step in order to correctly create a Creality timelapse.
Within the app, you will need to enable the timelapse recording feature. You can find this option by going to the printer “Settings” menu and then to the “Camera” tab.
One user stated that the Creality Cloud app will do great timelapses but it only works if you enable it in the app, and then use the app to print.
It won’t create timelapses based on just printing from a card direct to the printer.
Start the Print and Monitor Progress
After enabling timelapse recording, it’s time to start the print and monitor the progress.
Keep an eye on the timelapse preview in real time as your 3D print takes shape. The app allows you to pause, resume, or cancel the print remotely.
Take a look at the timelapse one user recorded with the Creality K1 AI Camera 3D Printer Camera and the Creality Cloud App.
Download and Share
The last step in order to create a Creality timelapse by using the Creality Cloud app is to download the timelapse video you made and share it.
You can download the captured timelapse video directly from the app. To find the video, just go to “My Space” and then “Time-Lapses” on the app. Share your captivating creation on social media platforms or with fellow 3D printing enthusiasts.
Take a look at this awesome Moon Lamp timelapse created with the Creality Cloud app.
Use the Creality Sonic Pad
Another way in which you can create Creality timelapse is by using the Creality Sonic Pad.
The Creality Sonic Pad is a tablet that offers that will connect to your printer and help you with your 3D printing process.
To create a timelapse with the Creality Sonic Pad, you’ll need to:
- Buy the Sonic Pad and a compatible webcam
- Connect and enable the webcam on Sonic Pad
- Choose and load a G-code
- Start printing and recording
Buy the Sonic Pad and a compatible webcam
The first step in order to create a Creality timelapse by using the Sonic Pad is to buy the Sonic Pad and a compatible webcam.
You can find the Creality Sonic Pad Klipper-Based 3D Printing Smart Pad for a great price and good reviews over at Amazon.

- 【 Klipper--Speed Up Printing While Kepp the Quality】Creality Sonic Pad uses precision-oriented algorithms to command the motors for higher printing speed. The built-in input shaper fanction will mitigate oscillation during high-speed printing and smooth out ringing, thus keeping the model quality.
Prices pulled from the Amazon Product Advertising API on:
Product prices and availability are accurate as of the date/time indicated and are subject to change. Any price and availability information displayed on [relevant Amazon Site(s), as applicable] at the time of purchase will apply to the purchase of this product.
One user really recommends the Sonic Pad as he thinks the interface is great and paired with a generic webcam and the timelapse feature is easy and works well. (from Amazon reviews)
Users recommend getting the Logitech HD Laptop Webcam C615 to do the timelapse with the Sonic Pad as it has an autofocus feature that is very useful.

- Ergonomics: Features a widescreen full HD video (1080p at 30fps), with fast and smooth autofocus that keeps your image in sharp focus
Prices pulled from the Amazon Product Advertising API on:
Product prices and availability are accurate as of the date/time indicated and are subject to change. Any price and availability information displayed on [relevant Amazon Site(s), as applicable] at the time of purchase will apply to the purchase of this product.
You can also find it over at Amazon for a reasonable price.
Connect and Enable the Webcam on Sonic Pad
After buying the Sonic Pad and a compatible webcam, you’ll need to connect and enable the webcam on the Pad.
To connect the camera, just plug the webcam into the USB port located on the back of the Sonic Pad.
After connecting the camera, you’ll need to enable it, to achieve that, just go to “Configurations” and then “Camera” and you’ll be able to enable your camera and the timelapse feature.
Check out the video below for detailed instructions about connecting and enabling a webcam into Sonic Pad.
Choose and Load a G-code
The next step is to choose and load the G-code file of the model you are going to be printing and recording.
To load a model into Sonic Pad you’ll need to select a 3D model that you want to print and create a G-code file using your preferred slicing software.
You can also download a G-code file directly. I wrote an article called Best Free 3D Printer G-Code Files – Where to Find Them that may be useful to you.
After choosing the file you want, you can either upload it to the Creality Cloud and access it with the Sonic Pad or transfer the file to a USB stick and connect it to the Sonic Pad.
To print your file via the Creality Cloud app, just hit the “Print” button.
Check out the video below to see the Creality Sonic Pad in action.
Start Printing and Recording
The last step is to start printing and recording. You should monitor your print to be sure that the timelapse video will come out perfectly.
One user stated that you can adjust the timelapse settings in the Sonic Pad on the fly while printing.
He’s been adjusting “Park Time” and “Delay Compensation” during his latest print trying to get the best settings to allow his camera to adjust the white balance and focus before taking the image for the lapse.
After recording your timelapse video, consider sharing it with the rest of the 3D printing community.
Take a look at this cool timelapse that was recorded with the Creality Sonic Pad:
Check out the video below for more information on how to create a timelapse using the Creality Sonic Pad.