9 Sure Fire Ways To Stop 3D Prints Moving While Printing
You’ve got your 3D printer set up, got an awesome design to print and have all the files loaded up ready to go. Your 3D printer is active but for some reason the print won’t stick down and moves while it’s printing.
It’s a frustrating thing that has happened to many 3D printer hobbyists, but be glad to know it’s definitely fixable with the right knowledge.
There are a few reasons, some more common than others, as to why this happens. In this post I’m going to give you some of the most successful solutions that people have used to get their prints stuck down and not moving while printing.
You want to learn what a good first layer looks like, because without a good foundation there isn’t much hope for the rest of your print. 3D printers have to be pretty precise so getting certain things accurate is key.
- Make sure your nozzle & bed height is set correctly
- Make sure your bed surface is in good working order
- Print the first layer at a lower speed
- Increase the fan speed or upgrade it
- Set your slicer to over-extrude on the first layer
- Adjust the temperature of your nozzle and heated bed
- Use a good adhesive substance on your print surface
- Make use of rafts, skirts and brims
- Check that your nozzle is unclogged
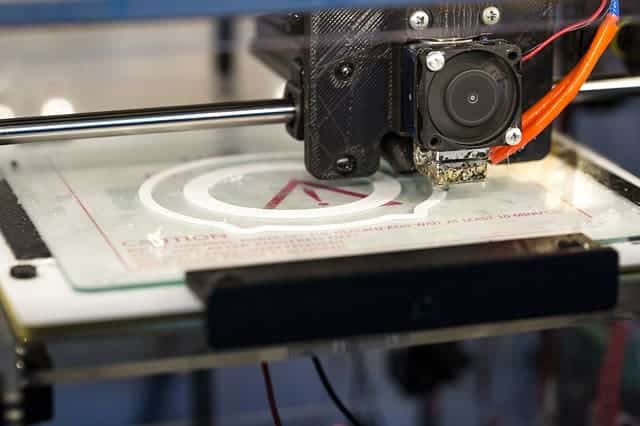
1. Make Sure Your Nozzle & Bed Height is Set Correctly
Good first layer adhesion comes about when the extruder makes good contact with the printing surface below. In order to get this good contact, your nozzle and bed height needs to be set in such a way that the nozzle doesn’t extrude filament too strongly to the printing surface, and not too far away from it that it has no proper connection.
If not set at the correct level, you will quickly find one of two things:
- Your nozzle is too close to the print bed which results in filament actually grinding against the print surface and your filament won’t be able to extrude properly or,
- Your nozzle is too far away from the print bed and it will have a very hard time sticking down.
3D printer manufacturers have tackled the task of bed height levelling in different ways so it’s a good idea to refer to a guide for your specific 3D printer.
Some 3D printers have automatic bed levelling, some require manual bed levelling but I’ll give you a few general practices that people follow.
What you want to be able to do is set the correct zero position for the z axis (up and down axis). Unfortunately not all 3D printers have sensors that tell you when the nozzle touches the print surface.
The general practice for setting your nozzle height is to set it below your layer height at around 50%-75%. So if you are printing at a layer height of 0.15mm or 150 microns, you may want to set your nozzle height at around 0.1mm or 100 microns away from the print bed.
How to Get Your Nozzle at a Good Height
Many people use a business card or another thin piece of card to put under their nozzle as a guide on how high their nozzle should be. When you set your nozzle height there should be some resistance between the nozzle and the card underneath so you know there’s enough space to extrude properly.
Seeing as though you’re going to want some good accuracy, I’d advise getting yourself a Feeler Gauge from Amazon so you can find the height between the print surface and the nozzle.
It’s a very useful but low-priced item that will help you in your 3D printing journey.

After you set your nozzle height, do a quick test run to see how well your nozzle is extruding. If it’s setting down firmly then you have a good gauge on how well your height settings are.
For example, the CR-10 & Ender 3 3D printers have what we call a four-point levelling system. This is simply where have springs on the four corners of the print bed and tighten or loosen these springs to get the levels correct.
Below is a video from CHEP showing an easy way to level your bed.
This is a great guide on how to level beds. There’s a G-code file to download to go with this guide which you run through your 3D printer. It takes a few adjustments of each corner while having a piece of paper underneath the nozzle to get a good level. Then running some specific tests, so definitely check out the video.
Some 3D printer firmwares have a setting to adjust the height of your nozzle while you’re printing the first layer. In the Marlin firmware, it’s called ‘babystepping’ and can be very useful to get the nozzle height correct without having to physically level the bed.
Auto-Bed Levelling
Automation is great when done correctly, and it can be set up with your 3D printer to make sure your bed is level throughout a print.
The reasons why people use auto-bed levelling:
- Print surfaces and springs expand, bend and compress, especially in the presence of high temperature and a lot of movement
- People just get tired of having to constantly re-level the printing bed
- Saves time and headache in the long-run so they don’t mind spending money
There are cheaper auto-levelling products out there that may work for a little while, but many people state that it soon gives them much grief due to it giving them levelling problems!
You’re better off going for quality and durability when it comes to something as important as your bed levels, for the sake of your prints. The BL Touch or the EZABL are good choices.
There are good guides out there on how to install these with your 3D printer.
2. Make Sure Your Bed Surface is in Good Working Order
There are different types of printing surfaces such as glass, PEI, and different types of metallic sheets. You want to make sure your printing bed surface is not worn out, doesn’t have too many scratches/marks, and is clean and fit for purpose.
A good print surface is essential in getting good results in your 3D printing career. I couldn’t count the number of people who have had failed prints and scoured the internet to find the solution, when it was simply down to not having a good printer bed surface.
When you finally think you’ve found the solution and print a few successful prints, then a few days later your prints are failing again it can get pretty frustrating.
Being able to find a print surface that works with all the different types of filament out there and is easy to install can be a task. You want a bed surface which is heat-resistant, durable, and can be reused many times without having to change the printing surface.
Something that can create an optimal bond between your 3D printed object and the build surface will maximise the chance that your object will stay in place for the whole print, as well as being easy to remove. One that doesn’t require all kinds of sticky foreign substances.
Your answer is simple, get yourself the BuildTak Printing Build Surface.
As you know, price and quality go hand in hand so keep the long-run cost in mind rather than the price. Apply this solution once, and you won’t have to worry about prints not sticking. It can be easily cut to size if it’s not the correct measurements for your 3D printer.
I recommend that you keep your print surfaces clean by giving it a wipe down with Rubbing Alcohol. You can either get the bottle and give a quick dash on a napkin, or get the individually-wrapped Alcohol Wipes, both from Amazon.
Many people use substances on their print surfaces which can build up, which will need to be taken care of from time to time. These substances can be easily freshened up with a damp towel and replacing it with a fresh layer.
Some cheaper heated beds tend to bow up or down as they heat and cool. This can result with a bad first layer which leads to prints moving around during the print process, ruining your prints.
Having a good quality heated bed will help out massively for this issue, so I do recommend saving yourself future hassle and getting acquainted one.
If you have a cheaper bed surface, get a straight edge across your printing surface to check if it’s straight and not bowed. If your surface is bowed, it will be hard to get level unless you have an auto-bed levelling device.
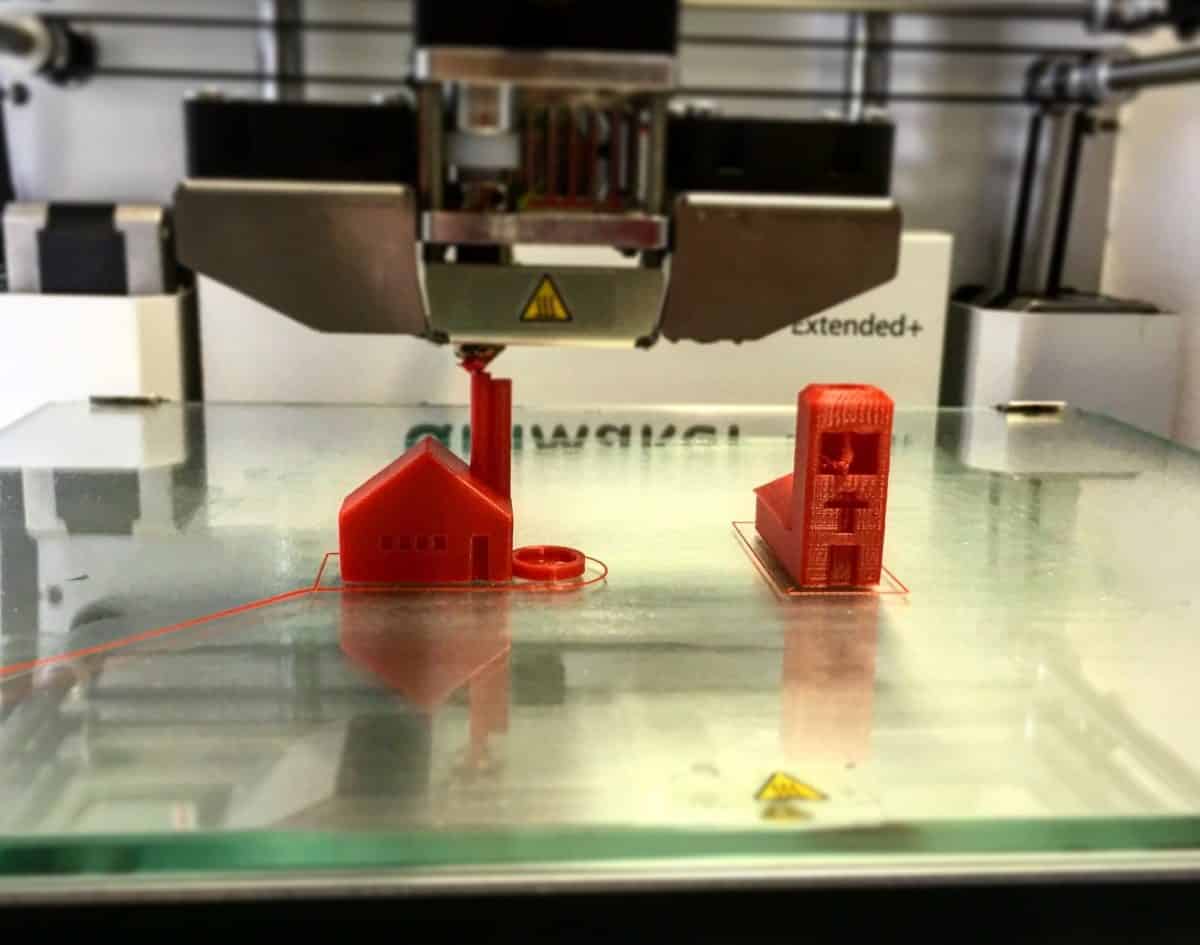
3. Print the First Layer at a Lower Speed
Temperatures are quite important in 3D printing and this method keeps this in mind. When you 3D print at a lower speed, you give your filament more time to heat up inside the hot end and it also exhibits heat out to the print surface which helps the first layer adhesion.
On the other side, it allows the material more time to cool down and get to a harder state before the next layer is laid down.
Different speeds work for different 3D printers so it’s up to you to test them out. Some people have had success at changing the speed to 75%, others much lower in the 20%-40% range.
Do some trial and error with your own printer and see what works out best for you.
You can usually decrease the speed for your first layer in your slicer, or through your printers features. For example, with the Prusa 3D printer you can use knobs to decrease the printing speed, so find out how it’s done on your specific 3D printer.
Depending how it turns out, you can slow the printing speed for the first few layers rather than just the first if it’s not successful.
4. Increase The Fan Speed or Upgrade it
This is linked to the previous way of getting your prints to stick and not move while printing. When your fans aren’t working at their optimum level, the extruded material might not cool down in time.
Your material will still be in it’s rubber-like state and means it has lower adhesion to the print surface. Increasing the speed of your fan is a solution which will easily solve this issue.
Once your fan speed is working good, it should cool down your material and have it ready for the next layer to be extruded.
If your material still doesn’t cool fast enough, you can upgrade your fan to one that works more efficiently. This can be a better idea because the stock fans that come with some printers are lower quality and quite loud.
Reducing that noise, having successful prints and not having to decrease printer speed is the ideal scenario for any 3D printer user out there. The fan I always recommend for people is the Noctua NF-A4. It always has high praises because it runs quietly, efficiently, and is long-lasting.
5. Set Your Slicer to Over-Extrude on the First Layer (150%-200%)
The slicer software for your 3D printer designs is very customizable and this can work in your favour with the first layers of a print.
A good method that many 3D printer users attest to is increasing the extrusion width and height for your first layer only. This will have your extruder pump out more material than usual in an effort to get your first layer foundation stick to the print bed better.
Excess plastic is compressed out of the nozzle which pushes the plastic into the layer below. The more surface area that your material covers, the more adhesion that it creates.
A good comparison is having a hot glue gun and pressing the tip onto the surface then squeezing the trigger, against lifting the glue gun above the surface and letting glue drip down.
Material having good contact with the surface is essential for the first layer, which helps to stop prints moving while printing.
When you use this method, it gives your prints some resistance. It allows for some small margins of error such as the level of your print bed and will still giving you successful prints in the end.
So you don’t necessarily have to get the print bed perfectly flat if you incorporate this method into your process.
Slicer settings inputs:
- Extrusion width for first layer – up to two times the nozzle size
- Extrusion height for first layer – up to one times the nozzle size
If you use these settings, there is a possibility that it will overstretch your extruder so to counteract this, combine the previous method and slow down the print speed for the first layer.
6. Adjust the Temperature of Your Nozzle & Heated Bed

Raising the temperature of your nozzle has a similar effect to slowing down print speed, because it allows temperature to work better in terms of layer adhesion for your extruded material.
In your slicer, you can raise the temperature of the nozzle by 5°C-10°C (9°F-18°F) for just the first layer to be more grounded. This should stop your prints moving while they are printing.
You can also raise the temperature of the heated bed for just the first layer in the same fashion. Raising by 5°C should be fine to get a good foundation. It can take some trial and error but once you have the optimal settings for your material, it should give you consistent results.
Keep in mind that different brands of the same material can have different additives and formulas which change the composition of the material. In these cases, you may have to retest your first layer temperature settings to get the best one.
If you are using a cheaper heated bed, keep an eye out for the second layer also because as previously mentioned, they have a tendency to warp slightly when hot or cool.
7. Use a Good Adhesive Substance on Your Print Surface
Sometimes a fix as simple as using a good adhesive on your print surface works perfectly to keep your prints from moving. Many of the methods above should work well enough that you don’t need to use adhesive but if you want an easy method, it’s definitely a good option to try.
There are a few types of adhesive, these are the ones that work the best:
- Blue Masking Tape – very effective, doesn’t leave residue, prevents scratches and easy removal
- Purple Washable Glue Sticks – easy to see any missed areas, changes to clear when dry, solution for many 3D printer users.
- Hairspray – good alternative and works well when others don’t, good on glass surfaces
- Specialised 3D printer adhesive products (e.g. 3DLAC glue)
You usually just need a thin layer of adhesive on your print bed surface and it will be enough to have your prints stick down to the bed.
8. Rafts, Skirts & Brims
You may have heard vaguely of skirts, brims and rafts which are terms widely used in 3D printing. These terms are to do with using structures around the lower layers of a print to give it extra support. They do similar things but have different uses and advantages.
Raft
A raft is a small bed of material underneath your print. It works by stabilising your print and creates a strong foundation for your print to be built on. Once your print is finished, the raft should peel away from your print and can be discarded.
Many people use rafts when printing ABS because it’s prone to warping and bed adhesion issues.
Your 3D slicer will have settings to include a raft so it’s pretty easy to add to your prints if you have having problems with prints moving around. There are other settings to do with your raft which can be adjusted according to your needs. Check this Simplify3D post on rafts for more information.
Skirt
A skirt is a simple thin outline that surrounds your print but doesn’t touch it. Before starting your main print, the outline of your print will be extruded to make sure the extruder is ready. It’s basically like a warm-up for your extruder to ensure your filament extrudes smoothly.
When the skirt is being extruded, it’s important to observe how it looks so you can identify issues beforehand. For example, if you can see it’s levelling is of because the material is not sticking to the print bed well, you can adjust this before printing the main object.
One layer for the skirt is usually enough, but some people add layer or two so the skirt is easier to remove after the print is finished and cooled. It’s a good option to use this feature so you know that things are in working order and ready to give you a successful print.
Brim
A brim is several lines of material printed directly around your part and are used to hold down the edges of your print. A brim is almost a mixture of the skirt and raft. It’s a unique skirt which is directly attached to the edges of your print.
This is a good solution to prevent warping and increase bed adhesion which leads to solving the issue of parts mving while printing.
Instead of using a raft, the brim uses less material and can print a lot faster so if you don’t need too much of an extra foundation I would stick with using the brim. After the print is done, it’s easily separated from the model which can be thrown away after use.
There are a few settings to play with when it comes to the brim. It works with the skirt, where you’ll set the skirt offset to 0mm so it’s touching your model. Then set the number of skirt outlines to 5+ to make the outlines around the print.
If you need an increased surface area, simply up the number of outlines in the settings.
Not only will your extruder be primed for the main print but it also helps with the first layer adhesion!
If the brim is too firmly attached after the print is done you can increase the skirt offset to 0.1mm or 0.2mm to add a small gap between your print and the brim.
It’s fairly straightforward to create a skirt, raft or brim in your slicer software so it’s definitely worth trying if you haven’t already. Simplify3D has a good summary of what settings are ideal for each technique, which you can find here.
9. Check That Your Nozzle is Unclogged
I’ve written an in-depth post about the five best ways to unclog an extruder nozzle, so check that out if this is one of your issues.
Having a clogged nozzle may not be noticeable at first, but it will have a negative impact on how your prints are turning out. When your extruder cannot extrude what it needs to at a good flow, it causes filament to be laid down weaker.
This ends up increasing the chances of your prints moving while printing because they have a weak foundation.
To identify this issue, you can use your attention to detail and try to notice whether the lines extruded by your 3D printer are normal or look thinner than usual.
If you identify very fine lines, you definitely want to clean your nozzle.
Another symptom of a clogged nozzle is the filament coming out the nozzle in a curved fashion. It’s a good sign you have a partial blockage which needs to be fixed.
Many nozzles that come originally with a 3D printer aren’t the best of quality and have more tendencies to get clogged due to being cheaper versions.
Sometimes increasing your hot end temperature can help to get rid of the blockages inside the nozzle, but if it’s a clog that has built up over time, this method may not solve the issue.
If you are a regular user of 3D printing I’d definitely advise you to get yourself a proper Nozzle Cleaning Kit (from Amazon). It’s got 33 pieces made of premium material and gets the job done with all different sized nozzles.
They even throw in two pairs of precision tweezers and a cleaning cloth as an extra bonus!
Simply heat up your hot end, run it to full heat then put the correct size needle into the nozzle. It should be cleaned out and ready.
If your nozzle is seriously blocked it may not do the job, but when used regularly for maintenance, you shouldn’t run into this issue in the future.
Follow these methods and I’m sure it will solve your issues of prints moving while printing and not sticking down as well as they should. These things happen to most people, but equipped with the right knowledge it should be a thing of the past!