Best Ways How to 3D Print Text on Your 3D Printer
There are many things you can print on a 3D printer, one of those being text generated 3D letters for a name, logo, or almost anything you can think of.
The process to design these things can be confusing at first, even with 3D text, so I decided to make an article to show people how to get it done.
To convert text to 3D letters ready to 3D print, you need to choose a CAD software such as Blender or SketchUp to design the 3D text. Once you’ve entered your text, you can use a rectangular frame for the text to sit on and extrude the text past the frame. Export your file as an STL after complete.
I’ll go through the process in a little more detail, as well as list the best 3D printer text generators and how to make 3D text logos using this method.
How to Convert & 3D Print 2D Text Into 3D Letters
Words are great, and they look even better when they can be touched physically. The conversion does not take much time as you would require specific software for converting a 2D text into a 3D one.
This is the only part that would require time, and then you can send that 3D text file to a 3D printer for printing.
There are different ways through which you can convert your text into 3D letters and print it with a 3D printer, such as Blender, SketchUp, FreeCAD, or Fusion 360. However, to convert a plain text into a 3D one, you will require software to perform certain tasks.
Creating 3D Print Text Using Blender
Getting & Opening the Application
- Download the latest version of Blender from their official website and install the application.
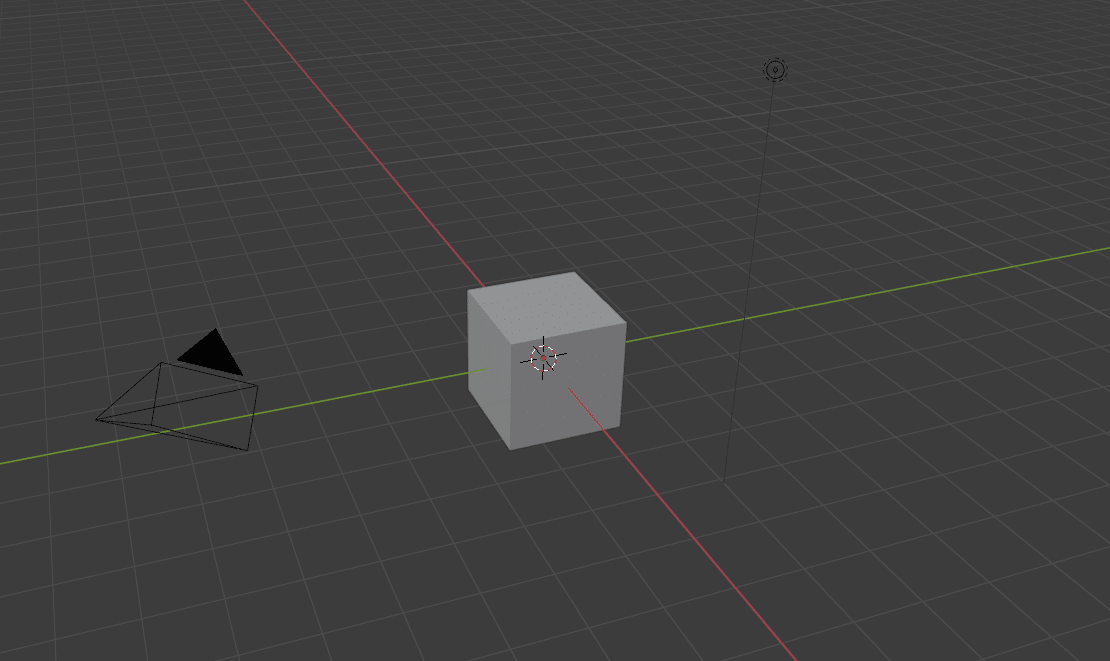
After it has installed, open Blender and you should see the main interface with a cube in the middle.
Adding the Text
- Click on the cube and delete it using the ‘Del’ button on your keyboard or by pressing the ‘X’ key
- Press Shift + A to add an element and select ‘Text’ from the menu.
- It will bring up actual text for you to edit.
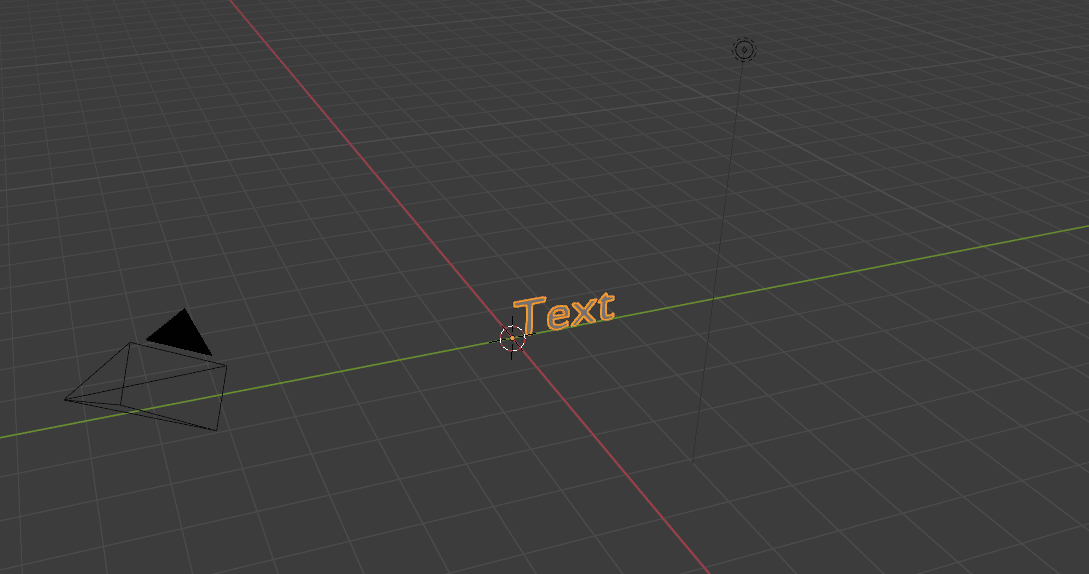
- Now you want to rotate the object so you can see it clearer.
- Highlight the text and press ‘R’ on your keyboard then press ‘X’ to rotate it around the X-axis.
- Then press 90, to rotate it 90° and press ‘Enter’ to accept.
- You also want to rotate it 90° around the Z axis.
- To do this, highlight the object, press ‘R’ then ‘Z’ for the Z-axis, then press 90 again on your keyboard to do the rotation and press ‘Enter’.
Time to Edit Our Text
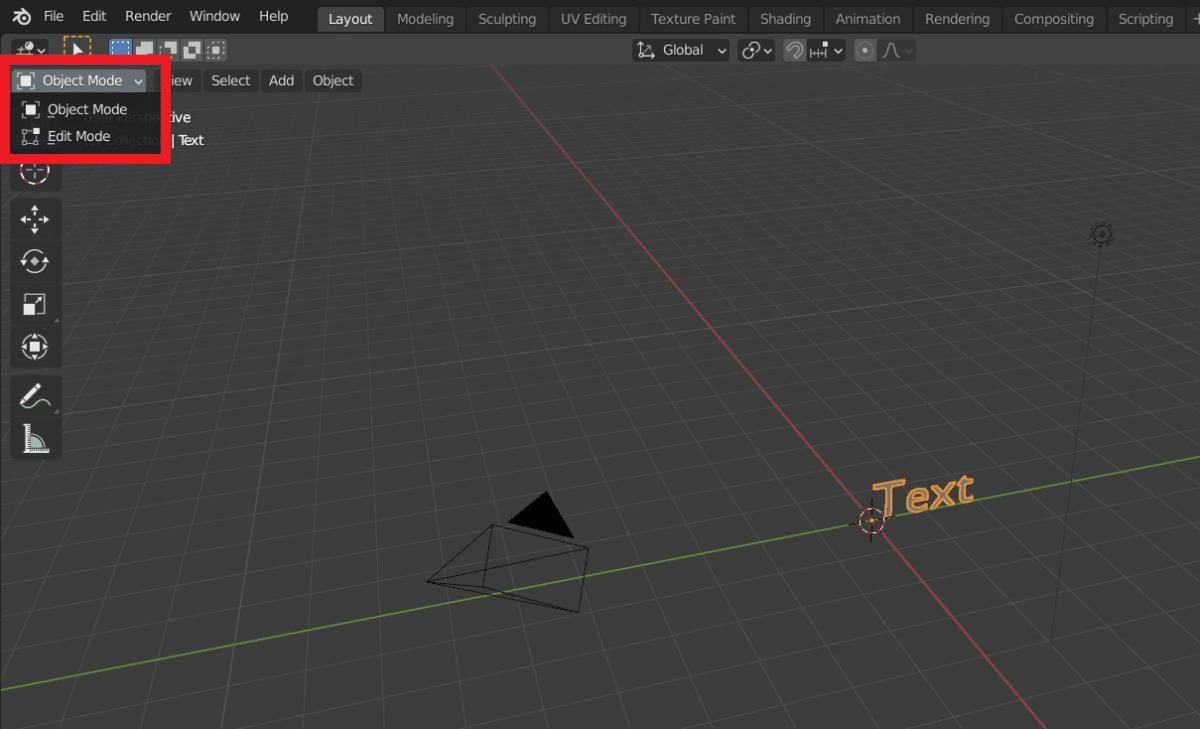
- In order to change the letters in your text, you want to change from ‘Object Mode’ to ‘Edit Mode’. You can do this by simply pressing the ‘Tab’ button on your keyboard.
You can also change mode by clicking the ‘Object Mode’ box and selecting ‘Edit Mode’.
- Once you’re in Edit Mode, you can easily change the text as normal. Delete the placeholder text and type your desired text.
- You can also change the font by using the main command zone on Blender to your right.
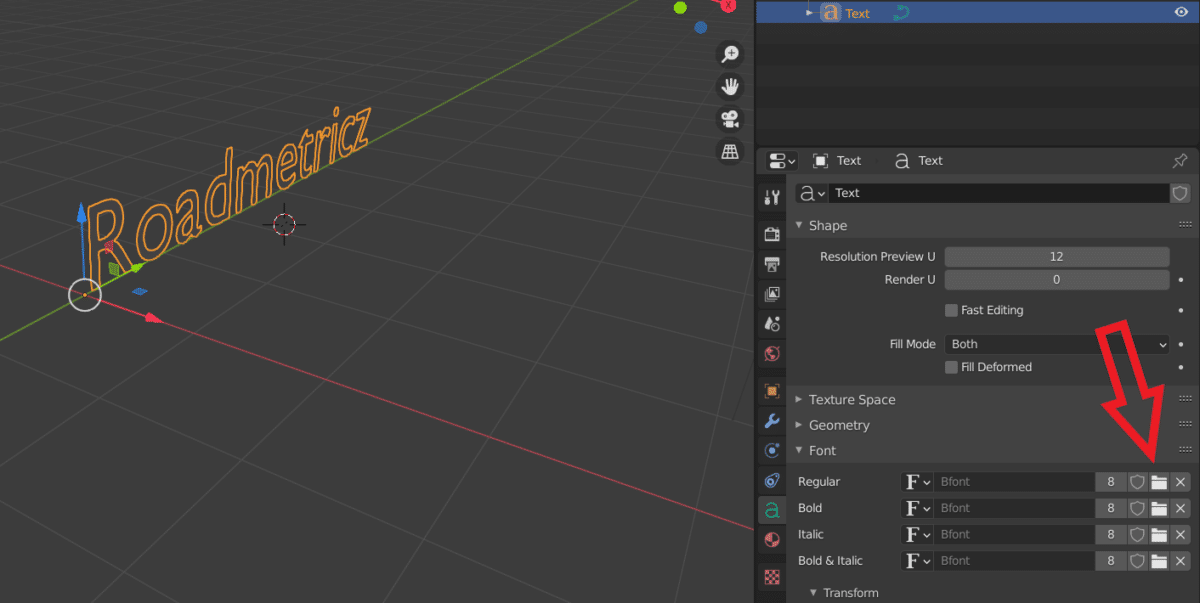
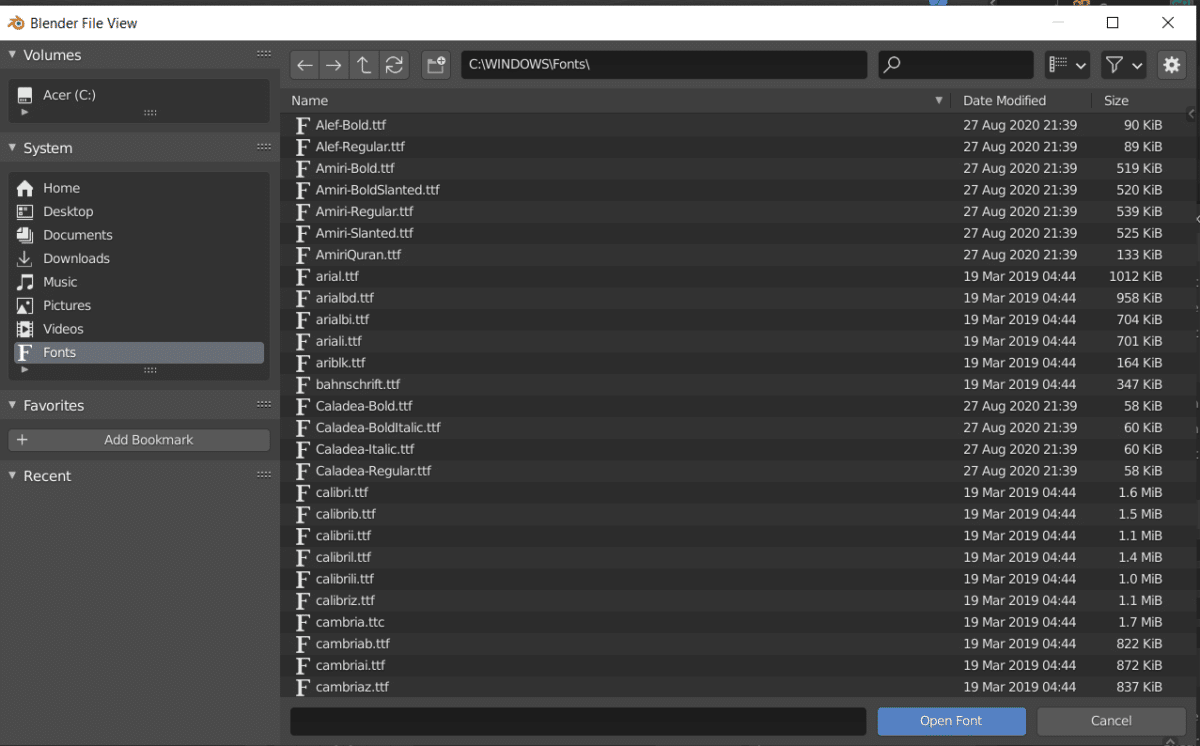
- This is done by clicking on the folder icon beside the ‘Font’ then choosing one of the several fonts in the list.
- If you want your letters to be closer together and not so spaced out, you can adjust the spacing under the ‘Spacing’ section. You can adjust spacing between letters and words too.
Making Your Text 3D
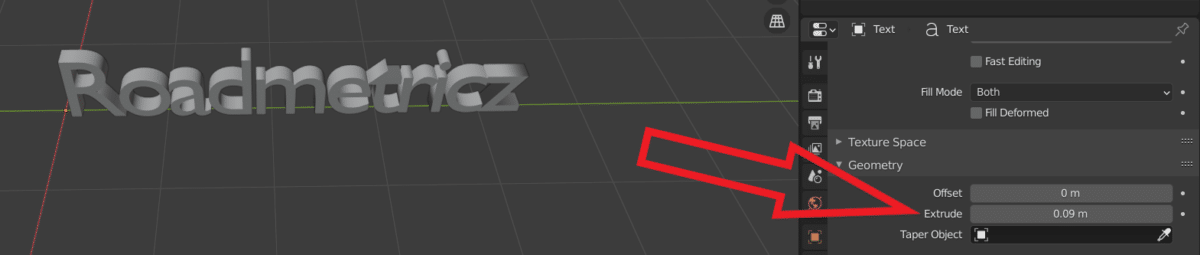
- This is pretty simple to do. Within the ‘Font’ area, there is a section you can edit under ‘Geometry’ called ‘Extrude’ which, if you increase, will make your text 3D.
- You can easily adjust Extrude values using the left and right arrows, or by inputting your own values.
Secure Your Text with a Block
- Make sure you’re in Object Mode & click an empty space on the build plane to deselect all objects.
- Press ‘Shift’ + ‘C’ to make sure your cursor is centered so your objects will be in the correct place.
- Now press ‘Shift’ + ‘A’ to add an object & add a ‘Mesh Cube’.
- Scale the added cube down using the ‘Scale’ box on your left, or using the ‘Shift’ + ‘Spacebar’ + ‘S’ shortcut.
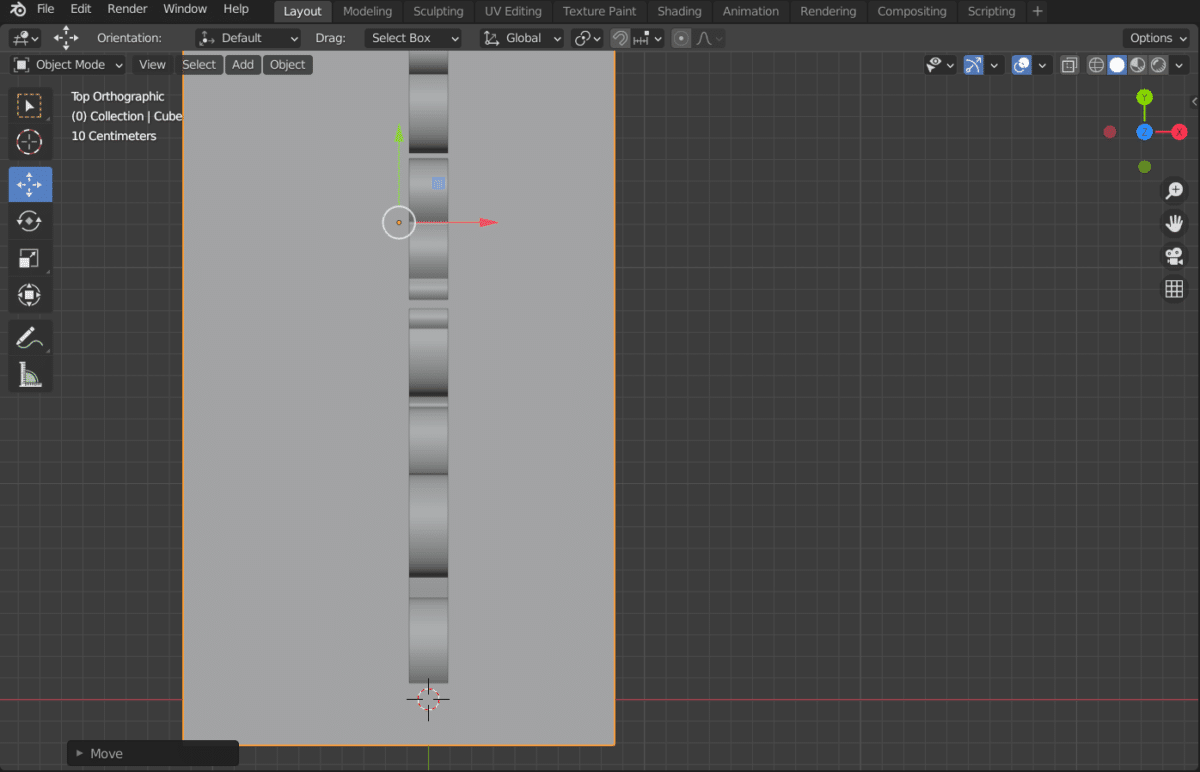
- Scale the cube to fit your writing, from front to back and side to side until it looks right. You also want to be moving the block to the right location under your text.
- Change your view by clicking the Z in the view changing section, or by clicking ‘7 on your NumPad’ so you can get a good angle and move the block nicely in the center.
- Make sure your block and text are actually well-connected and overlapping over each other.
Printing Your 3D Text
- When it comes to printing your text you want to make sure you’re printing it on its back.
- We can rotate it within Blender like we did before, so click your object, press ‘R’, ‘Y’, ‘-90’ to put the object on its back.
- Make sure both objects are selected, then click ‘File’ > ‘Export’ and export it as a .STL file. Make note of what folder you saved the file so you can easily find it to import to your slicer.
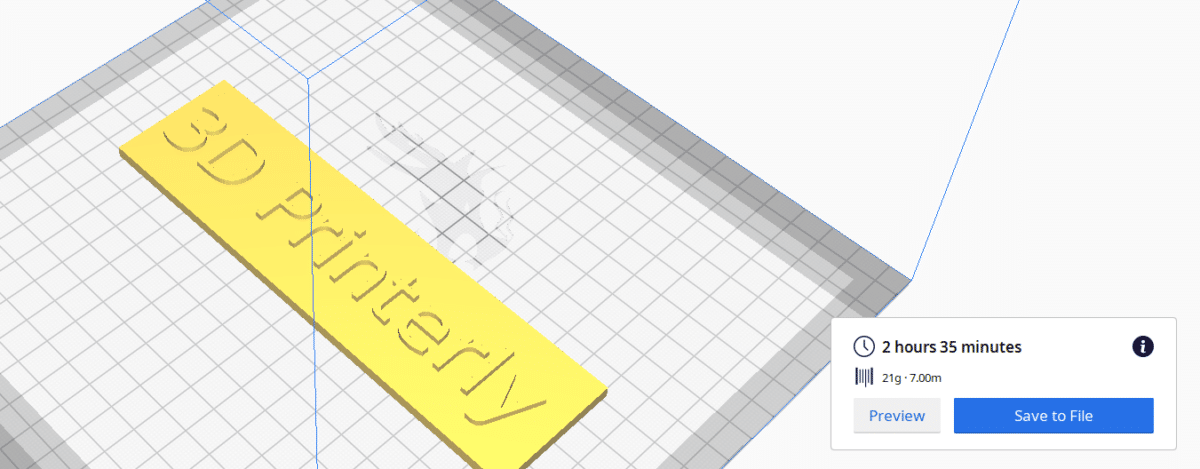
- It will be very small when you put the STL into your slicer, where you then just have to scale it up, slice it, then print your custom 3D text!
Using SketchUp to 3D Print Text
There is a free and pro version of SketchUp, and in the video below, you’ll be following the free version if you choose this option.
The great thing about the free version is you don’t need to download any software. It’s all done straight from the SketchUp Browser App.
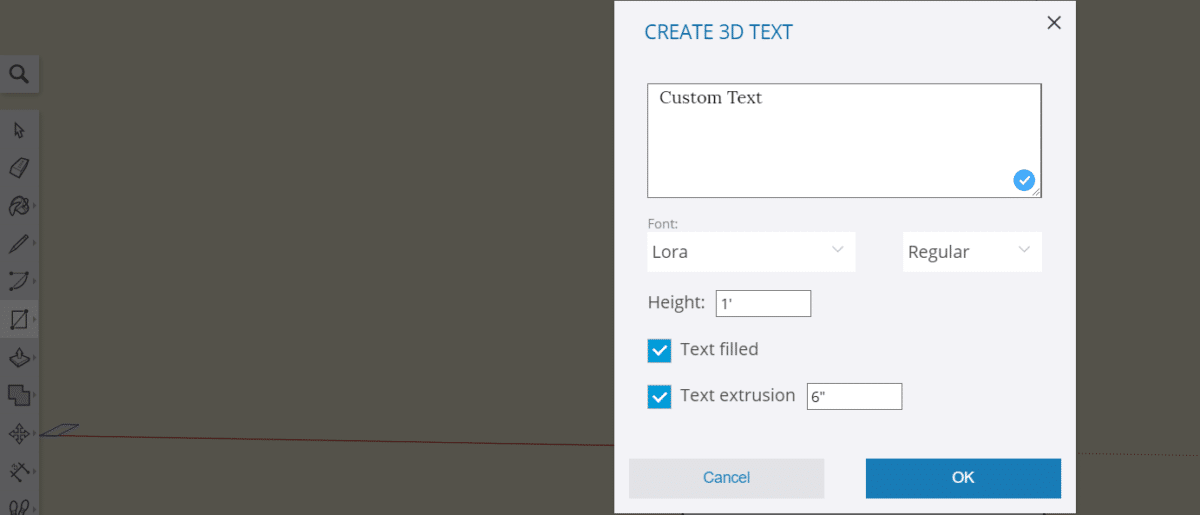
Adding text is very simple.
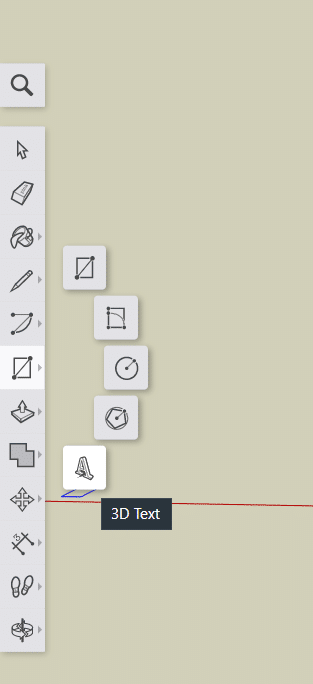
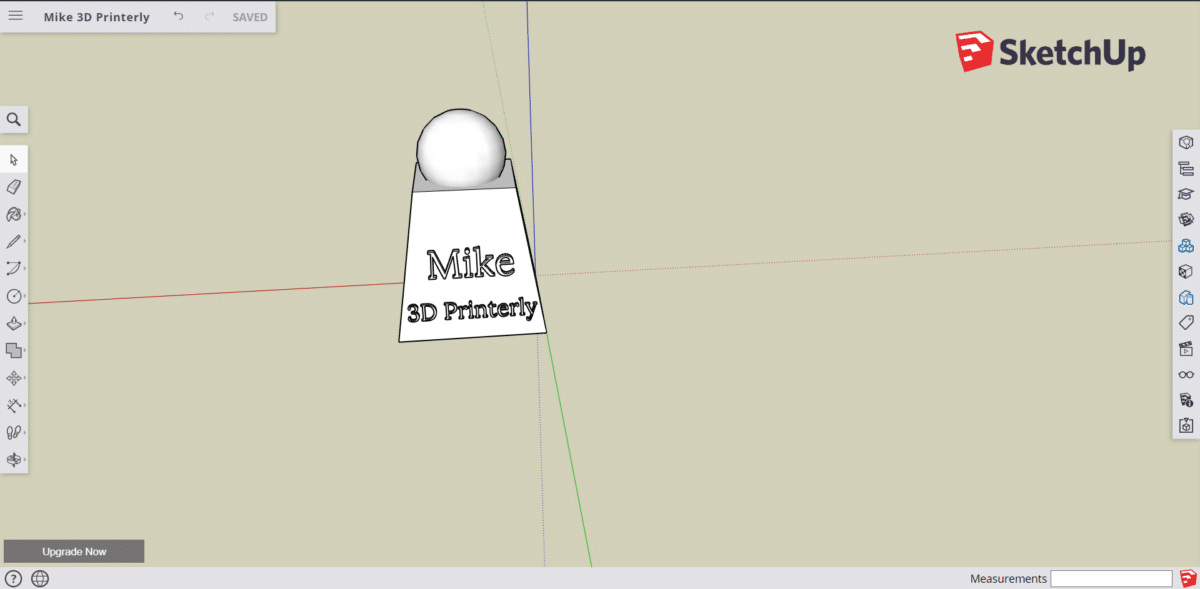
After clicking the ‘3D text’ option, the following box will pop-up where you can enter your custom text.
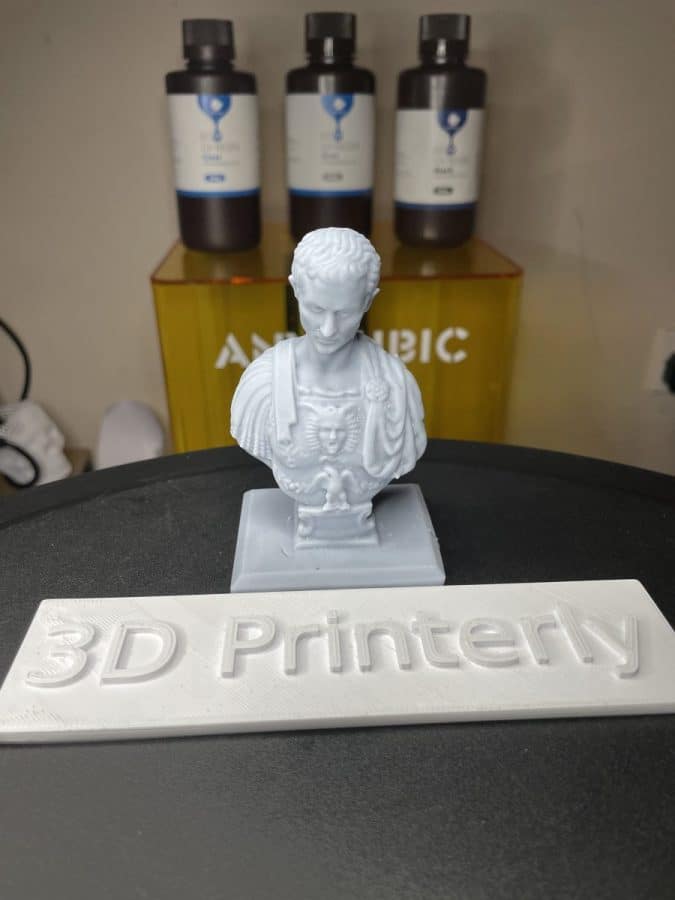
Below is a cool example of something you can create from following the video tutorial.
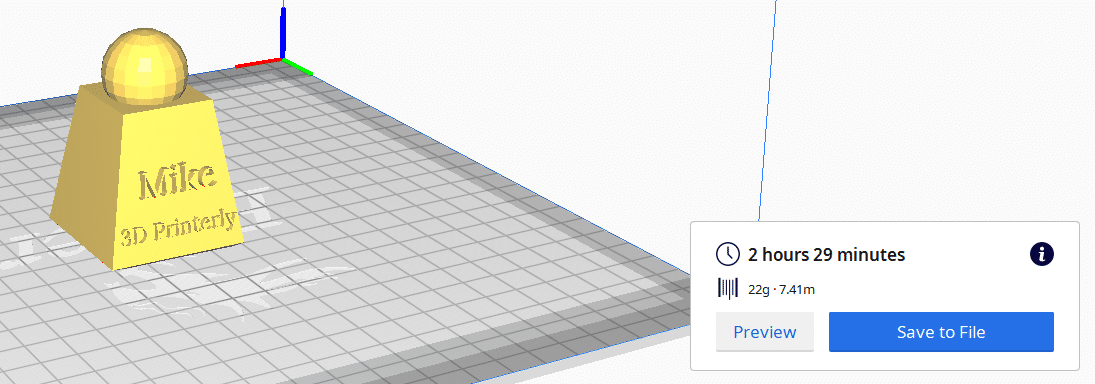
You can choose to just create the simplified text with the supporting block underneath like in Blender. With the video below, you can easily figure out how to navigate and adjust shapes and text to create your desired design.
3D Printed Text Using FreeCAD
The video below does a pretty good job showing how to create your 3D print text on FreeCAD, as well as creating an embossed text.
It’s pretty easy to follow, and once you get the hang of it, you can 3D print plenty of your custom text ideas, signs, and tags.
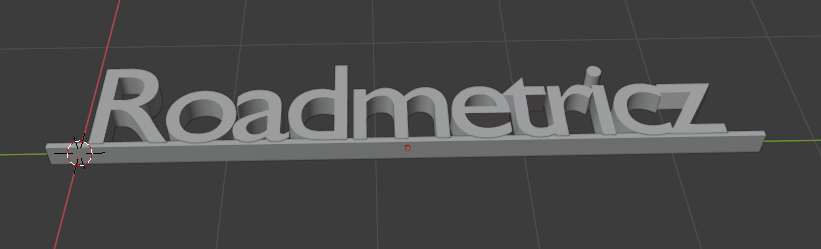
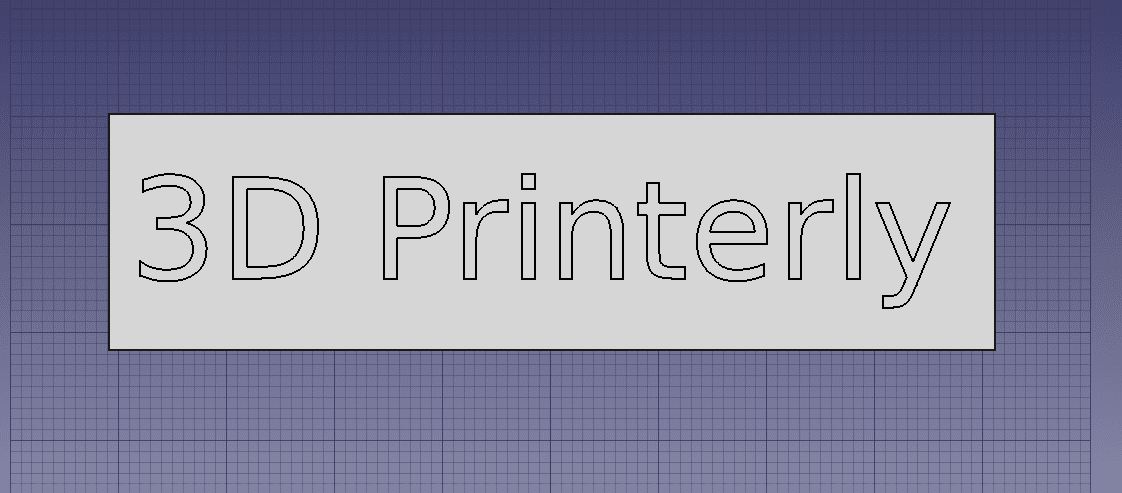
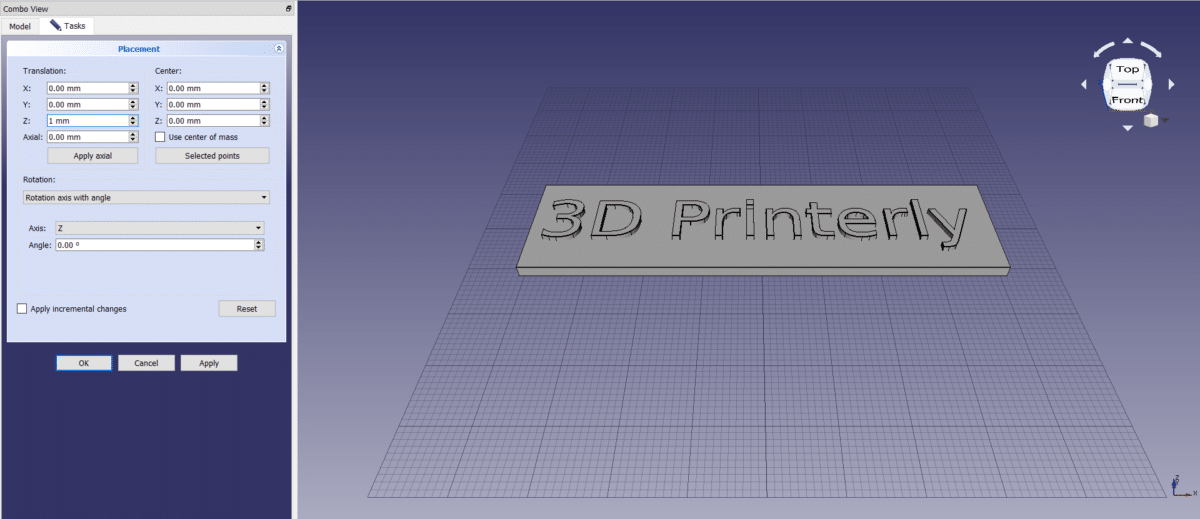
The picture below is after creating the text and extruding it by 2mm.
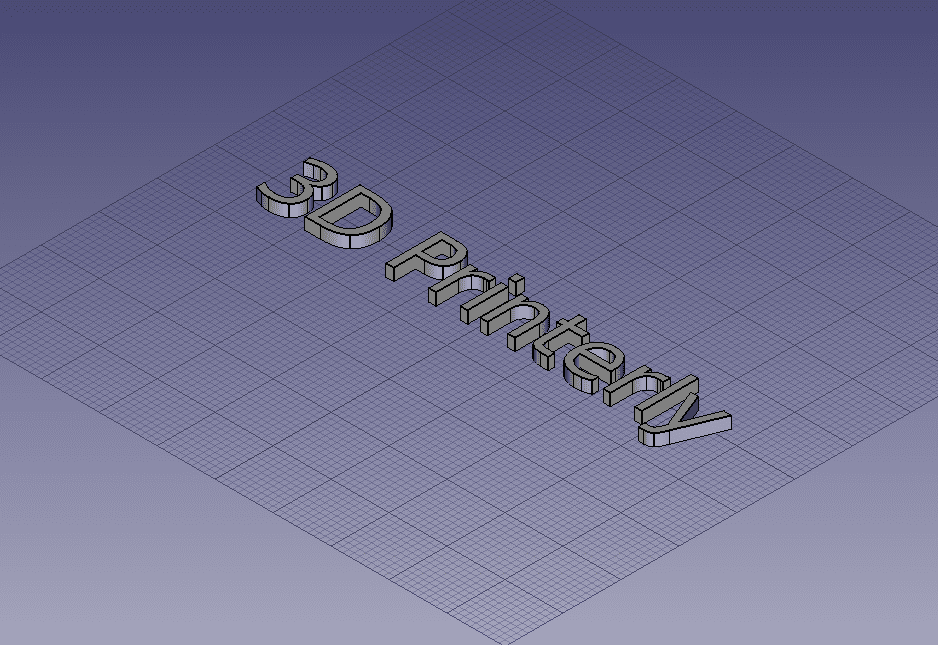
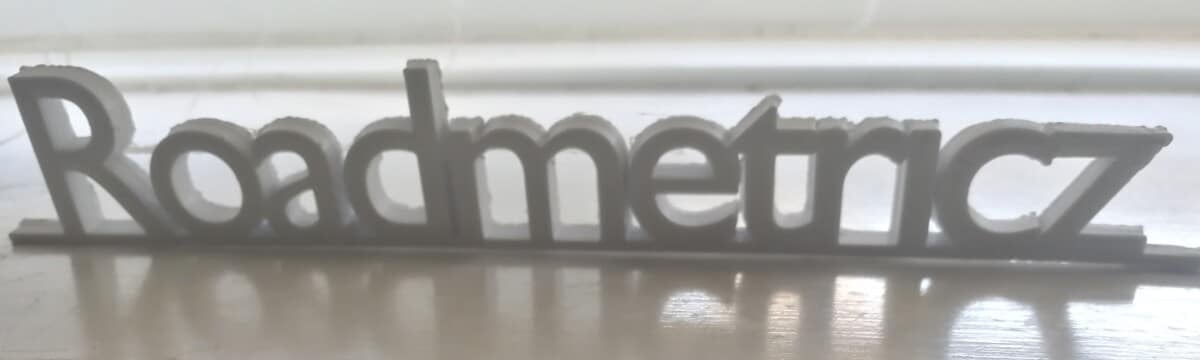
Now let’s get a nice rectangular frame on that text to support it and extrude that by 2mm also.
Then we extrude the text even further to get it sticking out of the frame, 1mm works out pretty well.
Select the files simultaneously then export them using ‘File’ > ‘Export’ and save them as a .stl file. You can then simply import that into your slicing software to get ready to 3D print your text!
3D Print Text Generator Using Fusion 360
Fusion 360 is a pretty advanced design software which can definitely create some great 3D text. If you need to design something a little more complex, it’s a great software to use, although, it works really well for creating 3D text.
The video below takes you through the process.
3D Print Text Troubleshooting
Some people run into issues such as gaps in the lettering of their 3D text which can be caused by either your slicer not correctly processing the model, or by under extrusion in your 3D printer.
If your problem is caused by your slicer, it’s hard to tell, but you can try changing your slicer to see if the model prints differently. Many people have seen massive differences in print quality just by using a different slicer, so I’d give this a try.
If the problem is under extrusion, I’d slow down the printing speed and also calibrate your e-steps to make sure you are extruding as much material as your 3D printer says you are.
Another thing you can do is set your infill to 100% to properly fill in the gaps in your model, as well as increase the overall wall thickness of your print.
When it comes to creating embossed text or recessed letters, you can do this within your CAD software, usually by a dragging function, or by inputting the distance you want your text to move.
It is done different with separate software, so try to figure out where you can input these values to move your 3D text.
If you are having trouble reading your 3D text, a great font you can use for 3D printing text actually happens to be Comic Sans since the spacing in the font is done very well and the letters are bold enough to make it easier to read, perfect for smaller text.
Arial is another font that works well for 3D text, as well as Montserrat, Verdana Bold, Déjà vu Sans, Helvetica Bold, and other heavy weight Sans-Serif or Slab-Serif fonts.