3D Print Bed Plate – Glass Vs Aluminum Vs Spring Steel
Most 3D printers will be equipped either with a glass or aluminum bed surface, both having their own advantages. You also have another candidate which is spring steel, so how do you know which one you really want to print with?
Choosing the right 3D printer bed is something that will affect your 3D printing journey, either for better or worse. This post will help you to identify which print bed plate you should be using on your 3D printer.
There is a difference between your 3D print bed plate and the build surface. Here we are talking about the bed plate, directly on top of the heated bed, so let’s look into the comparisons between glass, aluminum and spring steel.
3D Printer Glass Beds
You have a few types of glass print beds, so I’ll go through each one to give you a better understanding of the choices you can make.
- Borosilicate glass bed
- Tempered glass bed
- Normal glass bed (dollar store, scanner glass etc.)
- Mirror
Glass beds usually tend to be flatter, easier to clean, and simpler to use overall. Many people love the nice bottom surface finish you get on PLA and other materials from printing directly on a heated glass bed.
They are also cheaper depending on what type of glass you get, but the more you pay, the better quality you’re likely to get.
Borosilicate Glass

Borosilicate glass is the print bed material you want for ideal print quality.
It’s very popular in the 3D printing space for many reasons, the main ones being:
- It’s very strong and durable
- Has high temperature resistance and low thermal expansion
- It can chip, but it’s very less likely to with the right care
- Easy to try build surfaces with (glass in general)
- Cleaning glass is much easier than aluminum or steel
- Known to sometimes have adhesion issues
Borosilicate glass is made by combining many chemicals together, with the magic one being boron trioxide. You can actually use this type of glass in a freezer or pour boiling hot water in it.
You can purchase a high quality Dcreate Borosilicate Glass from Amazon at a great price. It’s highly-rated, easy to clean and comes with a 12 month, hassle-free warranty and replacements for quality.
Trying to remove a print from a heated borosilicate glass can result in chipped glass.
You’ll find this type of glass being used in some Pyrex products because it has more resistance and is stronger than your normal glass.
Compared to other types of glass, borosilicate has a higher level of thermal shock resistance and a lower thermal expansion factor.
Once this glass has been tempered and in its final form, it can’t be cut or physically altered.
Tempered Glass

There is also Tempered glass which is a good print bed for you to use.
The chances of this print bed flaking while trying to remove prints is very rare and it is stronger than normal glass and shatter-resistant. This type of glass is usually found in laboratories, safety glass windows or doors.
Rather than shattering, it breaks into several fragmented pieces that still connect together. This is why hockey rinks use this same glass to protect people in the crowd.
The way Tempered glass is treated, it is a lot stronger and heat-resistant compared to normal glass.
In a 3D printing environment, some people have had Tempered glass beds run for thousands of hours of printing without running into any issues.
- Much stronger than regular glass
- More heat-resistant
- A lot safer because it is shatter-resistant
- Less likely to chip under high temperatures
Normal Glass
Some people even use picture frame glass or cheap dollar store glass for their 3D printers, and although it might work for some time, they are a lot more prone to chipping and breaking.
You can even use normal glass plates on top of your heated borosilicate glass. You won’t have to wait for prints to cool down to start a new print, just put another sheet of glass on top and begin printing.
There are some cases where people have seen their PLA or PETG prints actually take out pieces of glass from sticking down too hard. The force needed to get these pieces of the glass bed would’ve been too much so you don’t want a low quality glass bed.
As most people know, normal glass has tendencies to shatter in several pieces on impact. This also occurs with sudden changes in temperature so in a 3D printing environment, it wouldn’t be an ideal choice.
One person managed to get a glass plate from a flatbed scanner that was thrown away, he then cut it to size using a glass cutter and it has been doing a great job with printing. This glass is more likely to be treated in some way to give it structural strength.
Mirror
This may seem like an odd suggestion for a build plate, but you might be surprised! A mirror used as a 3D print bed has heard many praises throughout the 3D printing community, it just gets the job done so well.
It does take some tough work to get this done, but it is worth doing if you enjoy doing some DIY.
Extra Info on A Glass Bed
- Requires raising the temperature around 10° to compensate
- It’s advised to try printing without using adhesive, then depending on the result use a small bit if necessary.
- Depending on the strength of the glass, Z endstop failures can crack a weak glass bed
- Let them cool down after a print and parts usually pop right off due to thermal expansion
- Ensure your nozzle isn’t too close to the build plate as it can make prints stick down too hard
- A heavy glass bed isn’t ideal since it can cause print imperfections like ghosting
- Leveling is easier with glass beds
3D Printer Aluminum Bed

This material has many properties that are admirable:
- It’s a lightweight material that reduces the load on the Z axis
- Has a significantly high measure of conductivity compared to other bed materials
- Very widely available to be used on 3D printers
Aluminum is widely used due to its ability to conduct heat so well, so it helps in getting an even temperature across the whole print bed. Some adhesion issues arise from uneven bed temperatures so this works out well in that regard.
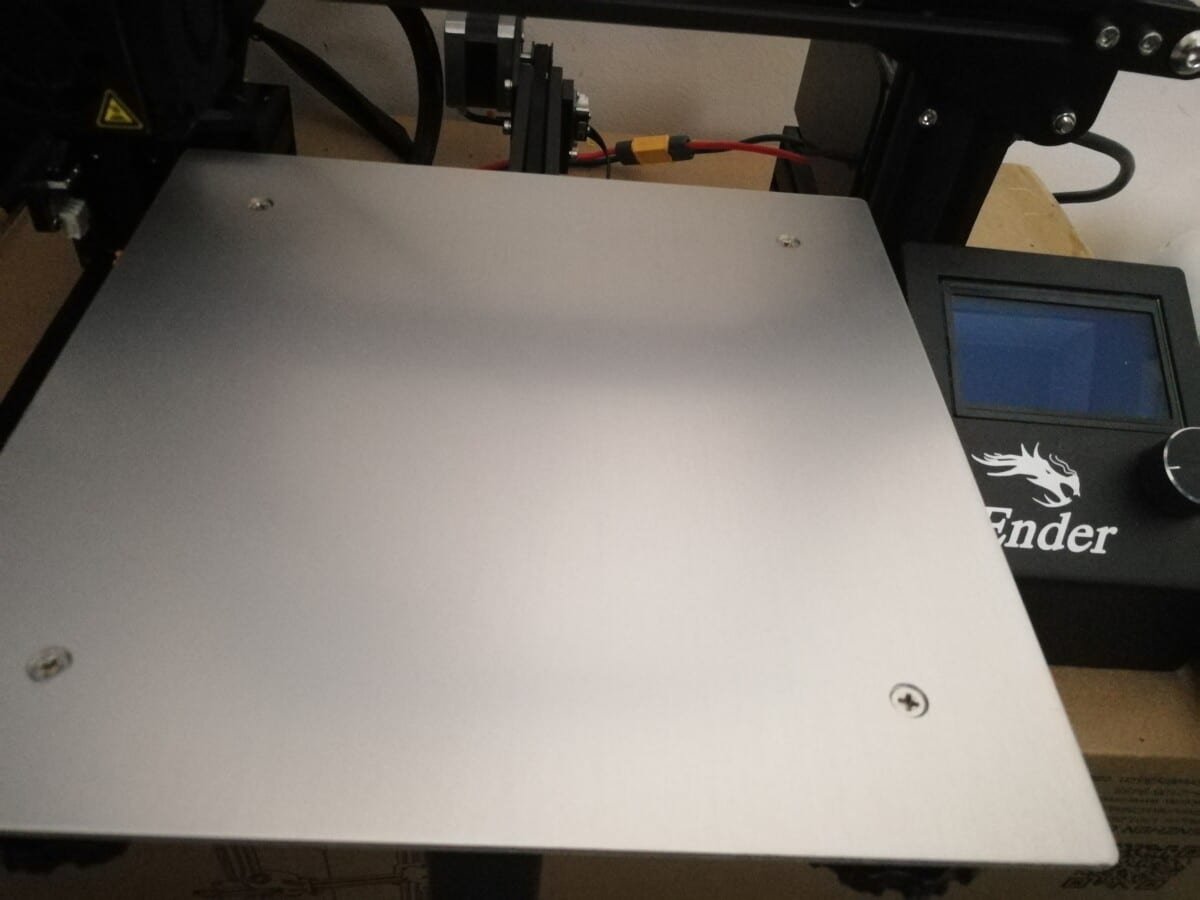
My Ender 3 has a standard aluminum heated bed which works great and ihas been giving great prints so far.
If you are looking for a solid aluminum heated bed replacement, your best off going with the Official Creality Heated Bed. It’s mainly for an Ender 3 and Ender 3 Pro with 235 x 235 x 3mm dimensions.
To achieve adequate adhesion, people that use Aluminum beds usually need an adhesive substance such as Blue Painter’s Tape or Hairspray when printing difficult materials. It’s more so true for large ABS prints since they can have trouble sticking to the build plate rather than PLA.
When you 3D print on aluminum, it is likely to expand when it’s heated, resulting in a convex or concave shape over time (center higher than sides) due to its physical characteristics. You don’t get this with glass, at least at a significant enough level to affect prints.
The video below shows how you can compensate for a warped print bed with simple post-it notes!
It’s less likely to happen with filament that doesn’t require heating up your bed so high, but when it comes to ABS and other similar materials, it can definitely be a problem.
On the other hand, the expansion of aluminum from heat can be prevented by increasing the thickness of the aluminum bed (around 3mm), while at the same time, making sure it heats up evenly.
Many people actually choose to place a glass plate above their aluminum bed which works well, but it does require a longer heating time overall.
When you are trying to clean the residue (dried hairspray, glue etc) off of an aluminum bed, it is quite prone to scratching so having a build surface on top is a good idea.
If you do want to check the flatness of your bed you want to do it while it’s heated up. Aluminum beds may be flat when cool, but after reacting to the heat, you can start to experience warping.
Extra Info on An Aluminum Bed
- Aluminum conducts heat the best out of all bed types
- Needs replacing more often due to warping tendencies
- Works well with the popular inductive probe for bed leveling
- Won’t break due to a hotend crash
3D Printer PEI Spring Steel Bed

Spring Steel is actually used in tandem with your standard aluminum plate that comes with your 3D printer so, you just remove your original plate and stick this one down.
The adhesive behind the Spring Steel is very strong so make sure it is aligned properly before putting it down.
Spring Steel sheets have very high strength and heat-resistance, making it ideal for high temperature filament out there like ABS and PEEK.
You would see this type of bed used with a magnetic PEI bed because it sticks very well, and gives you a smooth surface for the first layer. All you have to do it let it all cool down before removing the steel plate, then flexing it until your print pops off.
Spring Steel is an addition that many people wish they had gotten sooner, to save them several hours of trying to get extruded filament to stick down.
I would recommend getting the Sovol PEI Magnetic Flexible Spring Steel Bed from Amazon. It comes with a PEI plastic sheet attached with your Spring Steel sheet and a magnetic sheet.
Assembly is easy, printing is made easier, and you get better quality prints! It’s a simple choice to make if you are a 3D printer hobbyist.
Verdict
There are many people out there who have made the switch to a glass print bed and never went back. Depending on your printing needs, glass might be a great choice for your 3D printing journey.
For adhesion, simply applying a few coats of hairspray or glue stick does the trick every time. If you exclusively print with PLA, you probably won’t even need adhesive at all because the glass bed surface works just great.
You can use a build surface like PEI, BuildTak, or some other material to add to your glass bed if you print with less manageable materials like ABS.
It seems like one of the best options is to have an aluminum build plate, then have a glass surface on top of that so you can detach the prints from the printer if need be. Just use binder caps or ZUPAYIPA Silicon Thermal Pads (Amazon) to adhere them with each other.

Instead of covering your whole bed with the silicon pad, you should cut it up into 2-inch squares and spread them out. This is beneficial because the heat rises between them so the areas which have small spaces get enough heat transferred.
It’s also a good idea doing this because it won’t act like a suction cup, making it hard to remove.
They have a good amount of grip so you don’t have to worry about your glass plate sliding around, when heat is being applied.
People have reported seeing binder clips be the cause of glass warping when they are too strongly clipped. Having multiple glass plates you can swap out is ideal, so you can remove it to wait for it to cool, then use that glass plate to start another print.