12 Common Mistakes to Avoid in 3D Printing (Solutions)
There is nothing worse than 3D printing for days, weeks, months and years just to find out you’ve been making a common mistake. We all know the feeling too well (me included), so I’m going to try to set you back on the path of success by outlining some common mistakes to avoid in your 3D printing journey.
These can range to simple little tips that you haven’t been implementing, or mistakes that can result in you stopping 3D printing altogether. Come along on this journey to identify some common mistakes, along with simple solutions to correct them quickly.
Underestimating the Importance of the First Layer
Many prints that end up failing mid-way through the printing process can sometimes be pinned down to having poor first layer adhesion. Definitely don’t overlook this important factor when it comes to getting successful prints.
This is a mistake that is made way too many times, which ends people on a goose chase to figure out what the issue is. All along, it was those first layers just not having enough of a strong bond to the build plate.
Even though your first layer is holding up at the start of a print, the adhesion will start to reduce the more the print head moves around it. After some hours, it’s likely that your print can be displaced or knocked out if the first layer wasn’t extruded well.
Solution
- Run some test prints beforehand and see how well the adhesion of material is
- Use an adhesive such as blue painter’s tape, hair spray or glue on your build surface
- Increase your flow rates for the first layer so material has an increased chance of better adhesion
Not Asking For Help in 3D Printing Communities
Every 3D printer user has come across some type of issue that has taken a little bit of tinkering to fix. Other people have gone into a whole projects just to fix their 3D printer issue, when the solution could’ve been found with ease.
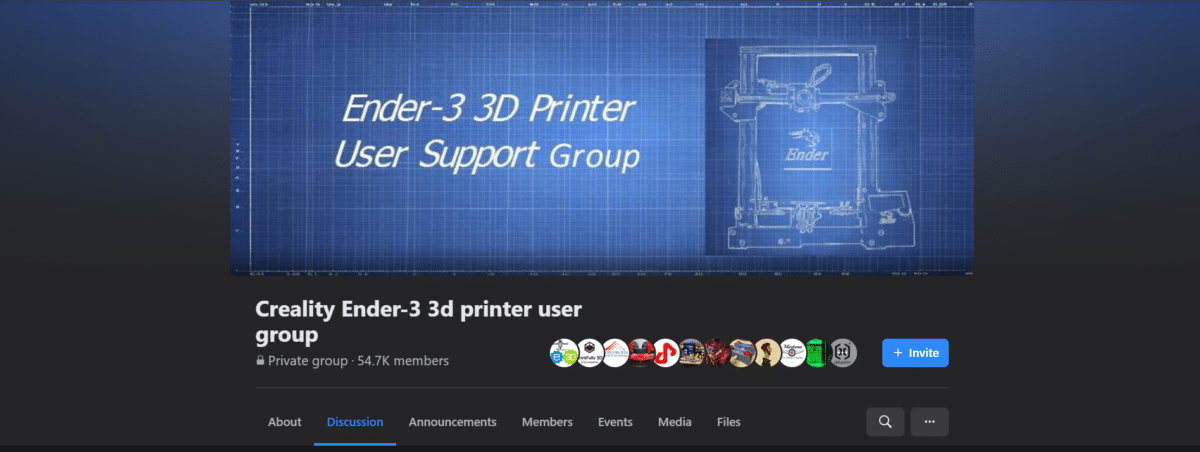
3D printing communities are renowned for helping people with their troubleshooting issues, so definitely make use of these free resources. From 3D printing forums, to Facebook groups to asking fellow 3D printer users on YouTube, there are many options here.
When I researched about 3D printing, I saw plenty of people mentioning how helpful other 3D printer users are so I got straight onto Facebook and Reddit and got familiar with the space.
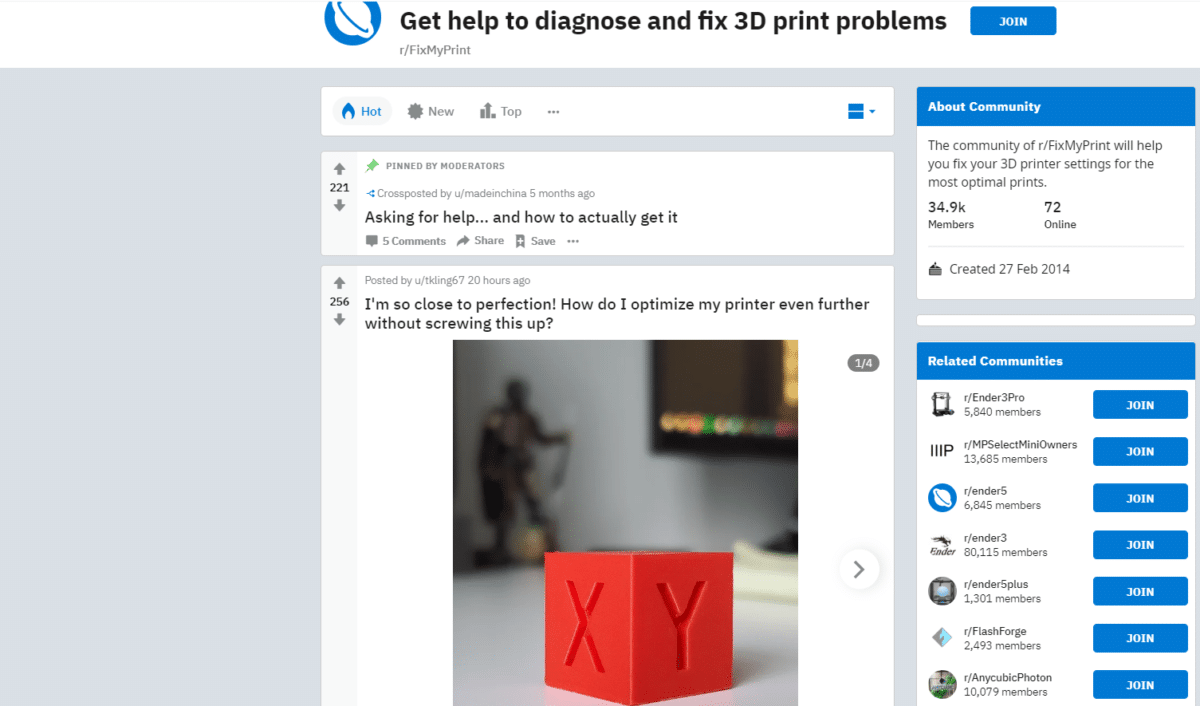
There is a nice subreddit called FixMyPrint which solely focuses on people trying to fix issues. Most of the time, people come up with the correct solution and are happy to guide you through different troubleshooting options to try.
Not only can they help you identify troubleshooting issues, they can point you out to some fun projects to try out or to some of the latest innovative 3D printing designs. The print in place 3D printed box is one of those ideas I got from a 3D printing community.
Solution
- Join some active Facebook groups for 3D printing and your specific 3D printer
- Jump on Reddit and browse some 3D print subreddits
- Definitely check out 3D printing YouTubers who come out with interesting new content on a regular basis
Accidentally Enabling Filament to Get Tangled
I’ve read through many reviews of 3D filament materials from PLA, ABS, PETG and so on, and some poor reviews mention tangled filament. Unfortunately, the majority of the time a filament gets tangled, it’s the users fault.
Manufacturers have 100% tangle-free filament in their descriptions, but that doesn’t mean you can cause the filament to tangle through improper handling. Used in the proper manner, these filaments very rarely tangle.
Generally, when the filament is being spooled onto rolls, it can’t physically get tangled and it’s more so going to be something that happens after you take the spool out the packaging.
If you loosen up the filament too much then re-spool it, you might accidentally put the line of filament underneath another one, resulting in a tangled mess that ruins prints.
Solution
When you are storing filament, make sure the end is secure and can’t be loosened up easily. Usually you should bend the end around the gaps in the spool to hold it in place.
If your filament already has tangles in it, unspool a good amount of filament and tightly re-spool it in a way that doesn’t cross over. I like to start re-spooling from the end and put each round next to each other.
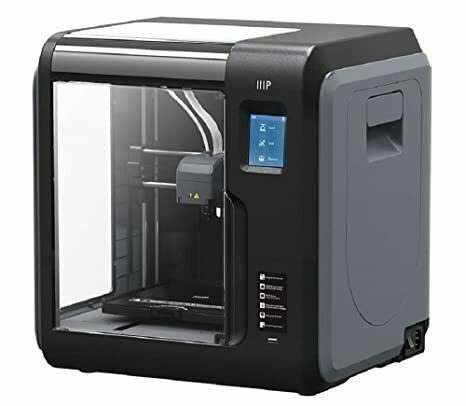
Quickly Assembling Your 3D Printer
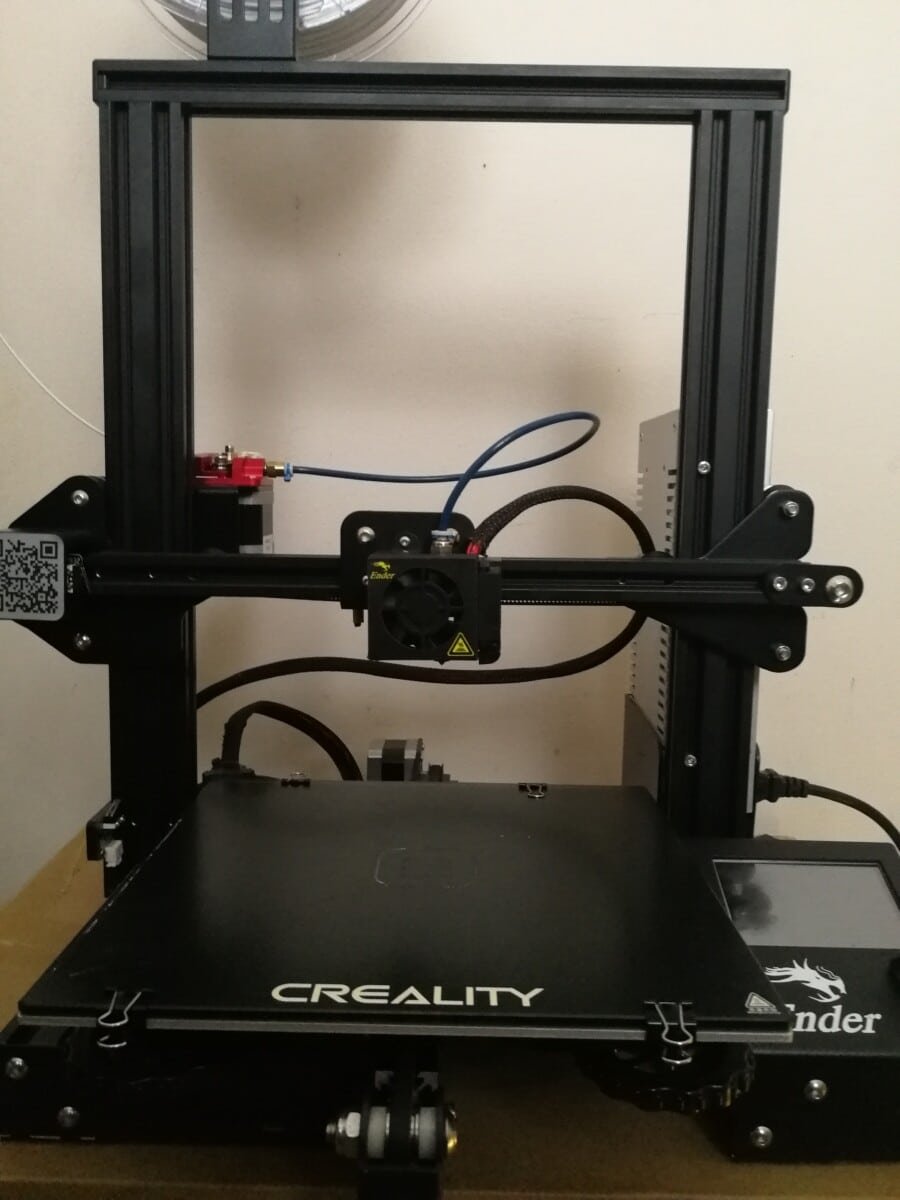
We all got super excited when it came to building our 3D printers, but getting too excited might mean assembling your 3D printer too quickly resulting in poor printing results.
It might not be apparent straight away, and you might get some good quality prints for months. The thing that can happen gradually is wear and tear from improper fittings.
Was your belt over-tightened? Did you properly attach each wire securely? Is your Bowden tube fitted properly? Did you implement proper cable management?
There are several smaller things happening when it comes to a 3D printer, so don’t fall victim to 3D printing issues down the line by quick assembly.
Solution
Find a reputable video guide on YouTube on an experienced 3D printer operator and follow along with their assembly. There are always some little neat tricks they advise you to do for long-term durability and high quality prints straight away.
Even if you have built your 3D printer, you can correct some things that you might have missed out. I even attached my spool holder quite far away from the extruder, and it never crossed my mind to actually put it closer until watching a video!
It meant there was a smoother filament path for extrusion and actually resulted in better quality prints.
Not Correctly Leveling Your Bed & Nozzle Height
Out of every layer of your 3D print, the first layer is the most important and it greatly depends on how well you have leveled your bed and set your nozzle height. It’s not always as simple as downloading a 3D design, sending it to an SD card and starting the print.
The software side of things is important, but the hardware is also just as important.
Many print beds require manual leveling so you need to raise or lower each corner yourself. If you have a 3D printer with automatic bed leveling, you should be fine on this front.
I think the best way to describe this event is to think about how your 3D printer works. Your 3D printer doesn’t have the greatest feedback system, meaning when the print head is in a certain location, your 3D printer can’t necessarily verify where it is.
The best it can do is use the X, Y & Z endstop switches to verify the print head is at 0.00mm on each axis.
The thing that your 3D printer is very good at is making extremely precise movements along the X, Y and Z axis, but if your 3D printer isn’t in the right location at the start, everything falls apart.
The Z axis is the height, so your nozzle has to be correctly set so that the nozzle actually extrudes smoothly along the build surface, not too high or too low. Your 3D printer won’t be able to tell that one corner is slightly higher than another, so it will just continue with the precise movements.
Solution
- Learn some manual bed leveling techniques like leveling during the skirt process (live-leveling)
- Once your bed is correctly leveled and you have the adequate nozzle height, you can expect some good prints.
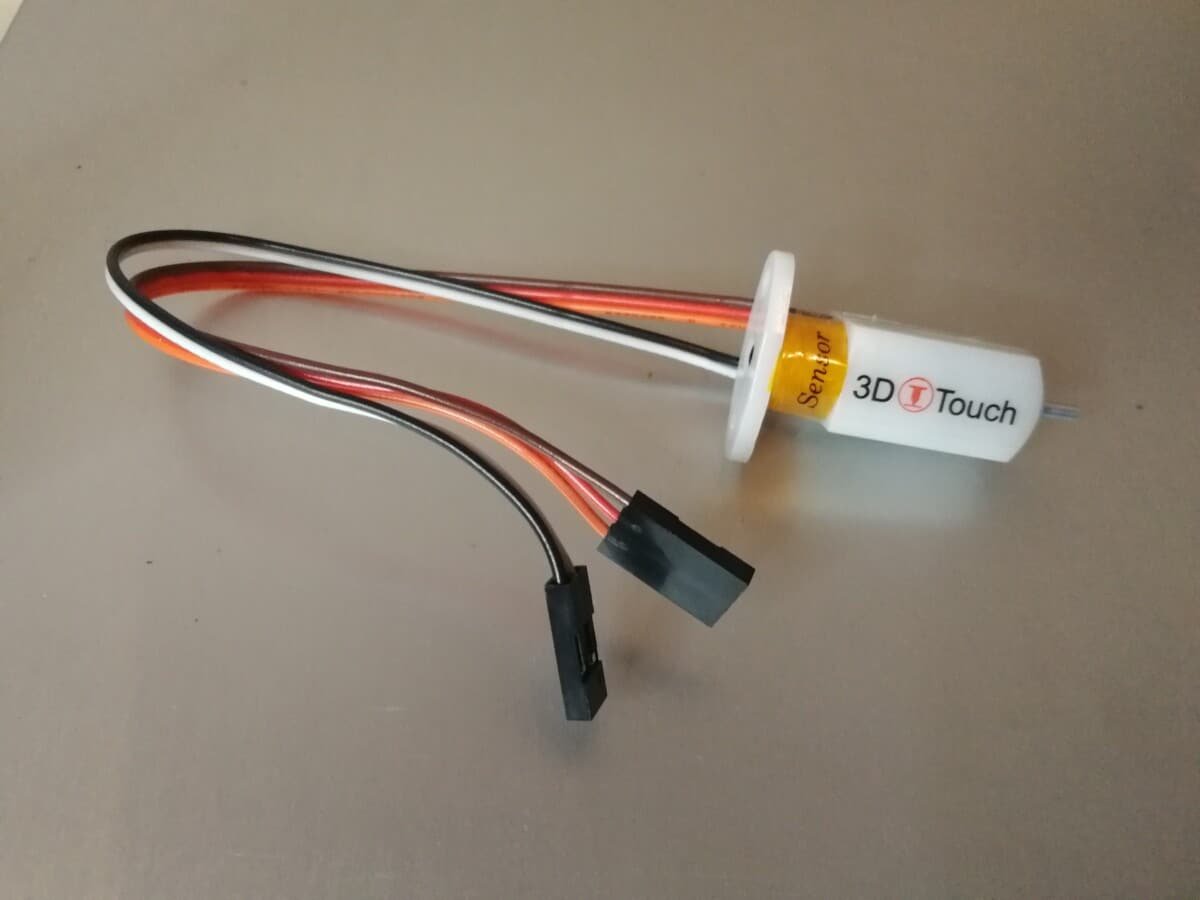
- Invest in an auto-leveling system like a BLTouch
Using Incorrect Slicer Settings
The slicer settings that you use for prints are one of the most important thing when it comes to 3D printing successfully. Out of the hundreds of setting changes you can implement, all it takes is for one incorrect setting to ruin a print.
Luckily there are printer profiles and setting defaults which give a basic start point for people to print with. After a few prints, you’ll start to experiment with different settings such as temperature, line width, flow rate and so on.
Some ways incorrect settings can be mistakenly applied is from changing materials. Whether from PLA to ABS or one brand of PLA to another, there are going to be differences in temperature recommendations.
Make sure you are getting these correct.
Slicer settings can either make you or break you so use them wisely, usually under some kind of guidance. A lot of the time, when you download a model from let’s say Thingiverse, they will have a list of settings which tend to work well, but be cautious.
For example, if you changed your nozzle from brass to hardened steel, you might want to slightly increase your nozzle temperature because hardened steel isn’t as good of a heat conductor as brass.
Another example is your build surface. If you incorporate a glass bed on your 3D printer, you might want to increase your bed temperature so it can account for the extra layer of material for heat transfer.
Solution
- Implement calibration towers like speed & temperature towers for each new material
- Spend extra time in your slicer to make sure you dial in the settings accurately
- Practice makes perfect, repeat this process and you’ll get much better
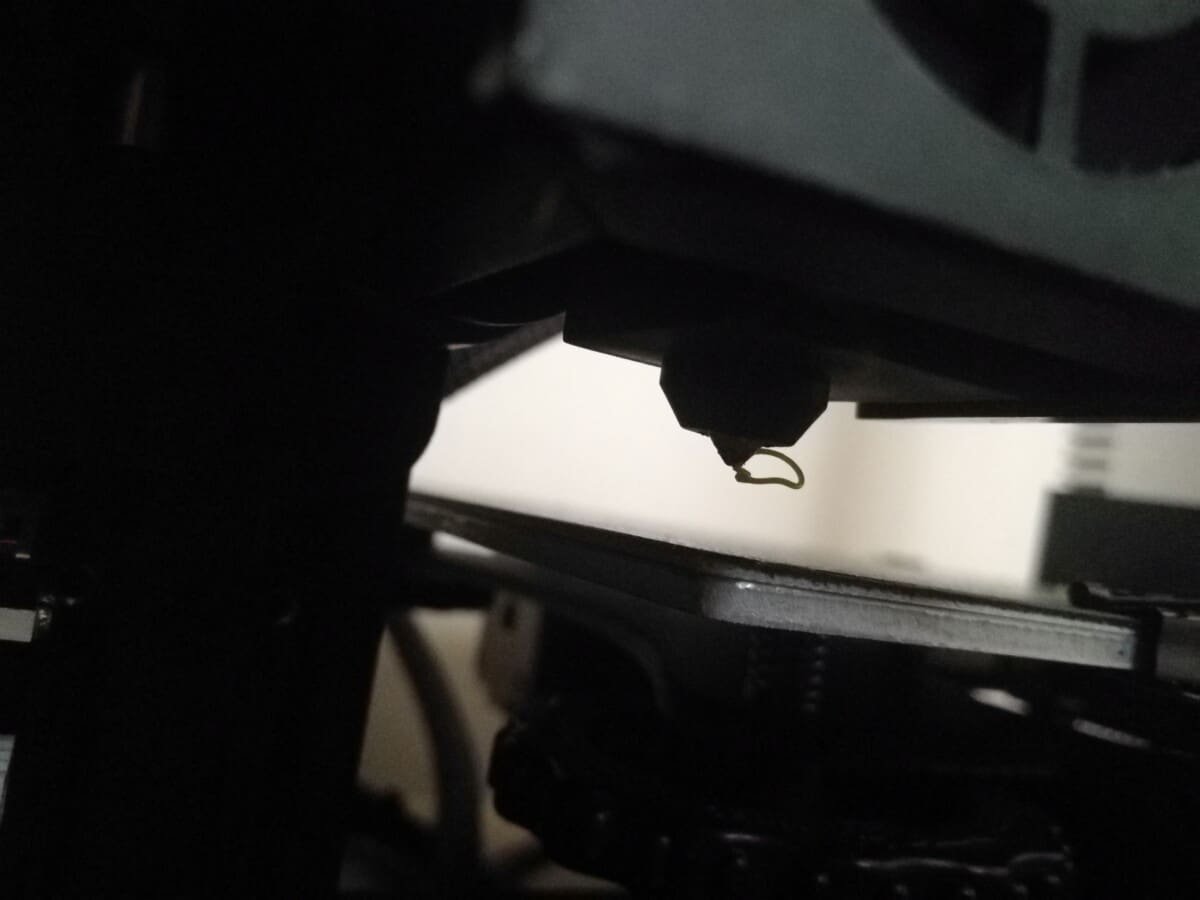
Not Monitoring 3D Prints

Whether you have a premium or budget 3D printer, they have a chance of failure. They can fail within the first few minutes, where the first layer isn’t printing well, or even several hours into a print.
I’ve had some occasions where I have come back to 3D prints knocked over and still extruding a spaghetti mess. It’s not an ideal thing to happen but with some monitoring you can avoid coming back to a printing disaster.
It’s a good idea to consistently monitor your 3D printers throughout a print to make sure things are in order.
What I like to do is monitor the first layer and make sure that is extruded well, then come back 15 minutes later to make sure that first layer is holding up well. After that, coming back every hour or so is a good idea for monitoring your prints.
Even though rare, fire risks are possible, so monitoring your 3D printer in action is advised for all machines.
Solution
- Monitor prints from time to time to ensure things are running smoothly
- Use a live camera to check in on your prints remotely (Octoprint)
- Implement a software called Spaghetti Detective which automatically detects a printing failure
- If you have people living with you, teach them how to stop your 3D printer if need be
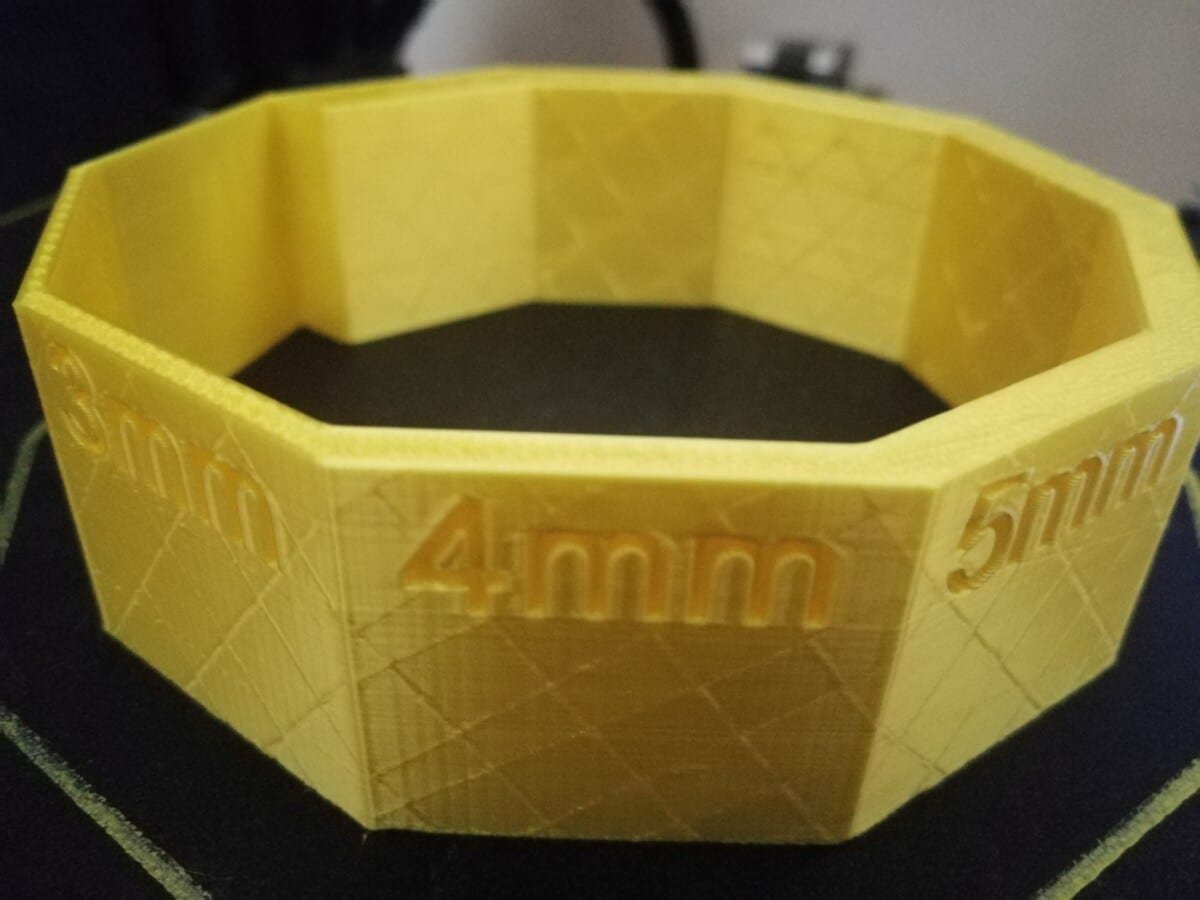
Not Using Support Material When Needed
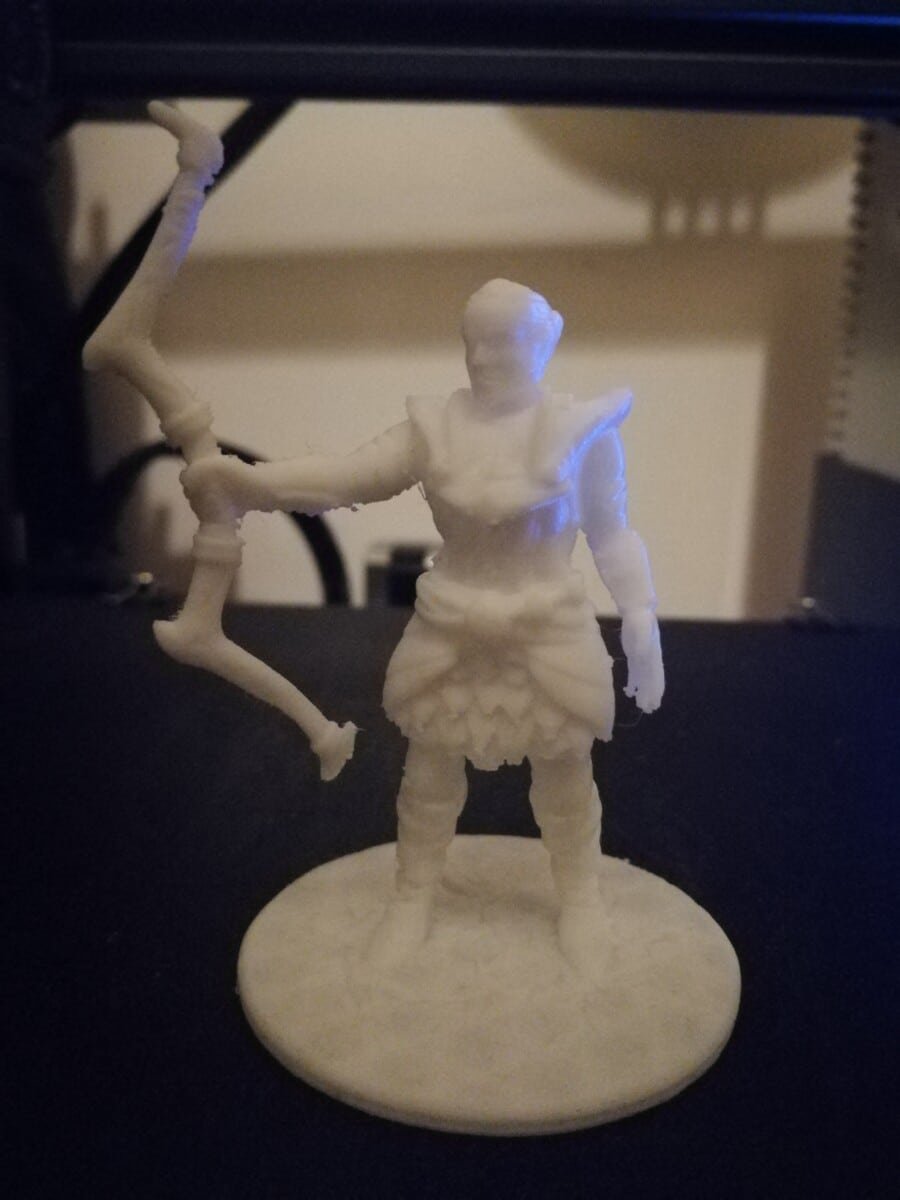
Most people try to avoid using support material in order to save time and material, but when they are needed you just have to use them. You can try angling prints in a certain way and moving them around the print bed but after a certain point, it won’t work.
Many designs are specially made to not need support material to print successfully, and those are always great. Some designs on the other hand are simply too difficult or almost impossible to print without need support.
Large overhangs like arms on a figurine will definitely need support material to hold the print up while material is extruded. There is a thing called bridging where your 3D printer can print long lines across, but with small intricate parts, support is necessary.
You can usually get away with supports on overhangs at or below 45°, but anything above that is going to need them.
This is more of a visual skill to see where models need supports, while some designs will let you know that supports are needed. Some slicers might not show you the supports in the preview, so you’ll have to judge it yourself.
Solution
- Make sure you don’t avoid supports when they are needed because you’ll just end up losing overall.
- Use good part orientation so that your prints use less support material
Forgetting Essential Safety in 3D Printing

I think people start to get complacent when it comes to 3D printing and safety measures that should be taken. The main safety precautions are based around burn & fire risks, mechanical risks and injury from tools or sharp plastic.
Fire risks are very rare these days because 3D printers are usually equipped with thermal runaway protection. What you should watch out for is burns from getting too close to your nozzle or from the print bed.
I’ve also heard stories of some injuries from using a scraper tool to get a print off the build surface and accidentally catching their fingers or hand. This can easily be avoided when you are careful about what you are doing.
Removing supports can be frustrating, but even more frustrating would be getting cuts or scrapes from forcefully trying to remove them.
It’s a good idea to check your wiring, bolts, belts and all movable parts every so often so you can catch a potential failure in the future. Connectors can sometimes fail so definitely check over these aspects for a smooth, safe 3D printing journey.
Solution
- Be aware of your surroundings and ensure you are keeping safety in your mind.
- Make sure to not place your hand too close to the nozzle
- Don’t keep your hand on the build surface while detatching a print
- Get a good ventilation system going, air purifier or opening a window
Never Replacing Worn Out Parts

Even though the frame, power supply and stepper motors of your 3D printer are designed to last several years, other parts are known as consumables. These are parts such as the belts, nozzles, and bearings.
Make sure you replace these parts as you require. You might notice declines in quality over time, and this could definitely be the reason so do some checks on these consumable parts and replace them as needed.
If you print with materials such as ABS, Nylon or glow in the dark filament, brass nozzles don’t hold up so well. Upgrading to a hardened steel nozzle is a good idea if you want to print with abrasive materials. The downside though is it doesn’t have the same level of heat conductivity as brass nozzles.
Here is a quick list of 3D printer parts that can get worn out over time:
- Heat break/PTFE tube
- Fans
- Wires/connectors
- Thermistors
- Belts
- Glass Bed
- PSU
- Bearings
- Heater block
- Main board
Solution
- Keep in mind some parts won’t last forever, so occassionally check these parts and replace them as needed.
- Make sure these parts aren’t set up in a way that makes them not last as long.
- Keep a set of replaceable parts around just in case they fail (nozzles, belts, wiring, PTFE tubing
- Get high quality parts that are made to last
Buying a Bad 3D Printer Out of Over-Enthusiasm
You might end up spending most of your time on repairs, troubleshooting poor print quality and just overall getting frustrated with 3D printing. This isn’t a normal experience in this field.
There are definitely small things that you need to get the hang of, but you should be getting fairly good quality prints consistently on your 3D printer with some basic tinkering. I got awesome results straight after assembly on my Ender 3.
Low quality manufactured 3D printers can really negatively affect print quality, such as an uneven aluminum extrusion frame, or an incorrectly angled joining plate.
Warped threaded rods, with cheap hotends, parts broken, poor packaging through delivery, poorly put together in the factory.
Every 3D company is a team that buys parts and puts the printer together, but some just do it way better than others, and consistently.
I’ve heard accounts of poorly written assembly instructions, or even the wrong instructions altogether! Be wary of those pop up Kickstarters that promise you the world. The Makibox is one example who went bust before fulfilling all their orders.
3D printers missing several parts, screws and all sorts. Poor customer service and non-response, the list goes on and on and it just isn’t worth the perceived ‘savings’ you’ll make.
Some people either quit 3D printing, do an entire costly rebuild, or just end up buying a better 3D printer much later. You might as well start with buying the good 3D printer!
Solution
Go for a reliable, reputable 3D printer and avoid 90% of these avoidable issues. There are many stories I’ve read of people going through this exact same thing, so save yourself the hassle.
I’ve never seen someone say the Ender 3 Pro or Anycubic Mega i3 are bad first 3D printers, because they are truly a purchase of great value.
Using More Infill to Strengthen Parts Rather Than Walls/Shells
For many years, most people have tried strengthening their 3D printed parts using infill. This definitely does the job, but there is a much better method which has been proven to work a lot better.
Rather than wasting plenty of material and extra time printing infill, we should be making use of shells/walls for 3D printed part strength.
If you think about a vase, it has very few layers on the outside of the model, so it’s fairly weak and can be easily broken. The more layers of material you supply around that vase, the stronger it will be.
At a certain point, adding more infill doesn’t give great returns on the % of strength added, but shells on the other hand give amazing strength returns.
Solution
- Add more shells/walls to your prints to make them stronger rather than adding infill.
- For a functional 3D printed part that needs strength, it’s advised to use about 4-6 walls.